
F 150 2WD Pickup V8-5.4L SOHC VIN 5 (2004)
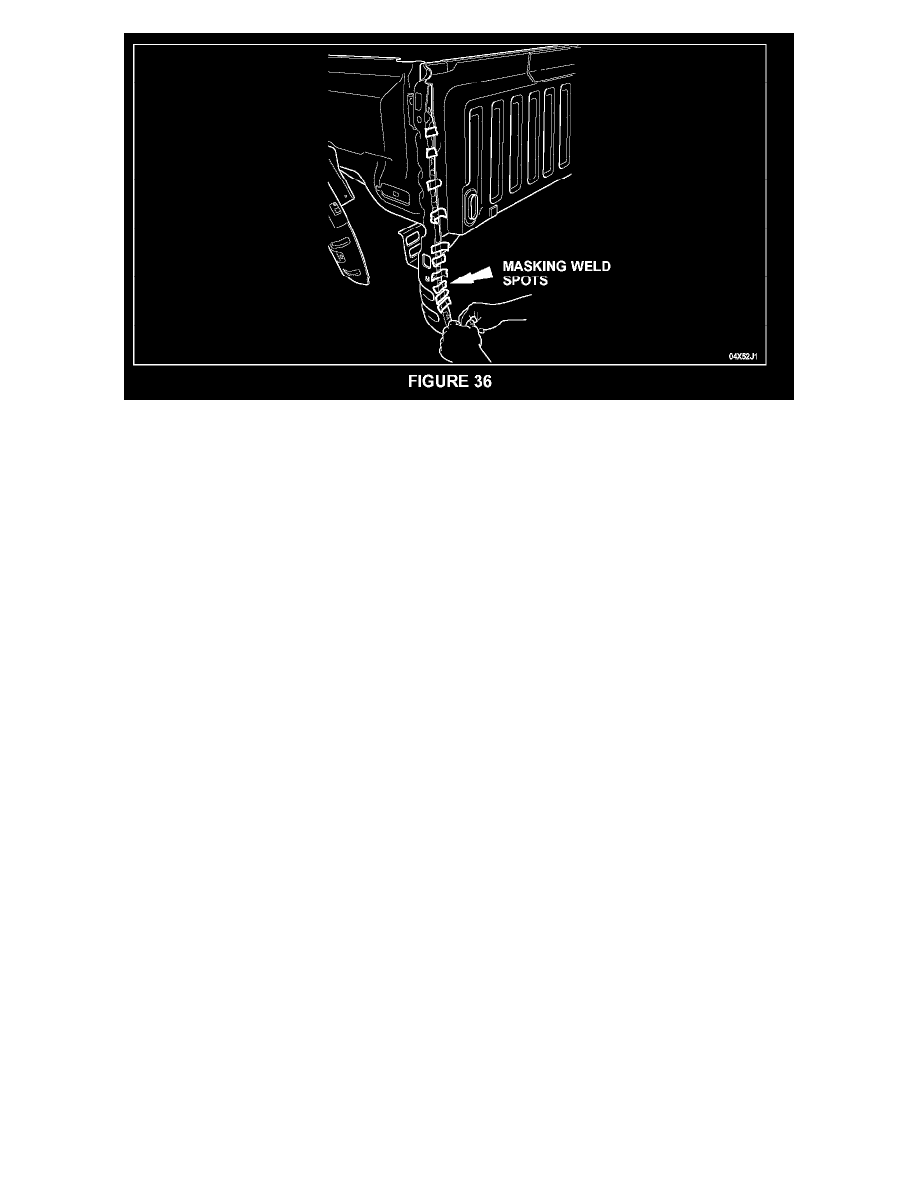
Apply 1-inch masking tape over the plug weld locations marked earlier to prevent contamination from the adhesive. See Figure 36.
4.
Prepare the Motorcraft TA-1 or TA-1-B adhesive by placing the cartridge into an applicator gun and dispensing a small amount of adhesive to
level the plungers. Install a mixing tip onto the cartridge then dispense a 75 mm (3 inch) bead of adhesive onto a piece of scrap cardboard to make
sure the components are properly mixed and ready for application.
NOTE:
TA-i adhesive has a working time of about 40-50 minutes at 21 °C (70°F).
^
For about every 10°C (20°F) ABOVE 21 °C (70°F), the working and cure time is cut in half.
^
For about every 10°C (20°F) BELOW 21 °C (70°F), the working and cure time are doubled.
5.
Apply a bead of adhesive approximately 6-10 mm (1/4 to 3/8 inch) wide to the flanges on the vehicle and the mating surfaces of the new outer
panel in the following locations:
^
Top rail flange
^
Short vertical flange at front top of bed
^
Forward vertical flange
^
Small area at bottom of inner panel just behind forward vertical flange
^
Rear vertical flange
^
Around tail lamp area
^
Small area behind wheel opening beneath tail lamp area
^
Wheel opening flange
^
The area on the panel that contacts the wheel opening foam sealer
^
Apply an extra bead of adhesive to the inside corner around the wheel opening on the new quarter panel.