
F 150 2WD Pickup V8-5.4L SOHC VIN 5 (2004)
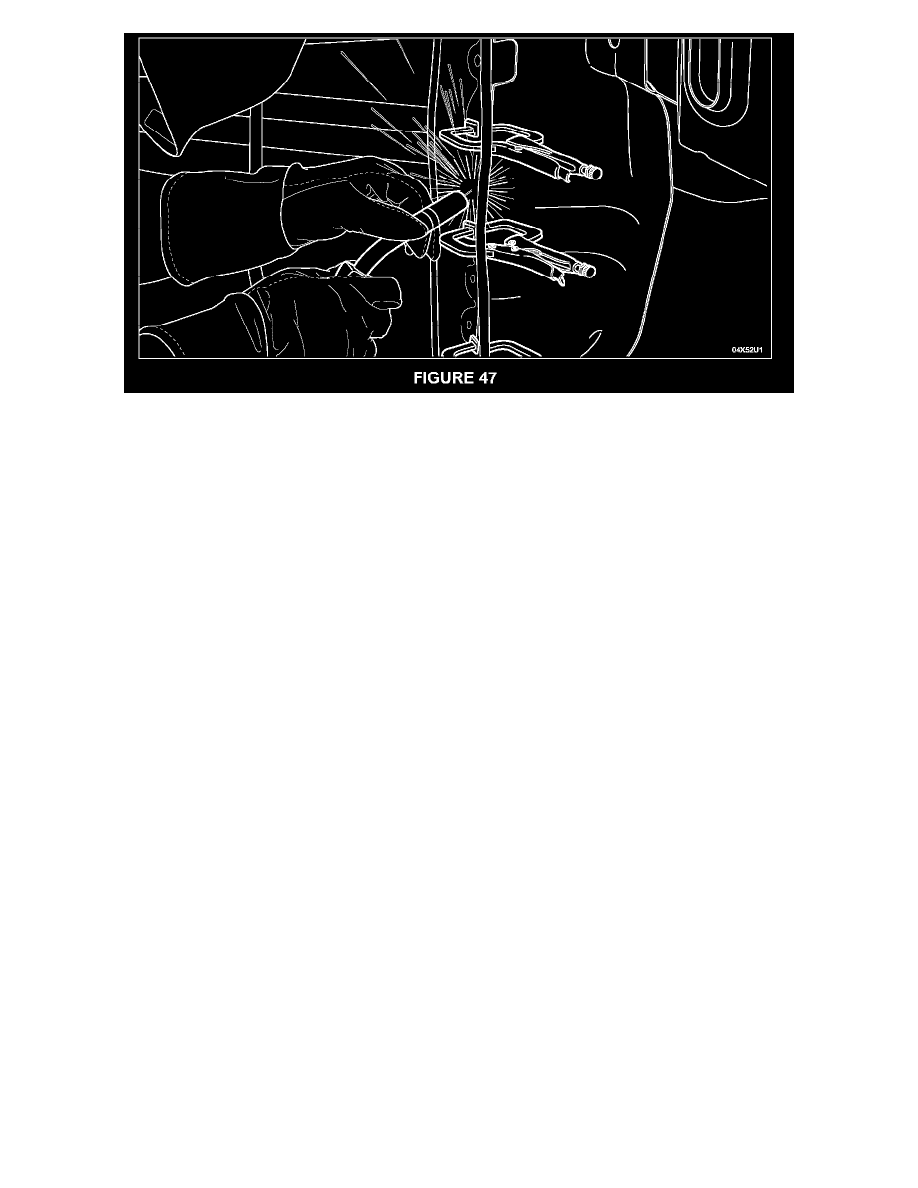
See Figure 47.
14.
Apply Motorcraft Flexible Foam Repair, part number TA-4,to the outer panel-to-inner panel wheel opening joint.
15.
Remove the clamps after welding is completed.
Finishing & Painting - Procedures Based on MIG Welding
FINISHING AND PAINTING - PROCEDURES BASED ON MIG WELDING
1.
Metal finish the welds to achieve a clean, finished appearance.
CAUTION:
The next 3 steps must be performed in a well-ventilated room. All painting must be performed in a properly maintained paint booth.
2.
Clean all surfaces with wax and grease remover.
3.
Prime any bare metal with Motorcraft Low Temperature Anti-Corrosion Coating part number PM-12-A. Apply 2-3 coats letting it flash between
coats for ten (10) minutes.
4.
Finish any cosmetic section seams with seam sealer.
5.
Mix and apply the primer surfacer per manufacturer's instructions.
6.
Mix and apply the basecoat material per manufacturer's instructions.
7.
Mix and apply the clearcoat material per manufacturer's instructions.
8.
Bake following product guidelines.
9.
Apply a new decal, if applicable.
Pickup Bed Installation
PICKUP BED INSTALLATION
1.
Install six (6) new attachment clips onto the vehicle frame.
2.
Position the pickup bed onto the frame, carefully guiding the fuel filler tube into the fuel door opening.
3.
Install new pickup bed bolts. Tighten the bolts to 80 Nm (59 lb-ft).
4.
Reinstall the fuel filler door assembly into the quarter panel opening and make sure it fits flush, then install the three (3) filler neck screws.
5.
Raise the vehicle on the hoist.