
F 150 2WD Pickup V8-5.4L SOHC VIN 5 (2004)
To remove individual parts, only carry out the listed steps:
3. To install, reverse the removal procedure.
4. If the hydraulic system was opened, bleed the brake system. For additional information, refer to Brake System Bleeding.
Item 2: Brake Caliper Removal Note
1. CAUTION: Do not allow the brake caliper to hang by the flexible brake hose.
Support the caliper to the vehicle.
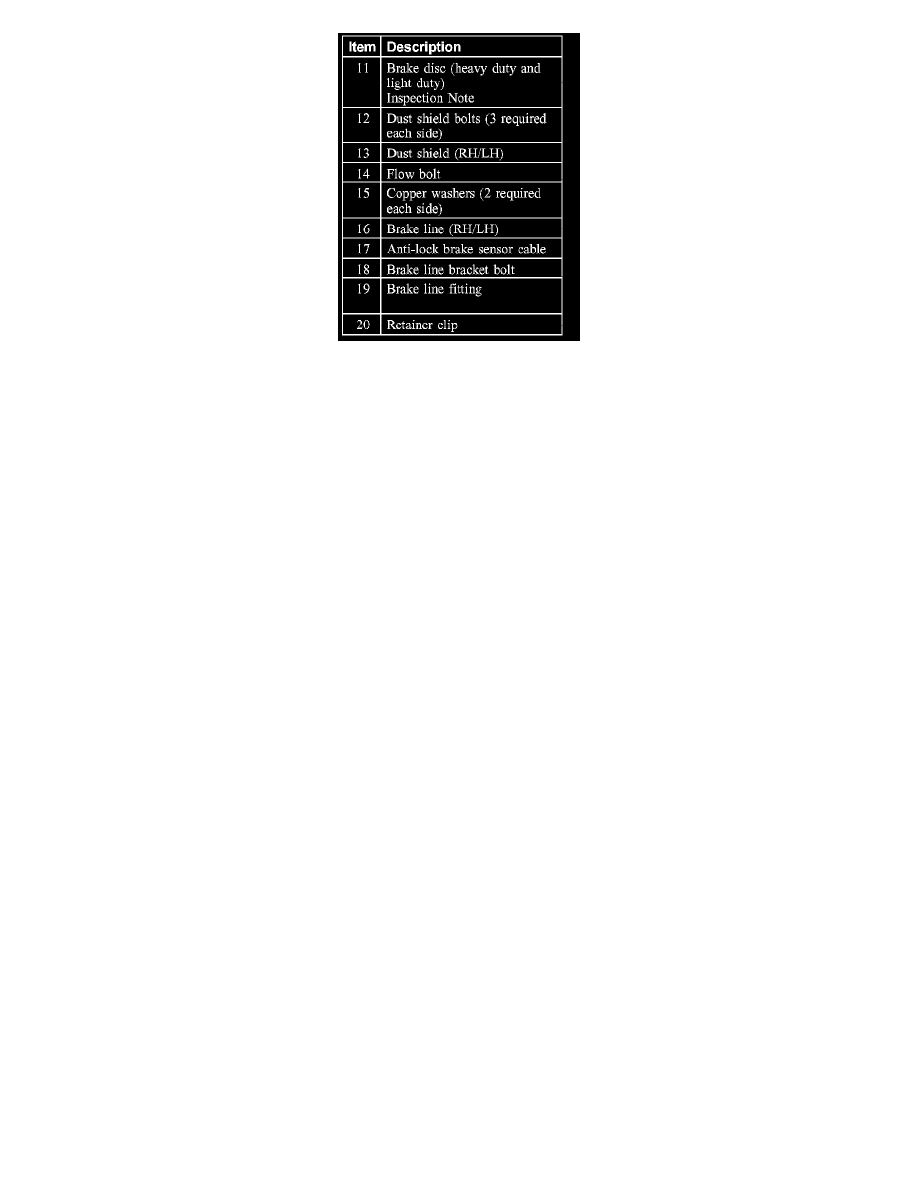
Item 11: Brake Disc Removal Note
1. If removing the brake disc, only remove the caliper bracket bolts and position the caliper and bracket aside.
Item 10: Spindle Nut Installation Note
1. Tighten the spindle nut to the specified torque. Rotate the hub counter-clockwise 5 rotations and then recheck the torque.
Item 3: Brake Disc Pads Installation Note
1. CAUTION: Install a new lining if worn to or past the specified thickness above the metal backing plate or if the pad is damaged. Install new pads
in complete axle sets.
If replacing the brake pads, use a suitable suction device, remove the brake fluid in the master cylinder reservoir until it is half filled.
2. If replacing the brake pads, use a suitable tool to push the brake caliper pistons into the caliper bore.
3. One brake disc pad kit contains the pads required for both the RH and LH side.
Item 1: Caliper Bolt Installation Note
1. Tighten the bottom caliper bolt and then the top caliper bolt.
Item 11: Brake Disc Inspection Note
1. NOTE: If machining is necessary use a hub-mount brake lathe to machine the front brake disc.
Measure the front brake disc, and resurface as necessary. Install a new front brake disc if beyond specification.