
F 150 4WD V8-4.6L VIN 8 (2010)
All vehicles
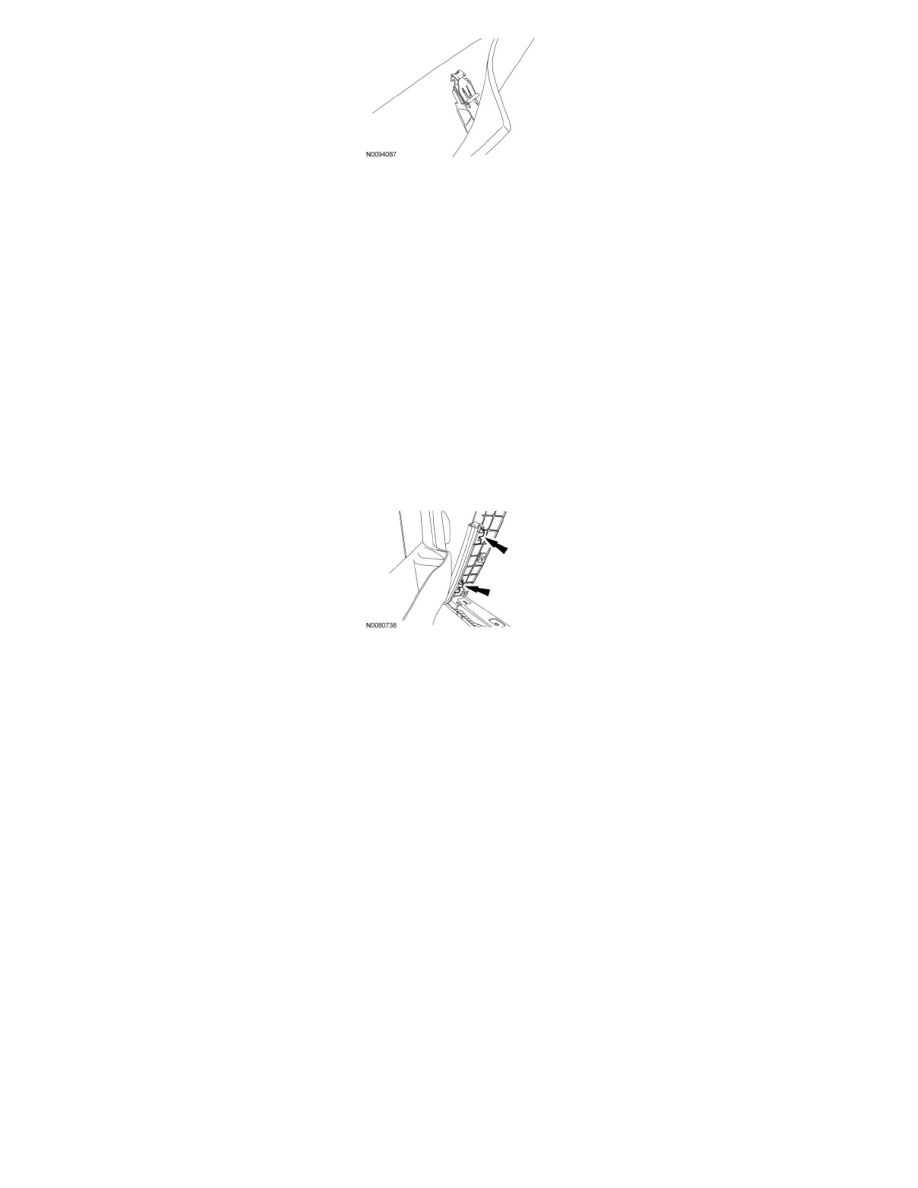
7. NOTE: The A-pillar trim panel is equipped with 3 locator tabs and a 4-way locator pin that must be positioned correctly during reinstallation.
To install, reverse the removal procedure.
B-Pillar Trim Panel - Regular Cab
B-Pillar Trim Panel - Regular Cab
Removal and Installation
1. Position seats fully down and forward.
2. Depower the Supplemental Restraint System (SRS). For additional information, refer to Restraint Systems.
3. Pull upward to release the scuff plate clips and remove the front door scuff plate.
-
Detach the scuff plate from the weatherstrip.
4. Position the weatherstrips aside.
-
If equipped, position the rear weatherstrips aside.
5. Remove the safety belt D-ring trim cover.
6. Remove the safety belt D-ring bolt.
-
To install, tighten to 40 Nm (30 lb-ft).
7. Remove the B-pillar trim panel pin-type retainer.
8. NOTE: Starting at the top of the cover, use a non-marring tool.
Remove the B-pillar trim panel bolt cover.
9. Remove the B-pillar trim panel bolt.
-
To install, tighten to 9 Nm (80 lb-in).
10. Remove the safety belt anchor bolt trim cover.
11. Remove the safety belt anchor bolt.
-
Disconnect electrical connector.
-
To install, tighten to 40 Nm (30 lb-ft).
12. Remove the safety belt trim ring.