
F 150 4WD V8-4.6L VIN 8 (2010)
Muffler: Service and Repair
Muffler and Tailpipe
Muffler and Tailpipe
Removal
NOTICE: Do not use oil or grease-based lubricants on the isolators. These lubricants may cause deterioration of the rubber. This can lead to
separation of the isolator from the exhaust hanger bracket during vehicle operation.
1. With the vehicle in NEUTRAL, position it on a hoist. For additional information, refer to Vehicle Jacking and Lifting.
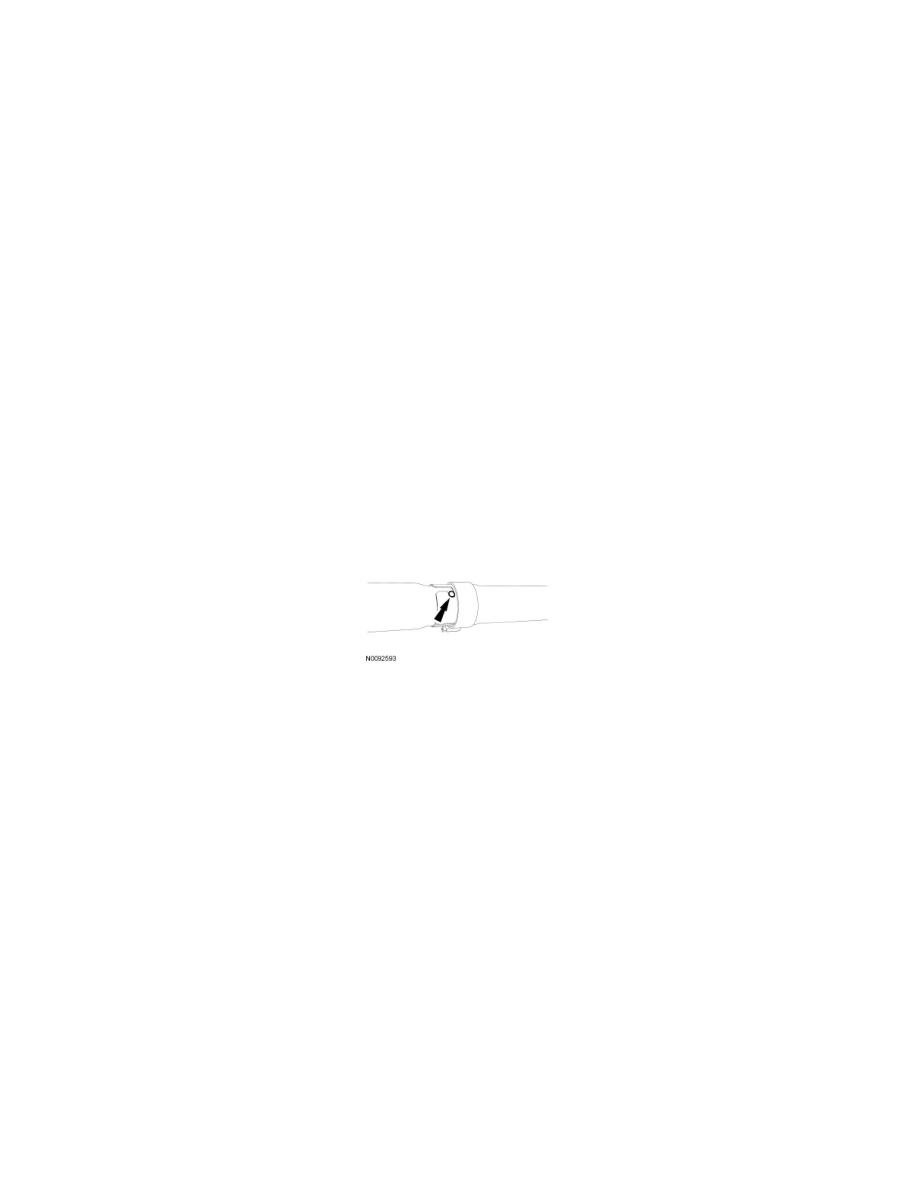
2. Loosen the exhaust intermediate pipe-to-muffler and tail pipe assembly Torca(R) clamp.
3. Remove the 2 bolts and the front muffler isolator and bracket assembly from the frame.
4. Slide the muffler and tail pipe assembly off of the intermediate pipe and out of the rear tail pipe hanger.
5. Remove the muffler and tail pipe assembly from the vehicle.
Installation
1. NOTE: Using an abrasive pad, clean the exhaust Torca(R) clamp surface area of any surface rust.
Position the muffler and tail pipe assembly.
2. Slide the muffler and tail pipe assembly into the rear tail pipe hanger and exhaust intermediate pipe until the alignment nub on the muffler and tail
pipe is properly positioned into the L-notch on the exhaust intermediate pipe.
3. Position the front muffler isolator and bracket assembly and install the 2 bolts.
-
Tighten to 30 Nm (22 lb-ft).
4. Tighten the exhaust intermediate pipe-to-muffler and tail pipe assembly Torca(R) clamp.
-
Tighten to 47 Nm (35 lb-ft).