
F 150 4WD V8-4.6L VIN 8 (2010)
8.8 In. Drive Pinion Nut
4. NOTICE: Install a new pinion nut with the same color as the original if not replacing the collapsible spacer or damage to the component
may occur.
Install the new washer and pinion nut. Only hand-tighten the pinion nut at this time.
5. NOTICE: Do not loosen the pinion nut to reduce drive pinion bearing preload. Install a new drive pinion collapsible spacer and pinion
nut if drive pinion bearing preload reduction is necessary. If a new collapsible spacer must be installed for pinion bearing preload
reduction, install the nut supplied with the new spacer or damage to the component may occur.
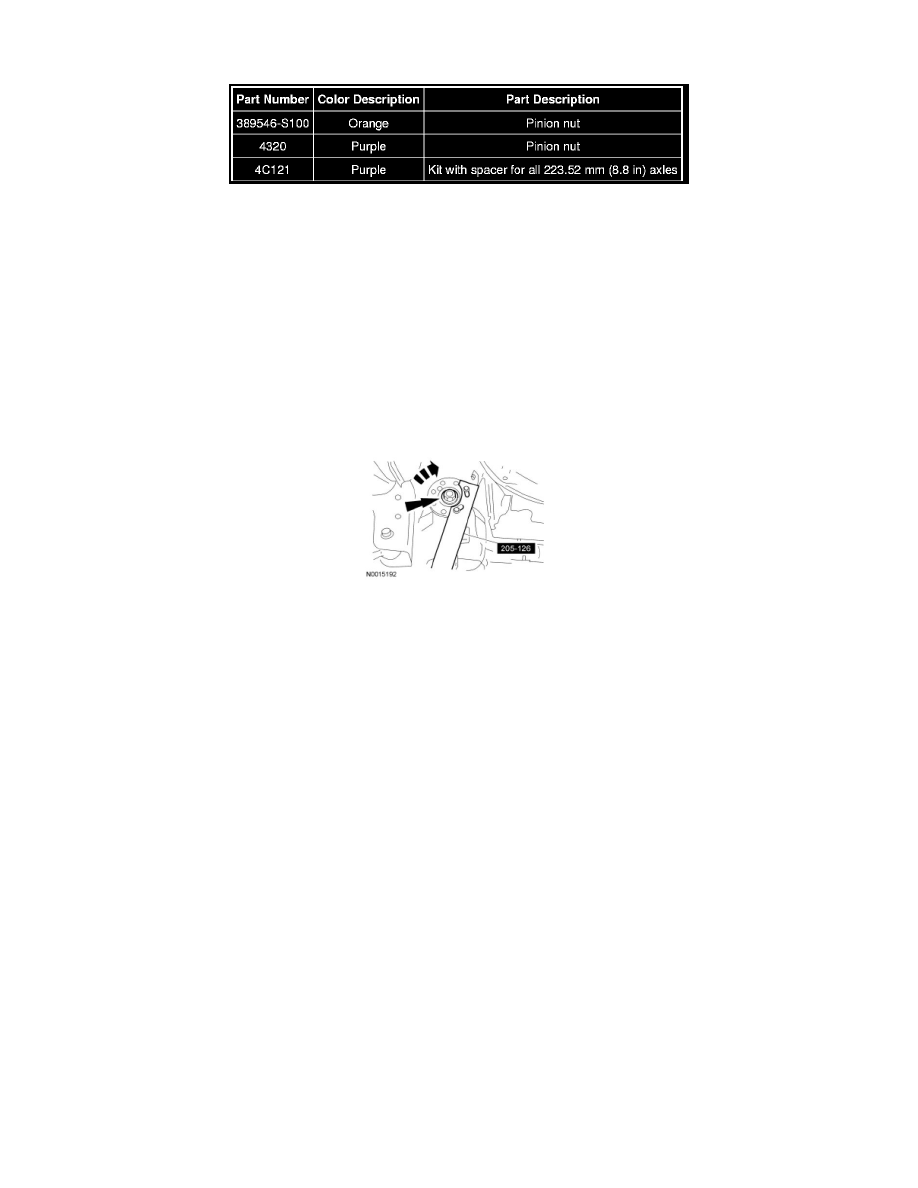
Using the Drive Pinion Flange Holding Fixture to hold the pinion flange, tighten the pinion nut to set the drive pinion bearing preload.
-
Tighten the pinion nut, rotating the pinion occasionally to make sure the drive pinion bearings are seating correctly. Take frequent drive pinion
bearing preload readings by rotating the drive pinion gear with a Nm (lb-in) torque wrench. The final reading must be 0.56 Nm (5 lb-in) more
than the initial reading taken during removal.
6. Install the front driveshaft. For additional information, refer to Drive/Propeller Shafts, Bearings and Joints.
7. Install the disc brake pads. For additional information, refer to Disc Brake System.