
F 150 Heritage 2WD Pickup V8-5.4L SOHC VIN 3 (2004)
Transmission Cooler: Service and Repair
4R100 Automatic Transmission
Transmission Fluid Cooler Backflushing and Cleaning
Transmission Fluid Cooler Backflushing and Cleaning
CAUTION: Prior to backflushing and cleaning the transmission fluid cooler tubes check for the components listed. If installed or equipped, they
must be removed from the cooler tubes and discarded. Any components removed must be installed new.
^
Transmission fluid Oil-To-Air (OTA) cooler
^
Transmission fluid in-line filter
^
Thermal bypass valve
1. Using a suitable torque converter/fluid cooler cleaner, flush the fluid cooler and lines.
2. NOTE: Rubber hoses must be attached to the ends of the fluid cooler tubes, to aid in connecting them to the cleaner.
Connect the cleaner pressure and return lines appropriately.
1
Connect the pressure line to fluid cooler inlet tube.
2
Connect the return line to fluid cooler outlet tube.
3
Place the outlet end of the return line in the fluid tank reservoir.
3. NOTE: Cycling the fluid pump on and off will help dislodge contaminants in the cooler system.
Switch the fluid pumps on. Allow the fluid to circulate a minimum of five minutes.
4. Switch the fluid pump off.
5. Disconnect the cleaner pressure line at the fluid cooler tube.
6. Using compressed air, blow through the fluid cooler inlet tube until all fluid is removed.
7. Remove the rubber hoses from fluid cooler tubes
Cooler Bypass Valve
Cooler Bypass Valve
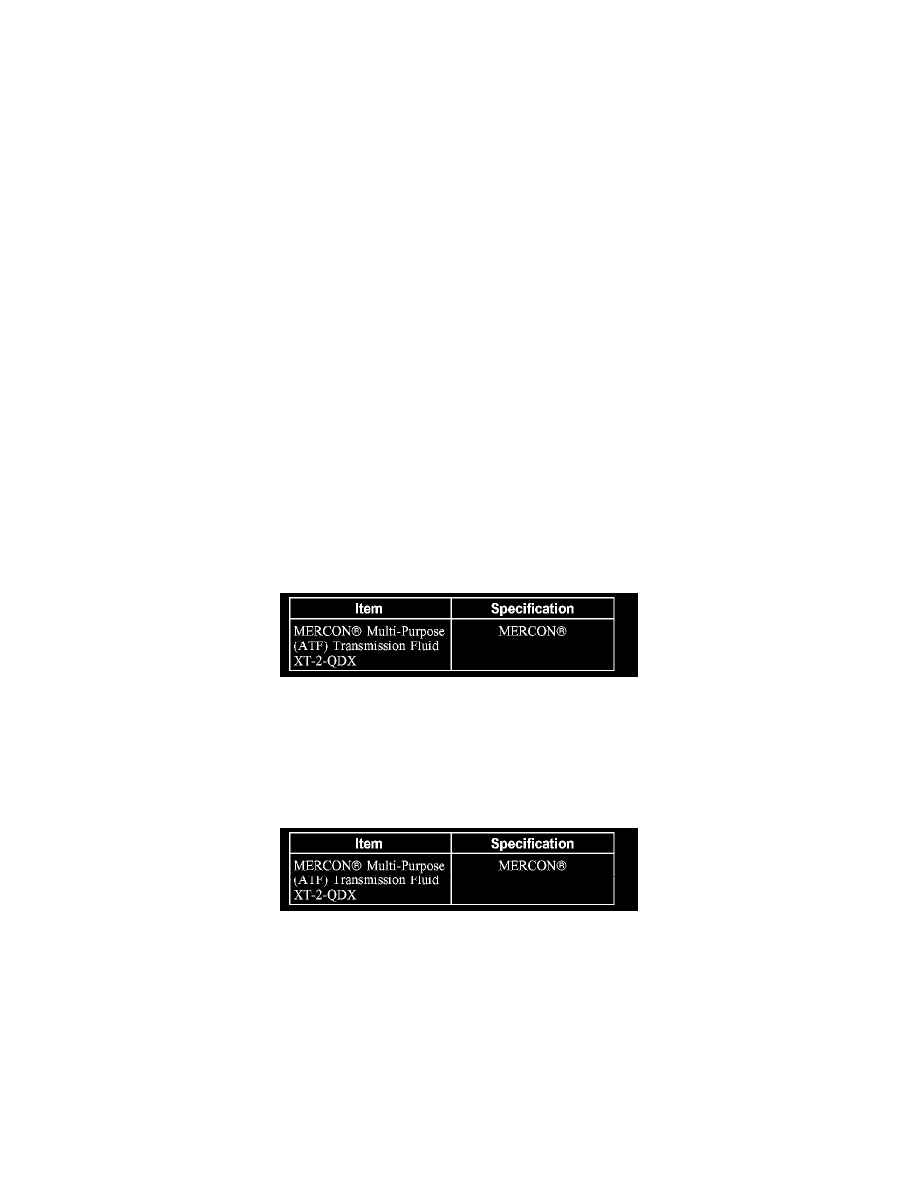
Material
Material
Removal
1. Put the vehicle in NEUTRAL and position on a hoist.
2. If not done previously, carry out the transmission fluid cooler flow test procedure.
Material
3. Remove the fluid cooler tube from the front cooler line case fitting.