
F 250 2WD Super Duty V10-6.8L (2009)
4. Remove the cab rear trim panel.
5. To install, reverse the removal procedure.
Cab Rear Trim Panel - Regular Cab
Cab Rear Trim Panel - Regular Cab
Removal and Installation
1. Position the seat(s) in the forwardmost position.
2. Remove the RH and LH B-pillar trim panels. For additional information, refer to B-Pillar Trim Panel - Regular Cab See: B-Pillar Trim Panel -
Regular Cab.
3. Remove the 4 cab rear trim panel pushpin retainers.
4. Remove the cab rear trim panel.
5. To install, reverse the removal procedure.
Cowl Side Trim Panel
Cowl Side Trim Panel
NOTE: Left side shown, right side similar.
Regular Cab and Crew Cab
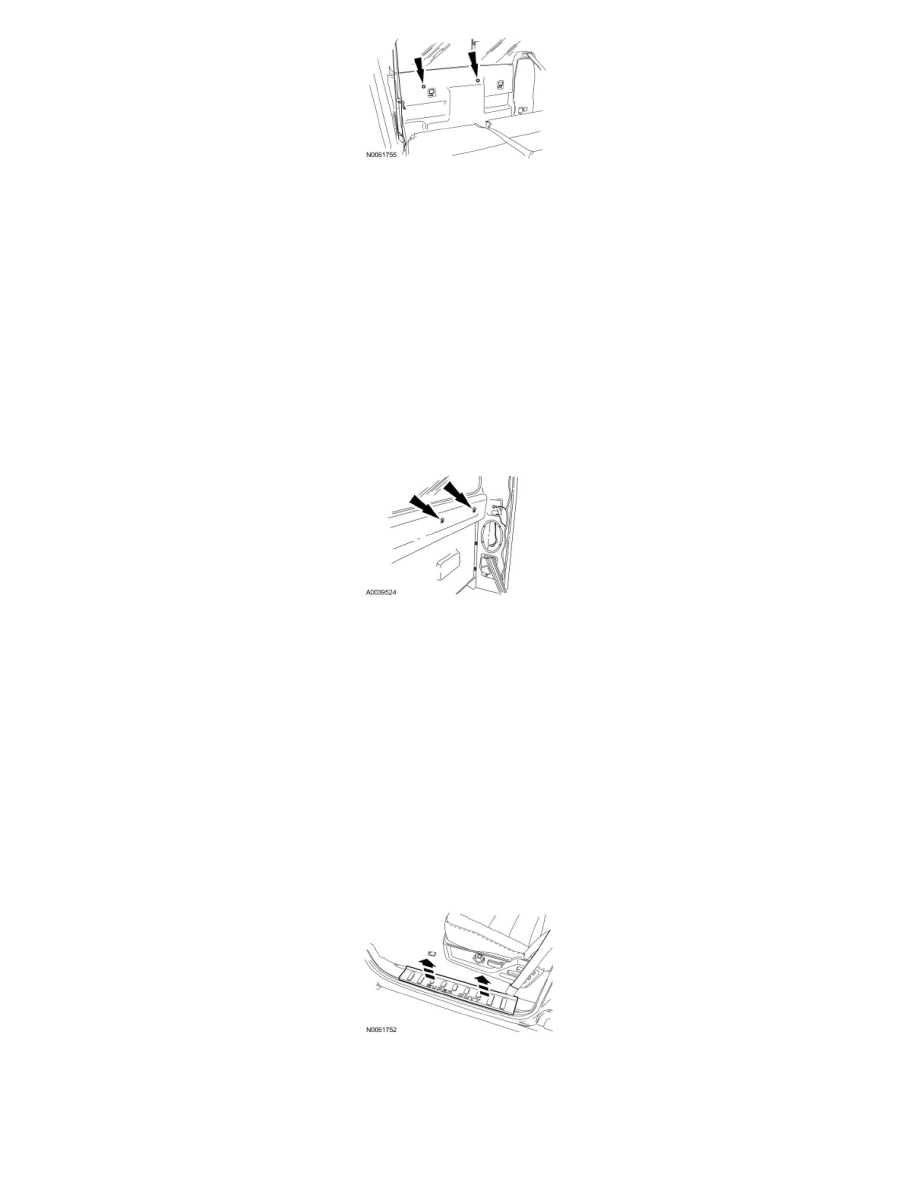
1. NOTICE: To avoid damage to the scuff plate trim panel, remove any retaining clips from the body and attach to the scuff plate trim
panel before installing.
Remove the door opening scuff plate trim panel.
SuperCab
2. NOTICE: To avoid damage to the scuff plate trim panel, remove any retaining clips from the body and attach to the scuff plate trim
panel before installing.