
F 250 4WD Pickup V8-4.6L SOHC VIN W (1998)
D-Ring Installation Kit
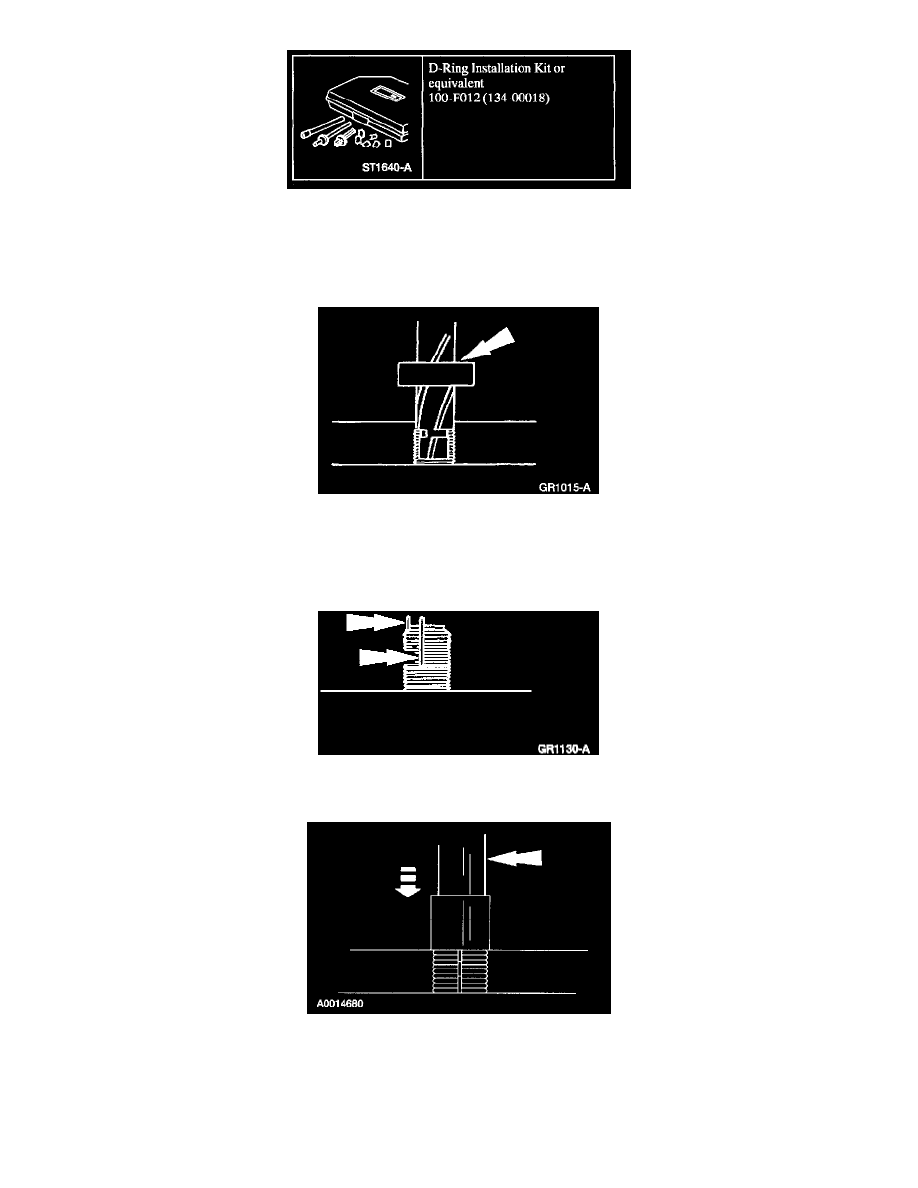
Special Tool(s)
1. Remove the upper and lower corner trim panels.
2. Use the half-inch drill provided in D-Ring Installation Kit 100-F012 (134-00018) or equivalent to drill out the damaged threads in the upper
B-pillar structure.
3. Apply a suitable lubricant to the M14x1.5 tap provided in D-Ring Installation Kit 100-F012 (134-00018) and tap new threads.
NOTE: After each rotation, back tap off slightly to remove new cuttings and be sure to clean out any chips before proceeding.
4. Use a threaded insert (N807170-5190) provided in D-Ring Installation Kit 100-F012 (134-00018) or equivalent and screw it into the retapped hole
until it is slightly below the surface of the hole.
5. Use a hammer to lightly tap the installation tool provided in D-Ring Installation Kit 100-F0 12 (134-00018) several times to drive down the insert
keys.
NOTE: If the two hex-head bolts on the front seat shoulder strap adjuster are not stripped, refer to Height Adjuster Shoulder Safety Belt to install
the height adjuster to the body. If the front seat shoulder strap adjuster bolts are stripped, replace the adjuster. See: Seat Belt Height
Adjuster/Service and Repair/Removal and Installation