
F 250 4WD Super Duty V10-6.8L VIN V (2005)
5. NOTE: Wrap electrical tape around the bearing cups to prevent them from falling off the U-joint spider.
Remove the front driveshaft.
-
Compress and separate the front driveshaft from the front axle, then separate the driveshaft from the transfer case.
Installation
1. NOTE: Install the front driveshaft with the index marks aligned.
NOTE: Install new bolts and retainers.
To install, reverse the removal procedure.
Driveshaft - Rear, One-Piece, Four Wheel Drive (4WD)
Driveshaft - Rear, One-Piece, Four Wheel Drive (4WD)
Removal
All vehicles
1. With vehicle in NEUTRAL, position it on a hoist. For additional information, refer to Maintenance/Service and Repair.
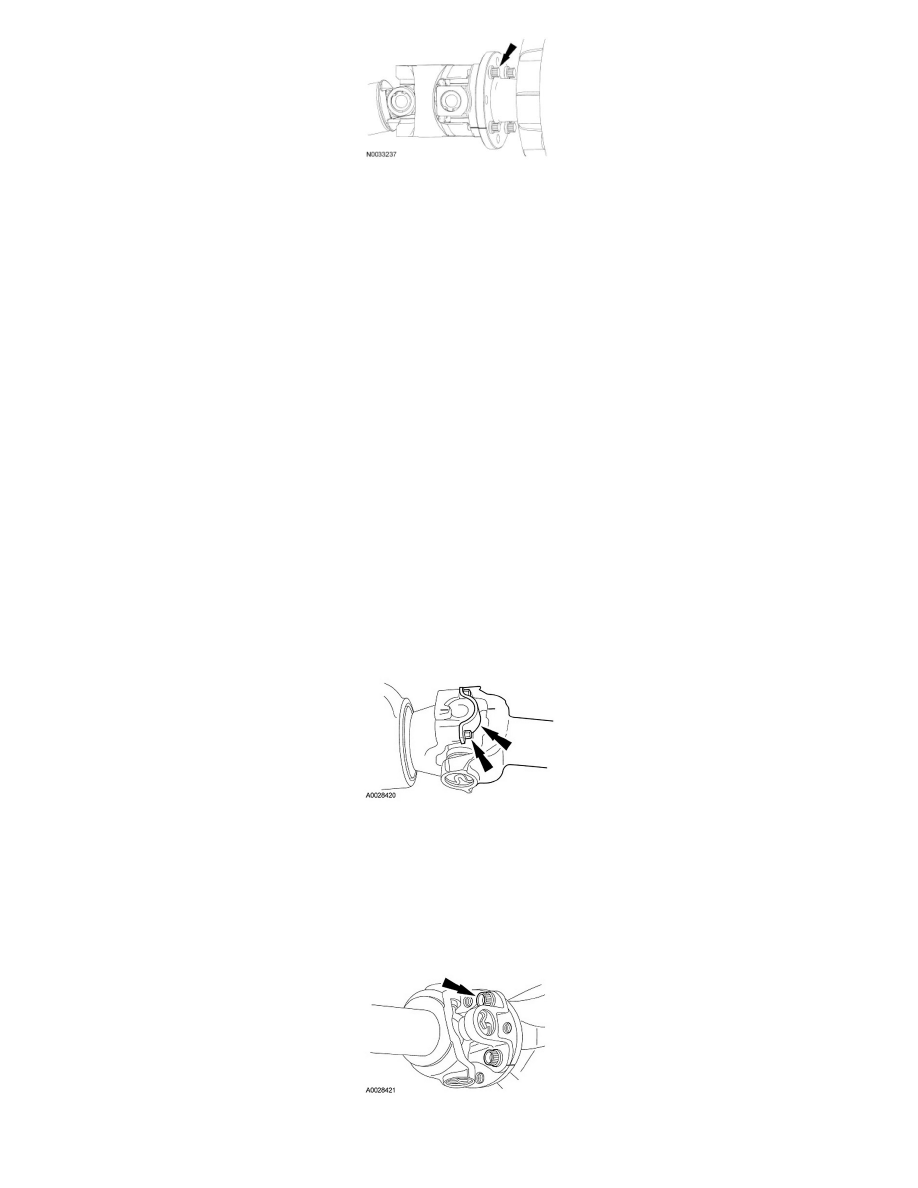
2. Index-mark the driveshaft yokes and flanges to the attaching transmission, transfer case and axle flanges and yokes.
Vehicles with split pin yoke
3. Remove and discard the 4 rear driveshaft-to-transfer case bolts and the 2 U-joint retainers.
4. NOTE: It may be necessary to unseat the bearing cup assemblies by tapping on the yoke or bearing cup with a plastic or rubber soft-faced
hammer.
Disconnect the driveshaft from the yoke.
Vehicles with circular flange
5. Remove and discard the 4 bolts.
6. NOTE: The driveshaft yoke fits tightly on the rear axle pinion flange pilot. Pry only in the slot on each side of the driveshaft yoke, with a suitable
tool, to disconnect the yoke from the flange.