
F 250 4WD Super Duty V8-5.4L SOHC VIN L (1999)
12. Remove the nut.
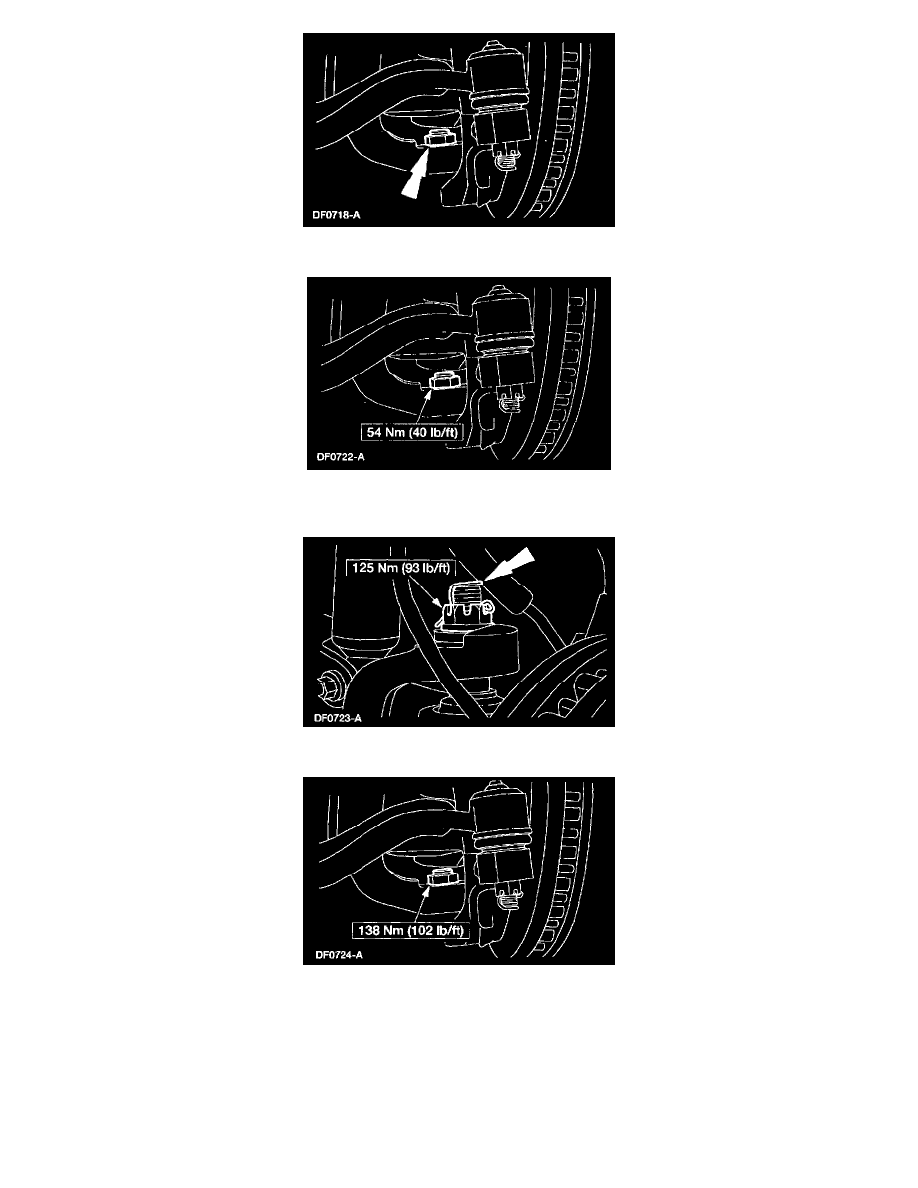
13. Install the nut and tighten to initial torque.
-
Apply Threadlock and Sealer EOAZ-19554-AA or equivalent meeting Ford specification WSK-M2G315-A5 (Type II).
14. Install the castellated nut and anew cotter pin.
15. Tighten the nut to final torque.
16. Install the front wheel.
17. Raise and support the vehicle.
18. Recheck the camber measurement. Readjust as necessary.