
F 350 2WD Pickup V8-460 7.5L VIN G EFI (1997)
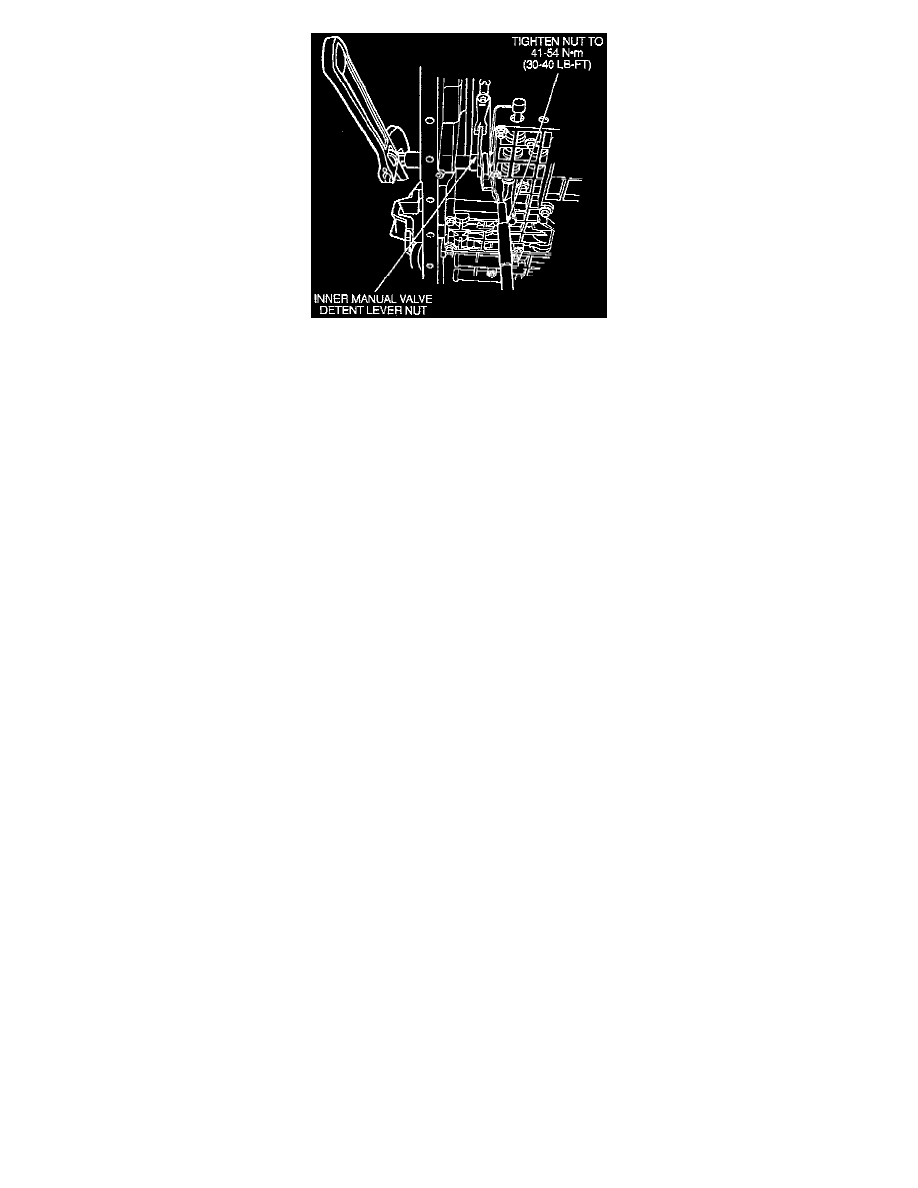
4. Tighten inner manual valve detent lever nut using a 21 mm crowfoot while holding manual control lever shaft with crescent wrench. Tighten nut to
41-54 Nm (30-40 Ft lbs.).
5. Install and seat manual lever shaft retaining pin below the case surface.
CAUTION: Use care not to damage the transmission fluid pan sealing surface.
6. Install TR sensor with two bolts and washers. Do not tighten bolts at this time.
7. Align sensor with the transmission in neutral gear position using Transmission Range (TR) sensor (MLPS) Alignment Tool T92P-70010-AH.
8. Using an 8 mm socket, tighten bolts to 8-10 Nm (75-85 Inch lbs.).
9. Install TR sensor harness connector. Audible click indicates full connection.
CAUTION: The TR sensor connector seal is located in the vehicle harness connector.
NOTE: After connecting TR sensor connector, verify connection by pulling on harness.
10. Install the manual control lever onto the manual control lever shaft.
NOTE: The manual control lever must be seated on the flats of the manual control lever shaft.
11. Install a new outer manual control lever shaft nut while holding the manual control lever with a crescent wrench. Tighten the nut to 35-47 Nm
(26-35 Ft lbs.).
CAUTION: A new outer manual control lever shaft nut must be used to properly secure manual control lever to manual control lever shaft.
12. Install shift cable onto the manual control lever. Use a screwdriver to press cable end fitting over transmission manual control lever ball stud.
13. Shift manual control lever to all detent positions to check proper engagement of all positions and parking mechanism.