
F 350 2WD Pickup V8-7.3L DSL (1988)
4.
Disconnect the brake line from the valve.
FIGURE 13
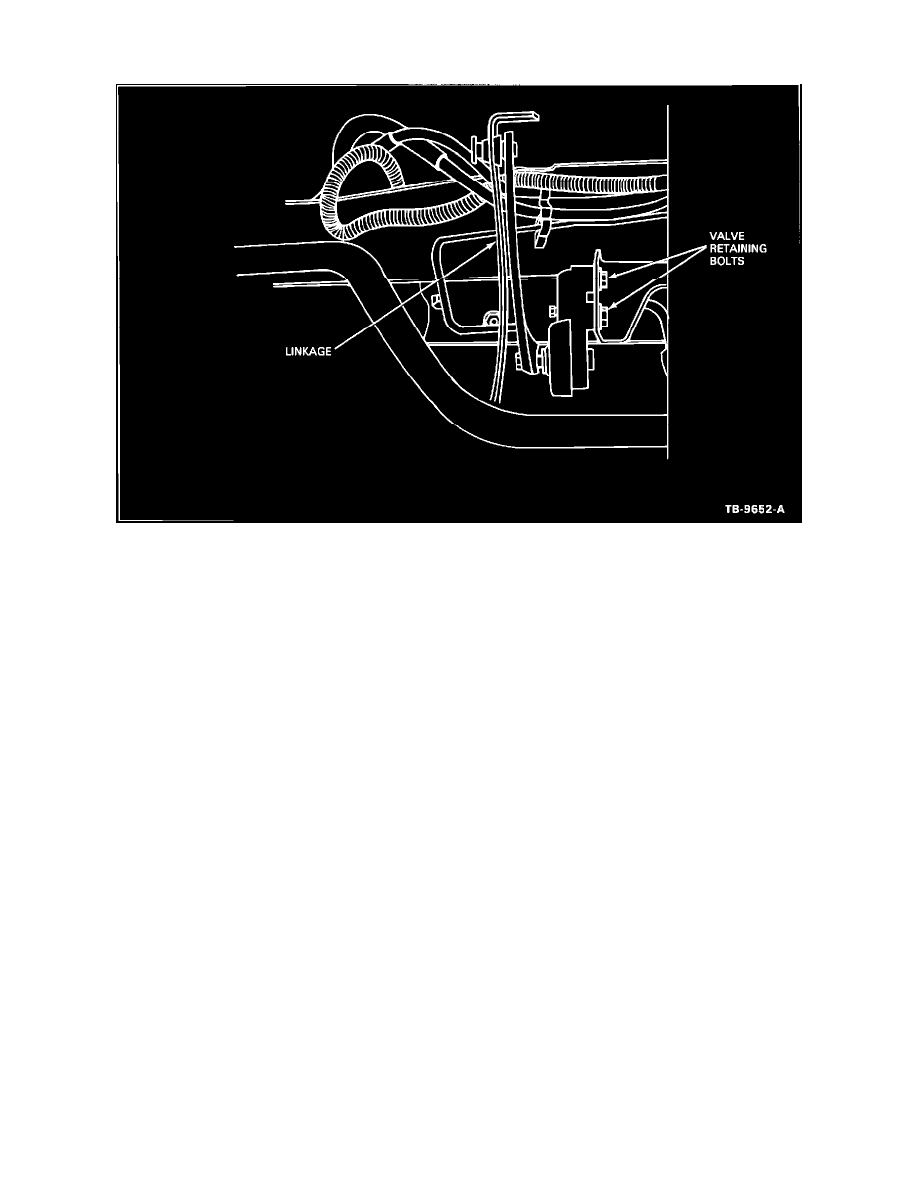
5.
Remove the two (2) bolts securing the height sensing valve to its mounting bracket, and remove the valve, Figure 13.
Installation
1.
Place the height sensing valve on its mounting bracket. Install the two (2) mounting bolts and tighten to 12-18 ft.lbs. (17-24 N-m).
2.
Install the flexible brake hose using new copper gaskets. Tighten the flow bolt to 28-34 ft.lbs. (37-46 N-m).
3.
Install the brake line to the lower port on the valve and tighten securely.
4.
Position the linkage arm on the height sensing valve and tighten the retaining nut to 8-10 ft. lbs. (11-14 N-m).
5.
Bleed the brakes as described in the Light Truck Shop Manual, Volume A, Section 12-01, "General Hydraulic Brake Service". Check for proper
brake operation.
When servicing other rear suspension components, (axle assembly, rear springs, fuel tank, etc.), remove the two (2) nuts attaching the sensing valve
linkage to the rear axle cover plate. This will eliminate the need to replace the brake valve.
NOTE:
ANY CHANGE TO THE VEHICLE REAR SUSPENSION WHICH WILL ALTER THE "CURB" RIDE HEIGHT OR SPRING
DEFLECTION RATE, (INCREASED CAPACITY LEAF SPRINGS, ADDITION OF SPACERS, ETC.), MAY CHANGE THE FUNCTION
OF THE HEIGHT SENSING VALVE AND ALTER THE SYSTEM BRAKING PERFORMANCE.
OTHER APPLICABLE ARTICLES: None
WARRANTY STATUS: "INFORMATION ONLY"