
F 350 4WD Pickup V8-7.3L DSL Turbo VIN F (1994)
2. To remove the front bushing, use a cape chisel and cut along the bushing seam until the chisel breaks through the bushing wall. Pry the loose
bushing ends up and remove the bushing.
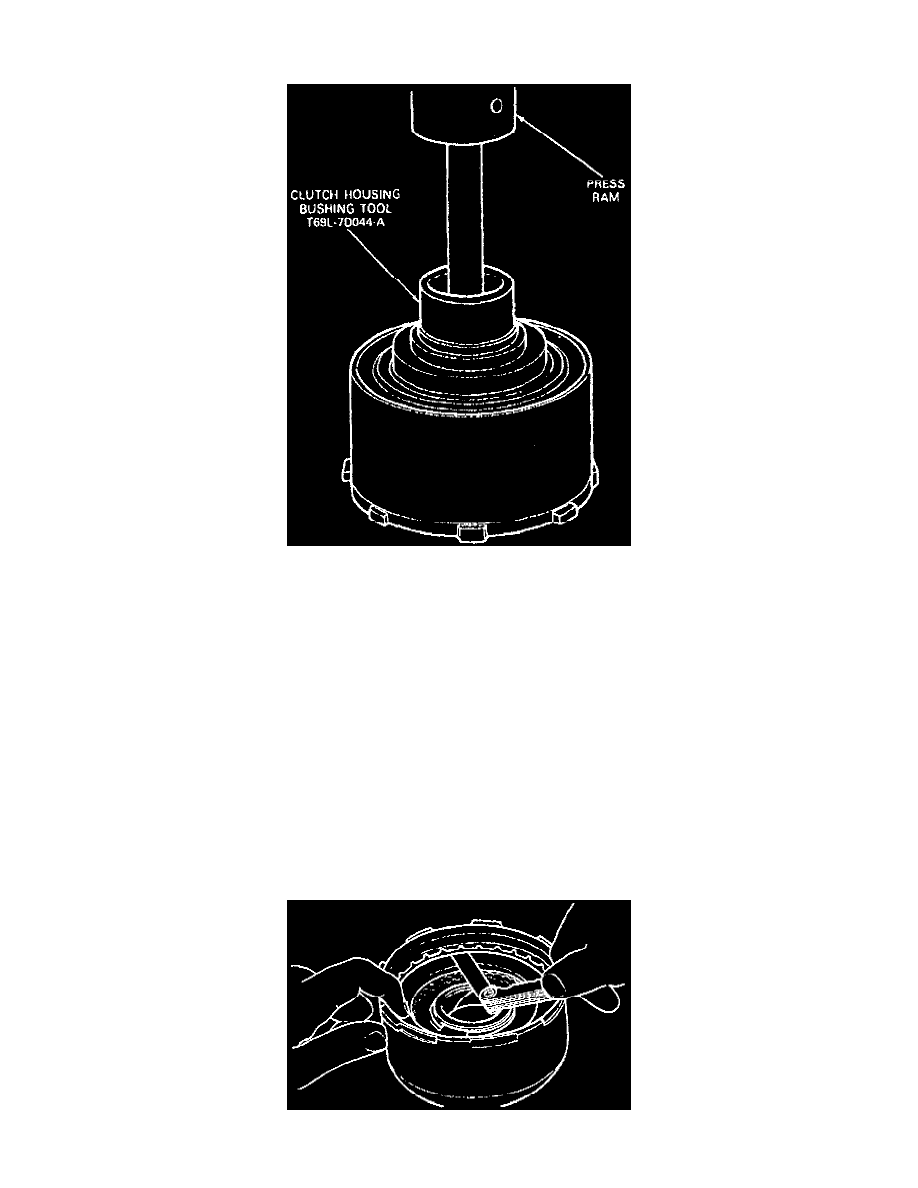
Reverse-High Clutch Front Bushing Installation
3. To install the front bushing, press it into the housing as shown in the Reverse-High Clutch Front Bushing Installation image.
ASSEMBLE
1. Dip new seals in transmission fluid and install one on drum and one on piston. Install piston in clutch drum.
2. Place return springs in piston pockets. Place retainer on springs.
NOTE: Return springs must be placed in sockets.
3. Compress springs with tool shown in the Reverse-High Clutch Piston Snap Ring Removal image. Make certain that spring retainer is centered
while compressing springs. Install snap ring. Before releasing pressure on tool, see that snap ring is positioned inside four snap ring guides on
spring retainer.
4. Dip clutch plates in transmission fluid. Install clutch plates alternately starting with a steel drive plate and a composition plate, as shown in the
Reverse-High Clutch Assembly image.
NOTE: If new composition plates are to be used, they should be soaked in transmission fluid for 15 minutes prior to assembly.
5. After all the clutch plates have been installed, position pressure plate in clutch drum. Install pressure plate snap ring.
Reverse-High Clutch Snap Ring Clearance Inspection