
F 550 2WD Super Duty V8-6.0L DSL Turbo VIN P (2006)
Tie Rod: Service and Repair
Outer - LH
Tie Rod End - Outer, LH, F-250, F-350, 4x4, and F-450, F-550
Special Tool(s)
Removal and Installation
NOTE: Install a new the tie-rod end if the ball stud is loose in the socket or the tie-rod end is bent. Install a new steering linkage stud dust seal if any
nicks, cuts or tears are present. Do not attempt to straighten the steering linkage components.
1. Place the steering wheel in the straight-ahead position.
2. With the vehicle in NEUTRAL, position it on a hoist.
3. Loosen the adjusting sleeve nut.
^
Tighten to 55 Nm (41 ft. lbs.).
4. Loosen the adjusting sleeve bracket nut.
^
Tighten to 18 Nm (13 ft. lbs.).
5. Remove the cotter pin and outer tie-rod end nut.
^
Discard the cotter pin.
-
To install, tighten to 115 Nm (85 ft. lbs.).
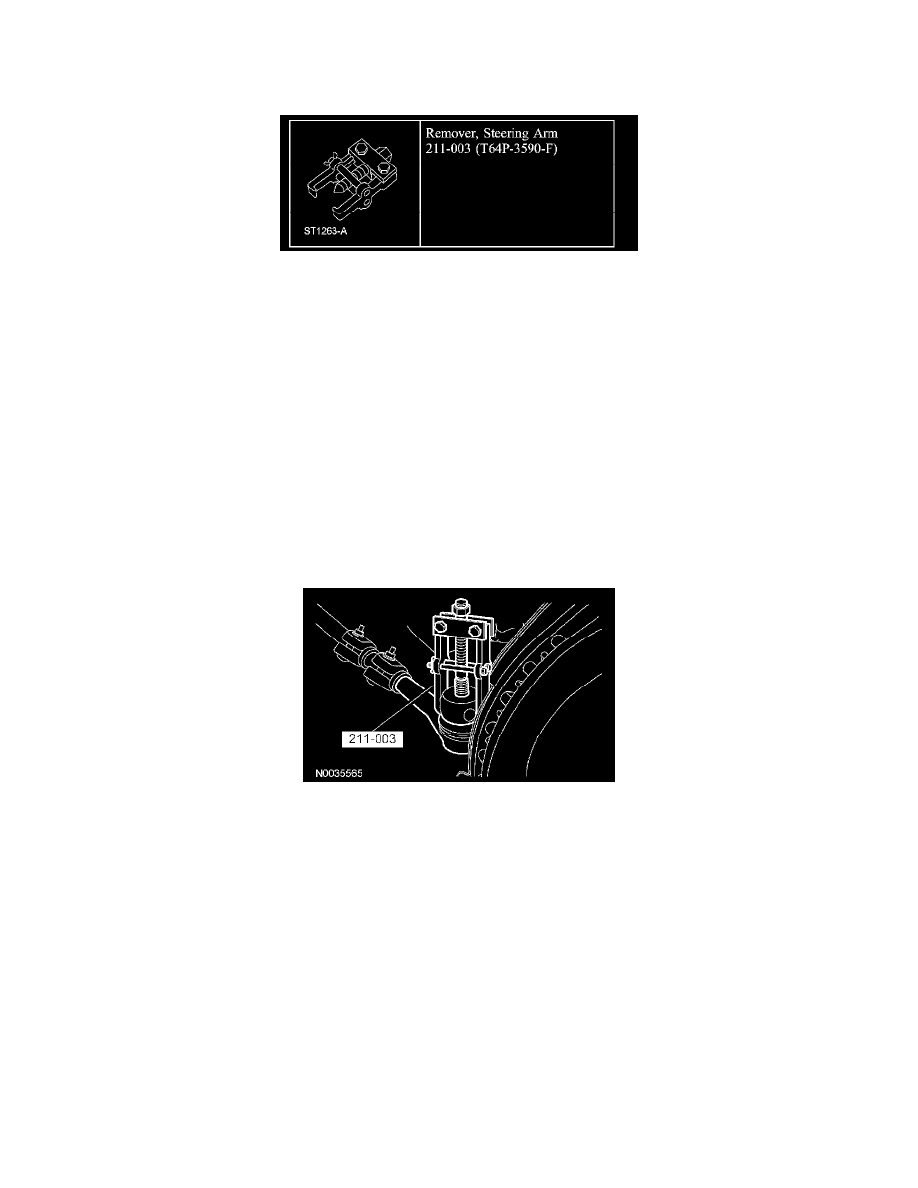
6. NOTE: Count the number of turns required to remove the tie-rod end for reference during assembly.
Using the special tool, disconnect the outer tie-rod end from the wheel knuckle and remove the outer tie-rod end.
7. CAUTION: Make sure that the nut retainer cap is correctly positioned to allow for cotter pin installation. Do not tighten or loosen the nut to align
the retainer cap with the cotter pin hole. Overtightening of the fasteners may result in premature failure of steering linkage components.
NOTE: When repairing the steering linkage clean the steering linkage damper shaft of all corrosion and dirt. Buff the damper shaft smooth.
Repairing the linkage changes the damper travel slightly. A dirty/corroded shaft can damage the damper seal and create a leak.
To install, reverse the removal procedure.
^
Check and, if necessary, align the front end.