
Flex AWD V6-3.5L (2009)
4. Remove the 3 RH recliner-to-riser bolts.
-
To install, tighten to 36 Nm (27 lb-ft).
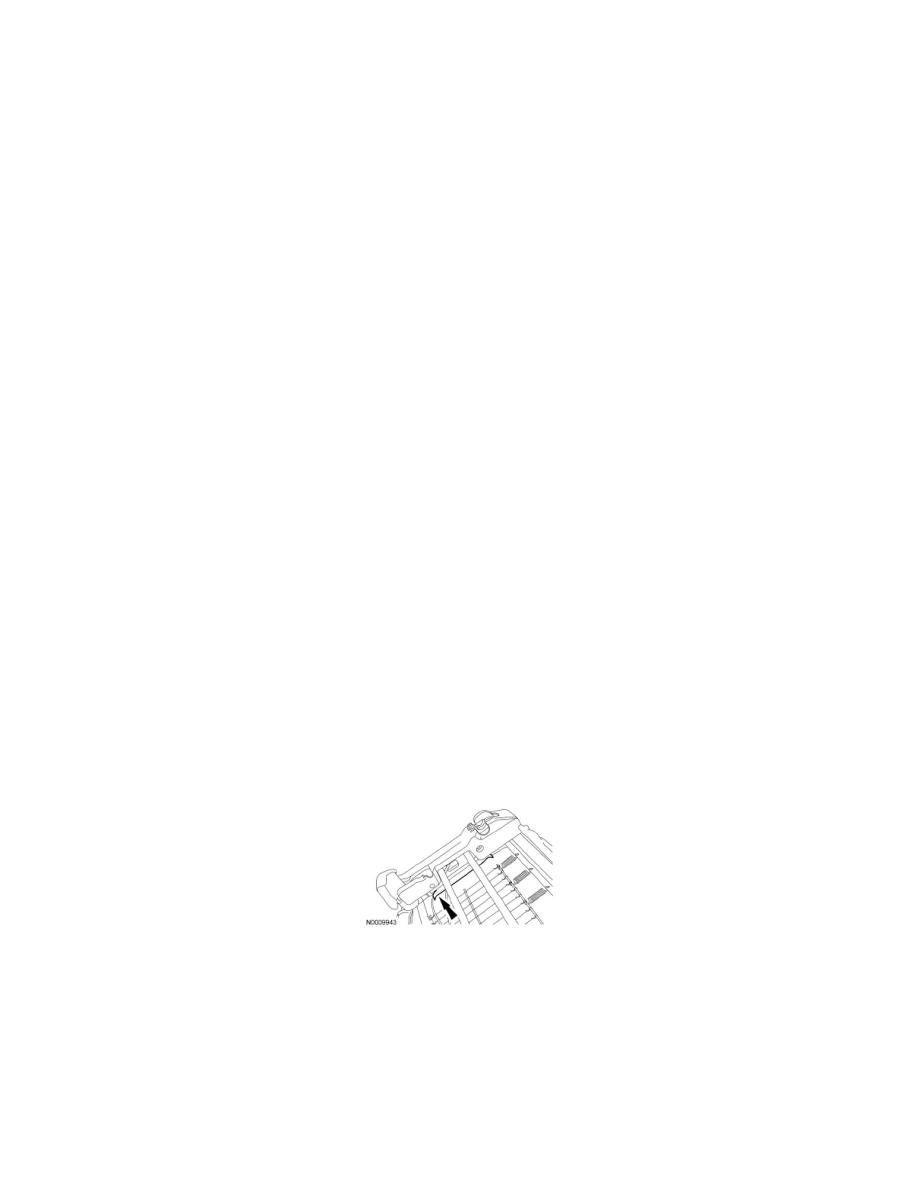
5. NOTE: Note cable routing for installation.
Remove the cushion frame yoke-to-RH recliner bolt, detach the cable and remove the RH recliner.
-
To install, tighten to 42 Nm (31 lb-ft).
6. To install, reverse the removal procedure.
Seat Recliner - Outboard, Second Row, 60 Percent
Seat Recliner - Outboard, Second Row, 60 Percent
Removal and Installation
WARNING: Use care when the seat back frame is removed and when releasing the recliners from a backrest upright position. The recliners are
spring-loaded, which may cause the recliner upper arms to fold with significant speed/force. Failure to follow this instruction may result in
serious personal injury.
1. Release the backrest trim cover lower J-clip on the LH side.
2. Release the 2 backrest trim cover inside J-clips to hard back panel.
3. Roll the trim cover up and remove the 2 LH recliner-to-backrest frame bolts.
-
To install, tighten to 50 Nm (37 lb-ft).
4. Remove 2 screws, pull and remove the riser LH inner cover.
5. Remove 3 screws and the riser LH outer cover.
6. Remove the screw and the manual recliner handle.
7. Remove the screw and the LH recliner outer cover.
-
On assembly, make sure the release strap is through the cover opening.
8. From under the seat, release 2 sets of cushion trim cover J-clips.
9. From under the seat, release the hook-and-loop strip and J-clip at the RH side of the cushion frame.
10. Release the cushion trim cover retainer from the outboard side of the cushion frame.
-
Pull the cushion trim cover outboard retainer out from between the riser and the cushion frame.
11. Remove the pin-type retainer, release the locator pins and remove the LH recliner inner cover.
12. NOTE: Note cable routing for installation.
Remove the 3 cables from the LH recliner.