Flex AWD V6-3.5L (2009)

Parking Lamp: Initial Inspection and Diagnostic Overview
Principles Of Operation
Parking, Rear and License Plate Lamps
Principles of Operation
NOTE: The Smart Junction Box (SJB) is also known as the Generic Electronic Module (GEM).
The SJB monitors the headlamp switch position by sending voltage reference signals on multiple circuits to the headlamp switch. There is one circuit for
each headlamp switch position. At any given time, one of the signal circuits is routed to ground.
If the SJB does not detect any of the inputs to the headlamp switch are active (routed to ground) for 5 seconds, the SJB turns on the exterior lights and
keeps them on for 10 minutes after the ignition switch is turned off (or 10 minutes from the time the SJB does not detect any headlamp switch input if the
ignition switch was already off). Additionally, if the SJB detects multiple circuits short to ground, the SJB implements a planned strategy depending on
the multiple inputs received. Based on the multiple inputs received, the autolamps, the headlamps and/or the parking lamps are turned on.
If either of these situations occur, the SJB should NOT be ruled immediately as being at fault. This is normal behavior of the SJB design as it has
detected a fault with the inputs from the headlamp switch.
When the SJB receives an input from the headlamp switch indicating a request for the parking lamps, the SJB energizes the parking lamp relay (internal
to the SJB), which supplies voltage to the exterior lamps.
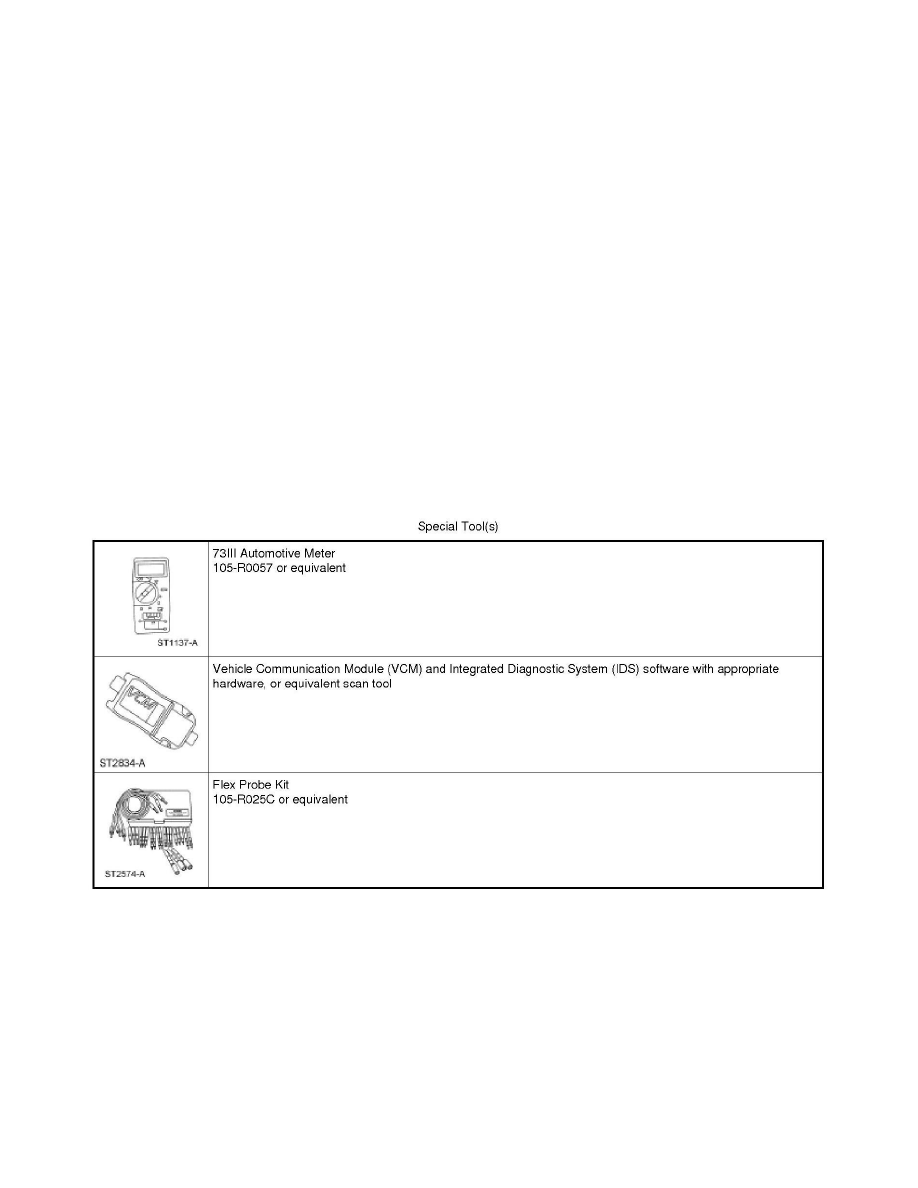
Special Tools Used With Diagnostics
Parking, Rear and License Plate Lamps
Inspection And Verification
Parking, Rear and License Plate Lamps
Inspection and Verification
1. Verify the customer concern.
2. Visually inspect for obvious signs of mechanical or electrical damage.
