Flex AWD V6-3.5L (2009)

Removal
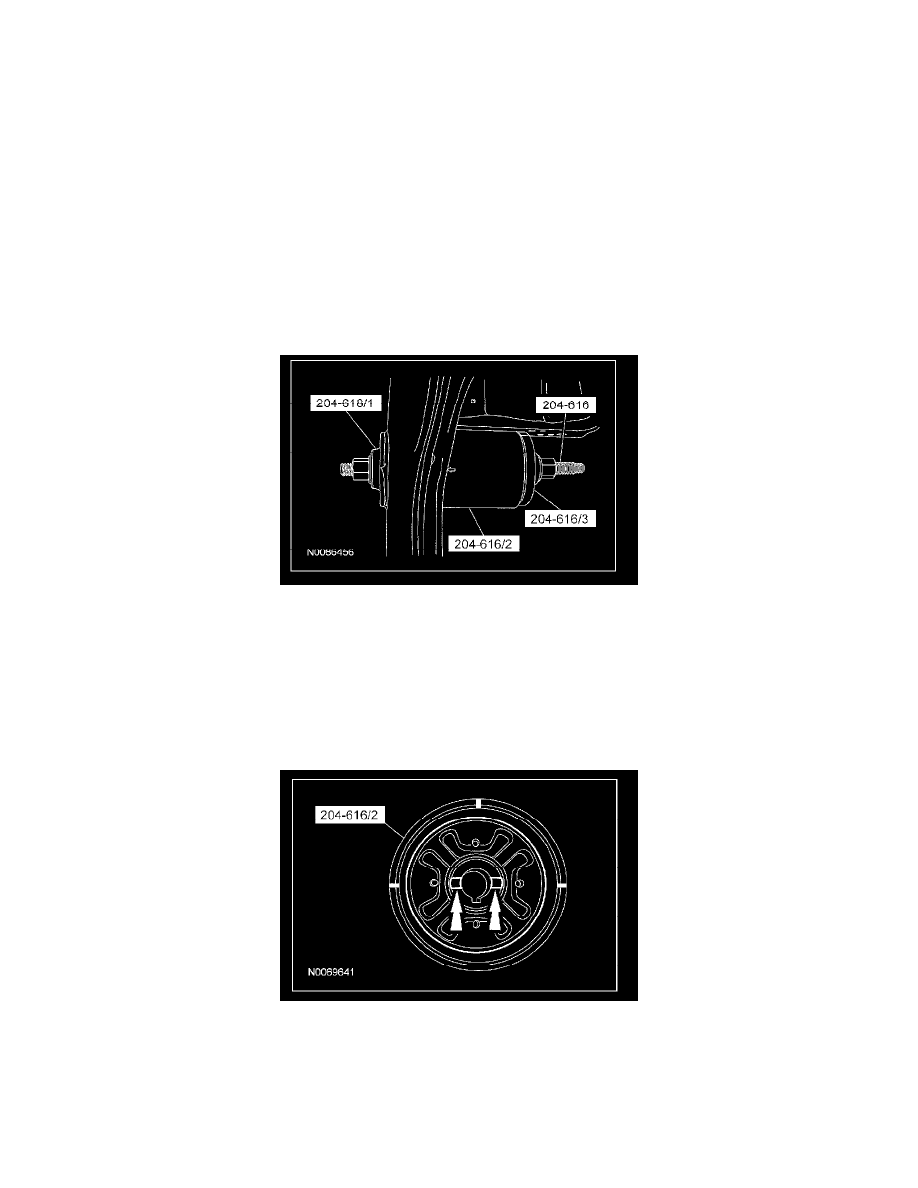
NOTE: There are 2 Rear Drive Unit (RDU) rear bushings in the rear subframe. This procedure shows how to remove one bushing. The procedure for
the remaining RDU bushing is identical.
1. Remove the RDU.
2. NOTE:
-
The Rear Drive Unit (RDU) Bushing (65 mm) Remover/Installer 204-618/1 must be used to remove the bushing to make sure that it passes
through the receiver cup.
-
Make sure the Rear Drive Unit (RDU) Bushing (70 mm) Remover/Installer 204-616/2 is positioned with the larger opening toward the bushing
to act as the receiver cup.
-
Make sure the arrow on the Rear Drive Unit (RDU) Bushing (70 mm) Remover/Installer is pointed toward the rear subframe when removing
the bushing.
Assemble the Rear Drive Unit (RDU) Bushing (65 mm) Remover/Installer and the Rear Drive Unit (RDU) Bushing (70 mm) Remover/Installer to
the rear subframe and press out the bushing.
Installation
NOTE: There are 2 Rear Drive Unit (RDU) rear bushings in the subframe. This procedure shows how to install one bushing. The procedure for the
remaining RDU bushing is identical.
1. NOTE: Make sure the alignment marks on the Rear Drive Unit (RDU) Bushing (70 mm) Remover/Installer 204-616/2 are aligned with the
anti-rotation tabs on the RDU bushing.
Install the RDU bushing into the Rear Drive Unit (RDU) Bushing (70 mm) Remover/Installer 204-616/2.
2. NOTE: Make sure the alignment marks are properly aligned on both the Rear Drive Unit (RDU) Bushing (70 mm) Remover/Installer 204-616/1
and Rear Drive Unit (RDU) Bushing (70 mm) Remover/Installer 204-616/2 and the anti-rotation tabs are properly seated in the Rear Drive Unit
(RDU) Bushing (70 mm) Remover/Installer 204-616.
Install the Rear Drive Unit (RDU) Bushing (70 mm) Remover/Installer 204-616 onto the RDU bushing.
