
Flex FWD V6-3.5L (2010)
Front Door Exterior Handle: Service and Repair
Door Handle Reinforcement - Exterior, Front
Door Handle Reinforcement - Exterior, Front
Removal and Installation
NOTE: The door glass must be completely raised.
1. Remove the front door trim panel.
2. For the driver door, remove the door lock cylinder. For additional information, refer to Door Lock Cylinder See: Locks/Door Locks/Door Lock
Cylinder/Service and Repair.
3. For the passenger door, remove the exterior door handle. For additional information, refer to Exterior Door Handle See: Exterior Door Handle.
4. Position the water shield aside.
5. Disconnect the front door latch actuator electrical connector.
6. Remove the door lock rod extension from the door lock rod.
7. Push the door lock rod and grommet through the door panel.
8. Push the interior door handle cable and grommet through the door panel, and pull them back out through the door panel access hole.
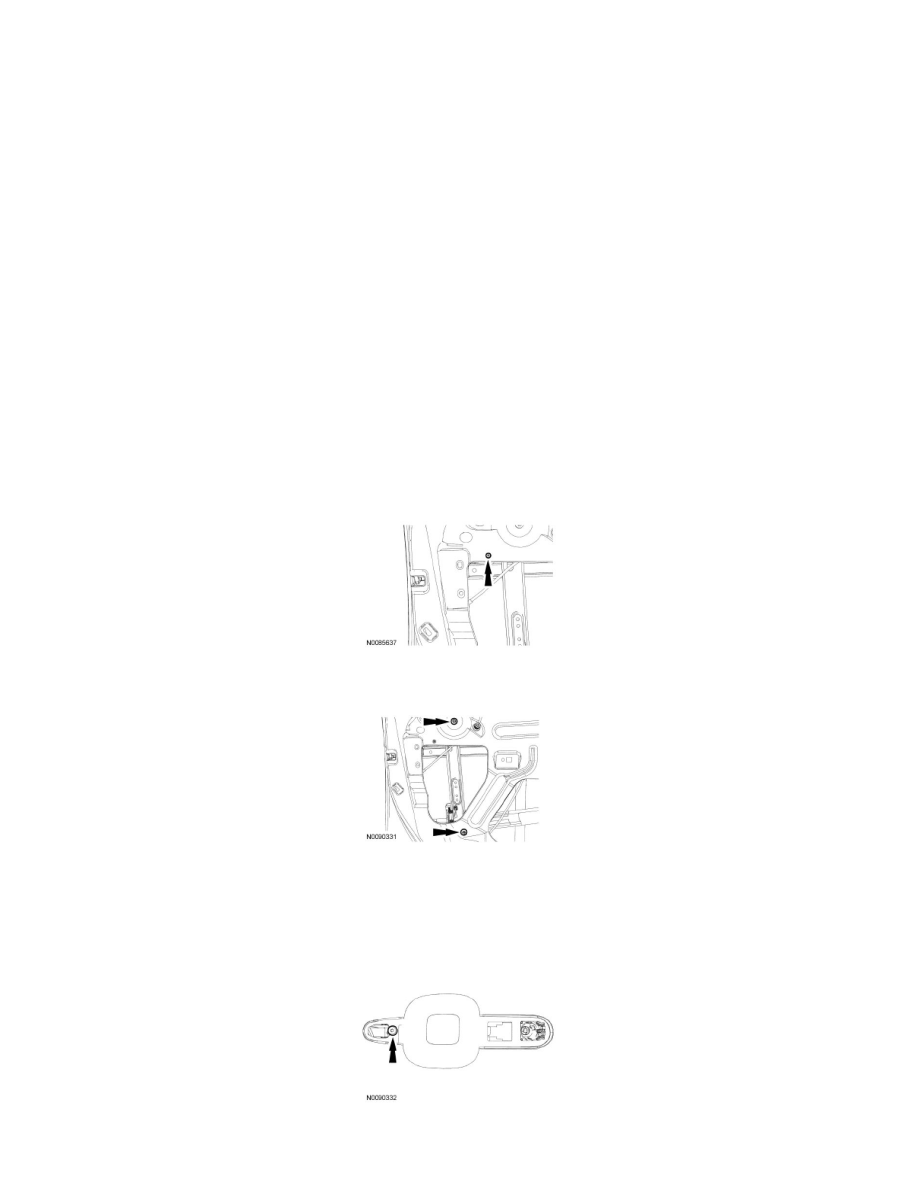
9. Remove the door latch carrier screw.
10. Remove the 2 window glass rear track nuts.
-
To install, tighten to 11 Nm (97 lb-in).
11. NOTICE: To prevent the front door glass from breaking, do not use excessive force when pushing on the window glass track.
Push the lower window glass track stud through the door panel and towards the front of the vehicle.
12. Loosen the exterior door handle reinforcement bolt.
-
To install, tighten to 8 Nm (71 lb-in).
13. Slide the exterior front door handle reinforcement to the front of the vehicle and push it inside the door.