
Flex FWD V6-3.5L (2010)
Remove and discard the 3 pinion flange bolt and washer assemblies.
-
To install, tighten to 25 Nm (18 lb-ft).
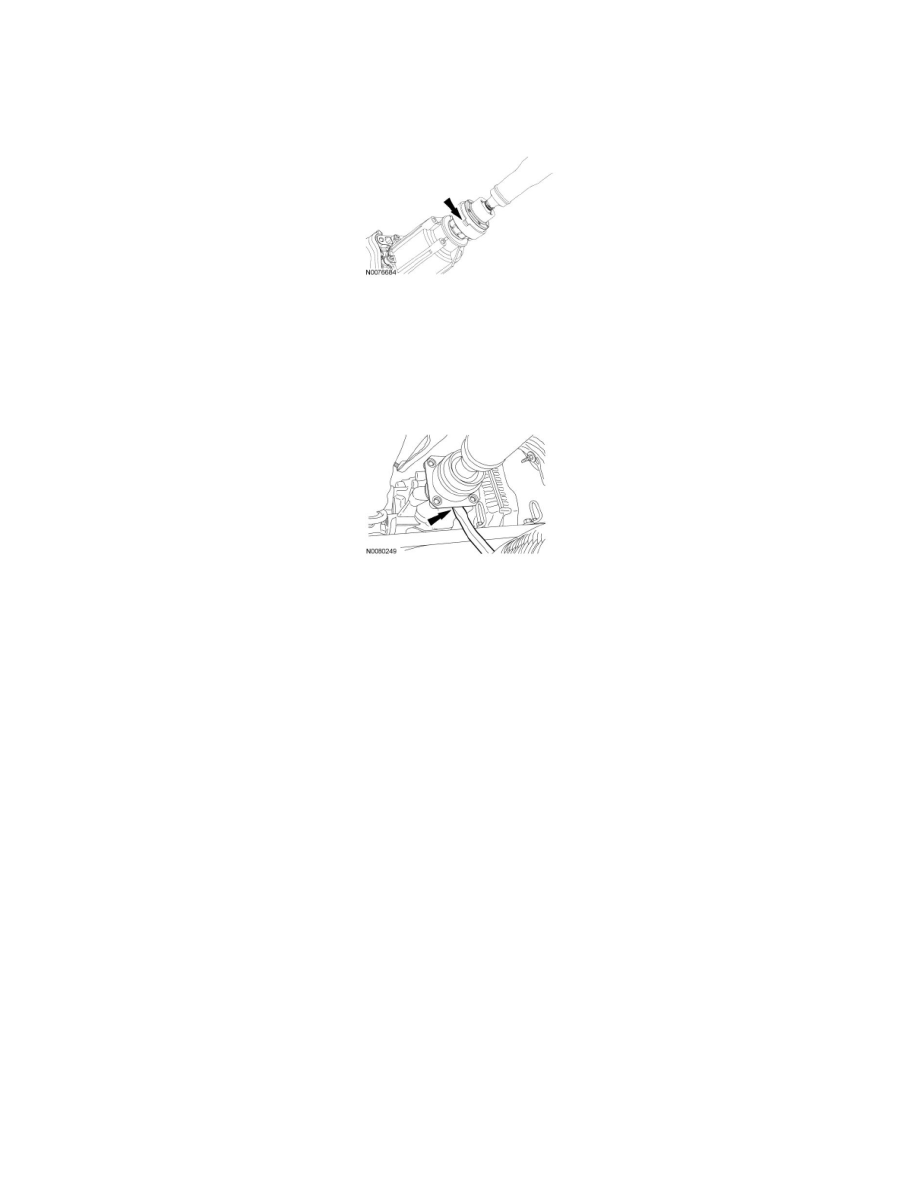
5. Insert a flat-blade screwdriver in the area shown to separate the rear flanges.
6. NOTICE: Do not reuse the Constant Velocity (CV) joint bolts. Install new bolts or damage to the vehicle may occur.
Remove and discard the 4 Power Transfer Unit (PTU) flange bolts.
-
To install, tighten to 70 Nm (52 lb-ft).
7. Using a suitable prybar, separate the front driveshaft flange from the PTU flange.
8. Remove the 2 front center bearing bracket outer bolts.
-
To install, tighten to 30 Nm (22 lb-ft).
9. NOTICE: An assistant is needed to carry out this step or damage to the driveshaft may occur.
With the help of an assistant, remove the driveshaft.
10. If necessary, remove the 4 center bearing bracket inner bolts and remove the 2 brackets.
-
To install, tighten to 20 Nm (177 lb-in).
11. NOTE: If a driveshaft is installed and driveshaft vibration is encountered after installation, index the driveshaft. For additional information, refer
to Differential Assembly &/or Axle Shaft Assembly &/or Drive/Propeller Shafts, Bearings and Joints.
To install, reverse the removal procedure.