
Focus L4-2.0L (2009)
-
Remove and discard the outer tie-rod end nuts.
6. NOTE: Use the hex-holding feature to prevent turning of the stud while removing the nut.
Remove the 2 stabilizer bar link upper nuts and disconnect the stabilizer bar links from the struts.
-
Discard the nuts.
7. Remove the engine support insulator-to-transaxle bracket bolt.
8. Remove the steering line-to-steering gear retainer bolt and the retainer.
9. Remove the bolt, rotate the steering line clamp plate and disconnect the pressure and return lines from the steering gear.
-
Discard the O-ring seals.
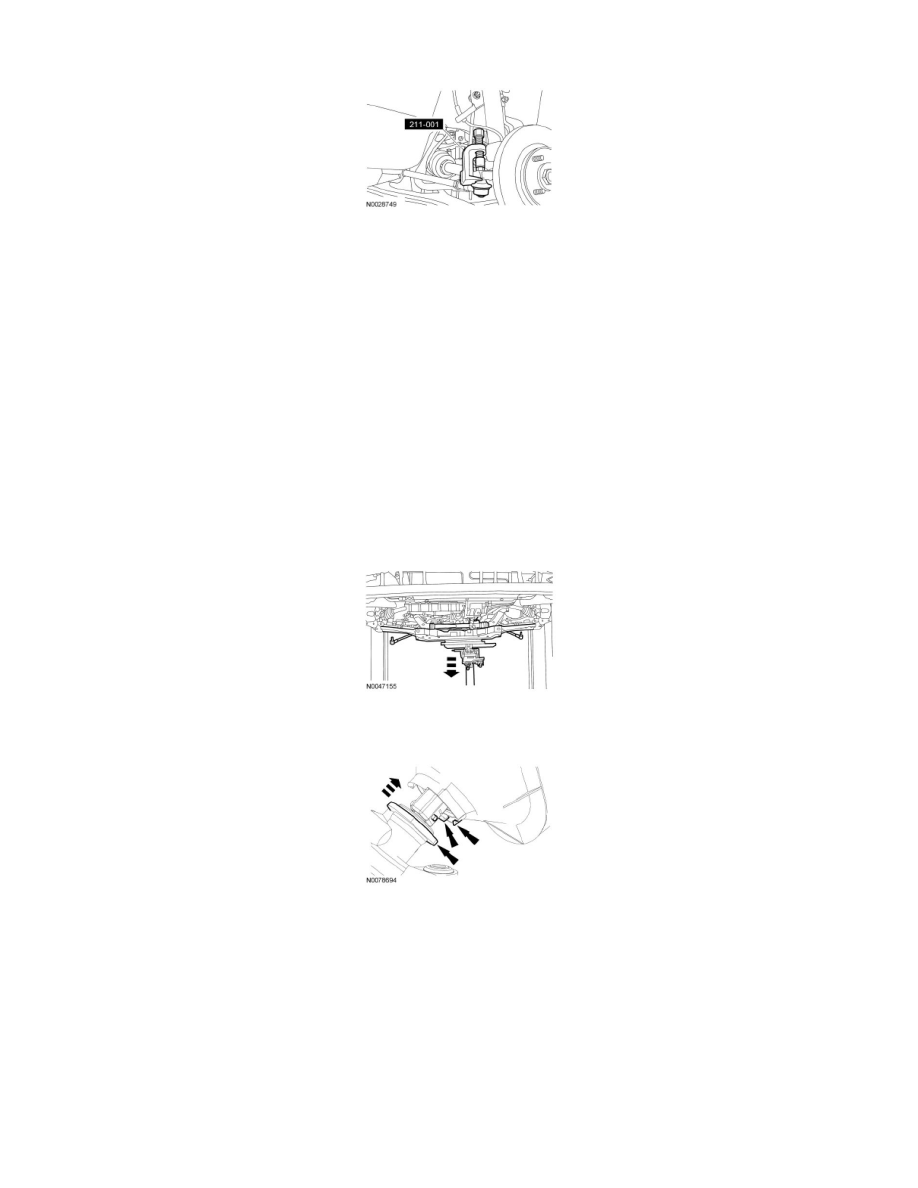
10. Using a suitable jack, support the subframe.
-
Remove the 2 upper and 4 lower subframe bolts.
11. NOTE: It is not necessary to separate the lower ball joints from the wheel knuckle when lowering the subframe.
Lower the subframe.
12. Pull out on the dash seal tabs and push the dash seal upward to detach it from the steering gear.
-
Position the dash seal aside.
13. Remove the bolt and disconnect the lower steering column shaft from the steering gear.
-
Discard the bolt.
14. Remove the 2 steering gear bolts and the steering gear.
-
Discard the bolts.
Installation
1. NOTICE: New O-ring seals must be installed any time the pressure and return lines are disconnected from the steering gear or a fluid
leak may occur.
Install new O-ring seals on the pressure and return lines.
2. Position the steering gear and install 2 new steering gear bolts.