
Fusion FWD V6-3.5L (2010)
Climate controlled seat
4. NOTICE: Before assembly, inspect the climate controlled seat components for damage, crush, obstruction and foreign material and
repair as needed.
Install the upper support spring and TED assembly to the backrest frame.
-
Attach the TED and bracket to the backrest upper support spring as noted in disassembly.
5. Connect the exhaust duct to the TED and install a new tie strap.
6. Connect the TED electrical connector.
All seats
7. Attach the lumbar assembly spring clips and install the lumbar assembly to the backrest frame.
-
If manual lumbar, route the lumbar cable to the backrest as noted in disassembly.
-
If power lumbar, connect the power lumbar motor electrical connector.
8. Install the side air bag wiring harness.
-
Route the side air bag wiring harness to the backrest frame as noted in disassembly and install the pushpin-type retainers.
9. Position the backrest foam pad to the backrest frame.
10. NOTICE: Do not install a used heater mat to any foam pad. It will not adhere correctly causing it to bunch up and may cause system
failure.
If installing a new heater mat, attach the backrest heater mat to the backrest foam pad.
-
Remove the paper backing from the adhesive strips.
-
Align the heater mat to the foam pad and apply it to the foam making sure it lays flat, without wrinkles and is tucked into the valleys of the
foam pad.
Climate controlled seat
11. NOTICE: Before assembly, inspect the climate controlled seat components for damage, crush, obstruction and foreign material and
repair as needed.
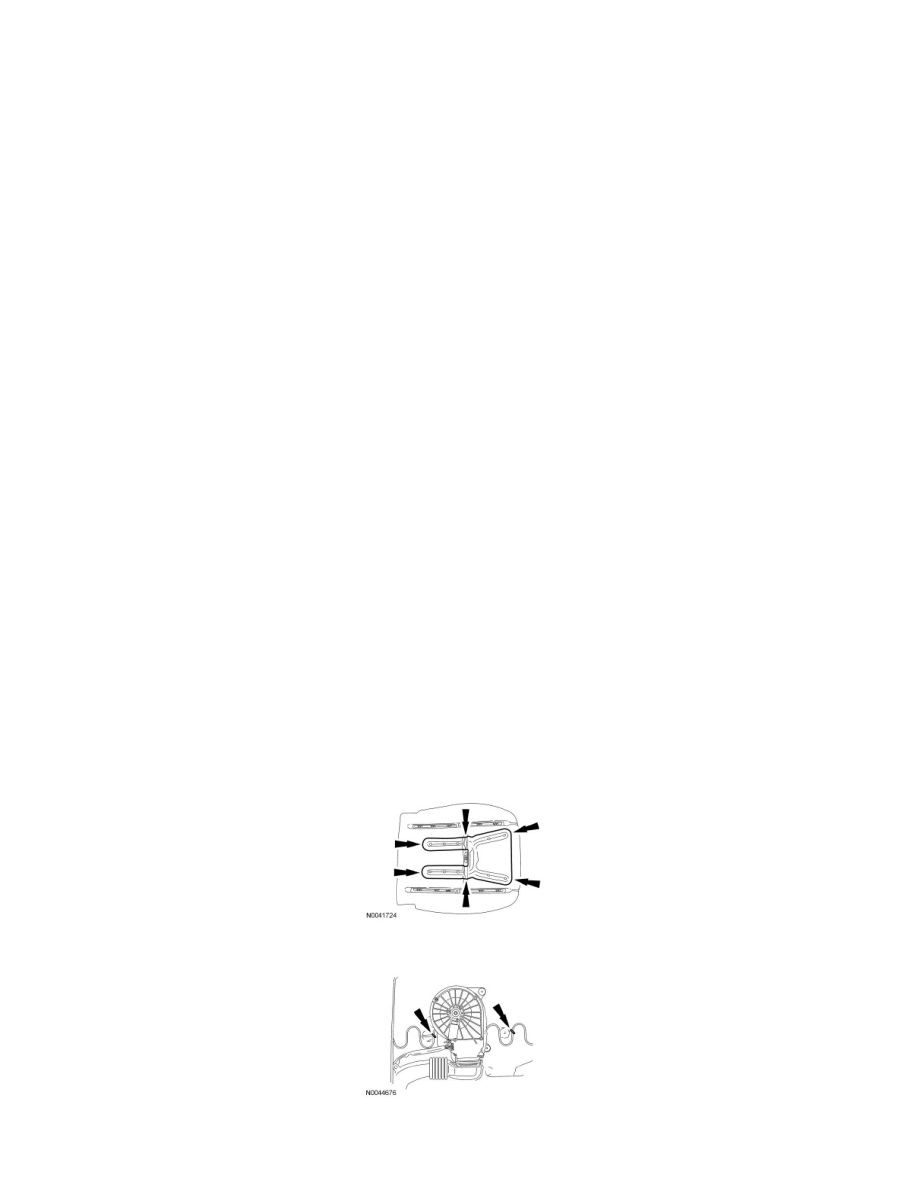
Align the backrest manifold and insert into the valleys of the foam pad.
-
Check for correct fit between the manifold, foam pad and TED assembly, to make sure there is no air flow obstruction or cushion crush.
12. Install new hog rings to the upper support spring and foam pad.
All seats