| Removal and Installation Removal All vehicles | | -
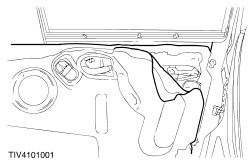
CAUTION:Do not touch the adhesive surface as re-bonding will be impaired. Do not attempt to peel the watershield from the door without cutting the Butyl. Peel back the door watershield. - Using a plastic knife (disposable cutlery), cut through the Butyl strip to enable the watershield to be peeled back.
| | | -
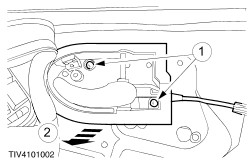
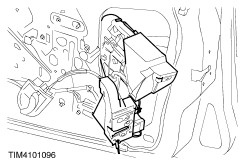
Remove the door remote control handle. - Remove the screws.
- Remove the door handle control handle.
| | | -
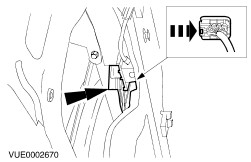
Disconnect the handle illumination electrical connector (if equipped). | Vehicles built up to 02/1997 | | -
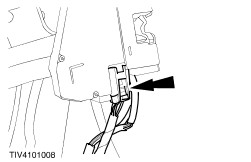
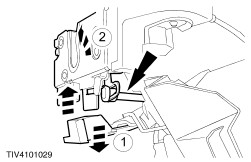
Disconnect the door latch electrical connectors. | Vehicles built 02/1997 onwards | | -
Disconnect the door latch electrical connector. | All vehicles | | -
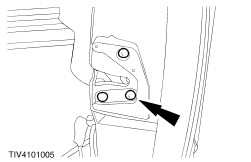
Remove the barrel shield screw. | | | -
Remove the outer bezel bolts and remove the bezel. | | | -
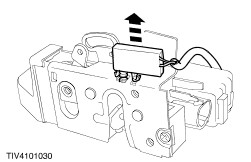
Remove the handle and lock assembly from the door. | | | -
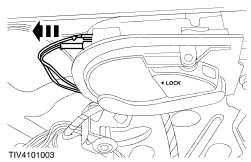
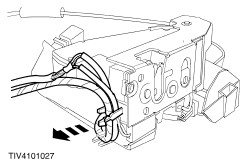
Disconnect the electrical connector. | | | -
Unclip the wiring harness. | | | -
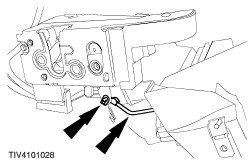
Detach the barrel actuating rod. - Remove the retaining clip and remove the actuating rod.
| | | -
Remove the lock from the mounting plate and door handle actuating rod. - Separate the lock tongue from the backing plate.
- Rotate the lock through 90 degrees and remove the lock from the handle actuating rod.
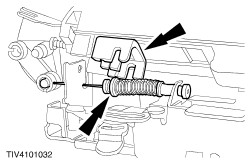
| Vehicles built up to 02/1997 | | -
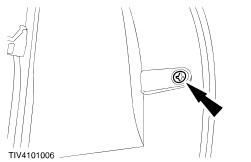
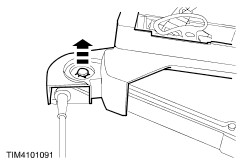
Remove the door ajar switch. | | | -
Remove the cable mechanism plastic shield. - Move the shield back over the locating post.
| | | -
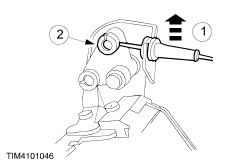
Remove the remote handle cable. - Pull the outer cable from the lock bracket.
- Rotate the cable through 90 degrees to align the inner cable with the slot and remove the cable.
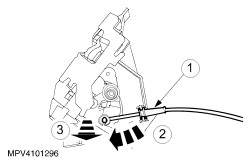
| Vehicles built 02/1997 onwards | | -
Disconnect the door remote control handle cable from door latch. - Detach the cable from the latch.
- Rotate the cable.
- Disconnect the door remote control handle cable from door latch.
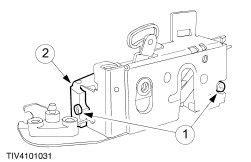
| All vehicles | | -
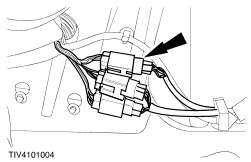
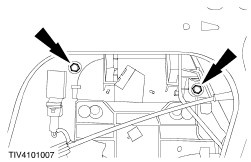
Remove the lock motor. - Remove the screws.
- Remove the motor.
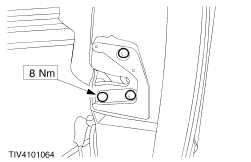
| Installation | | -
NOTE:Ensure the lock motor positioner is correctly located on the remote control handle cable or the lock will not work. To install, reverse the removal procedure. | |