
Mustang V6-4.0L (2008)
^
To install, tighten to 15 Nm (11 lb-ft).
4. Remove and discard the tie-rod end nut.
^
To install, tighten the new nut to 80 Nm (59 lb-ft).
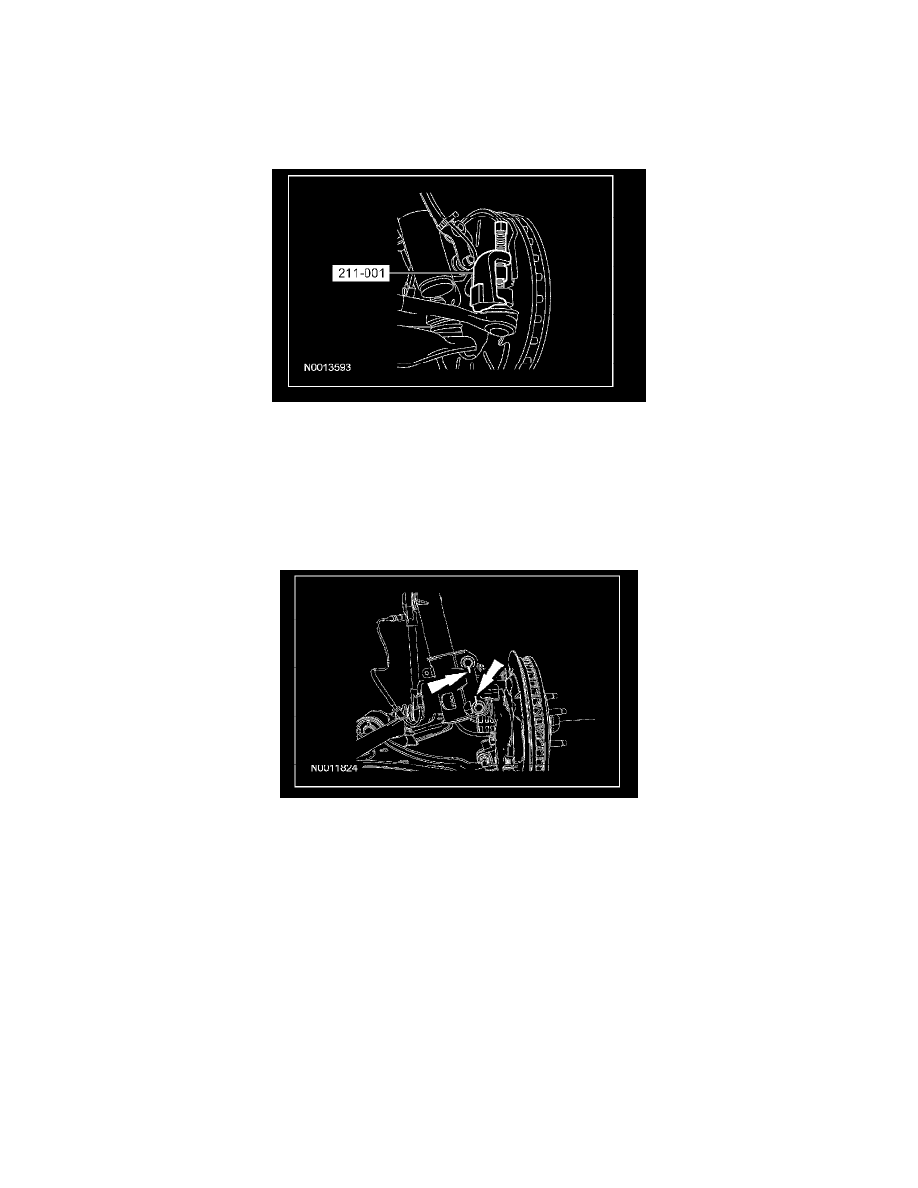
5. CAUTION: Use care not to damage the tie-rod end dust boot when using the special tool.
Using the special tool, disconnect the tie-rod end from the front wheel spindle.
6. Support the front suspension lower arm with a jack stand.
7. Remove and discard the lower ball joint nut and bolt.
^
To install, tighten the new nut to 103 Nm (76 lb-ft).
8. CAUTION: Use care not to damage the lower ball joint boot while separating the lower control arm and the wheel spindle.
Separate the lower control arm and the wheel spindle.
9. If equipped, index-mark the 2 strut-to-spindle cam bolts.
10. WARNING: Do not apply heat or flame to the shock absorber or strut tube. The shock absorber and strut tube are gas pressurized and
could explode if heated. Failure to follow this instruction may result in serious personal injury.
WARNING: Keep all body parts clear of shock absorbers or strut rods. Shock absorbers or struts can extend unassisted. Failure to
follow this instruction may result in serious personal injury.
NOTE: If equipped, do not discard the strut-to-spindle cam nuts and bolts.
Remove and discard the strut-to-spindle bolts and flagnuts.
^
To install, tighten the new bolts to 200 Nm (148 lb-ft).
11. Remove the wheel spindle.
12. To install, reverse the removal procedure.
13. Check and, if necessary, align the front end.