
Mustang V6-4.0L (2008)
glass removal.
NOTE:
-
Insert the blade into the special tool so that the flat side is against the glass. This will leave the entire urethane adhesive bead on the pinch weld
and allow a dry fit of the replacement rear window glass.
-
Support the rear window glass as necessary to prevent the glass from dropping while cutting the urethane adhesive.
Using an appropriate tool (with the luggage compartment lid open approximately 45 degrees), starting at the bottom outboard corner of the rear
window glass, cut the urethane adhesive from the glass.
6. Using the special tool, distance the rear window glass from the body to cut the remaining adhesive and remove the rear window glass. Place the
rear window glass on a stable work surface.
7. Using a soft brush or vacuum, clean the pinch weld.
Installation
1. Dry-fit the rear window glass on the existing urethane bead on the pinch weld.
-
Position the rear window glass on the pinch weld.
-
Center the rear window glass in the opening.
-
Adjust the rear window glass stop blocks (if equipped) as needed for best fit.
-
Make alignment marks with tape or non-staining grease pencil (preferably at the glass stop blocks) on the rear window glass and the body.
2. After the dry-fit alignment, remove the rear window glass and moulding assembly from the windshield opening and place on a stable work surface
with the interior side of the glass facing up.
3. WARNING: Repair any corrosion found on the pinch weld. The pinch weld is a structural component of the vehicle. Corrosion left
unrepaired may reduce the structural integrity of the vehicle. Failure to follow this instruction may result in serious injury to vehicle
occupant(s).
NOTE: Avoid scratching the pinch weld. For minor scratches or exposed metal on the pinch weld, see the manufacturer's recommendations.
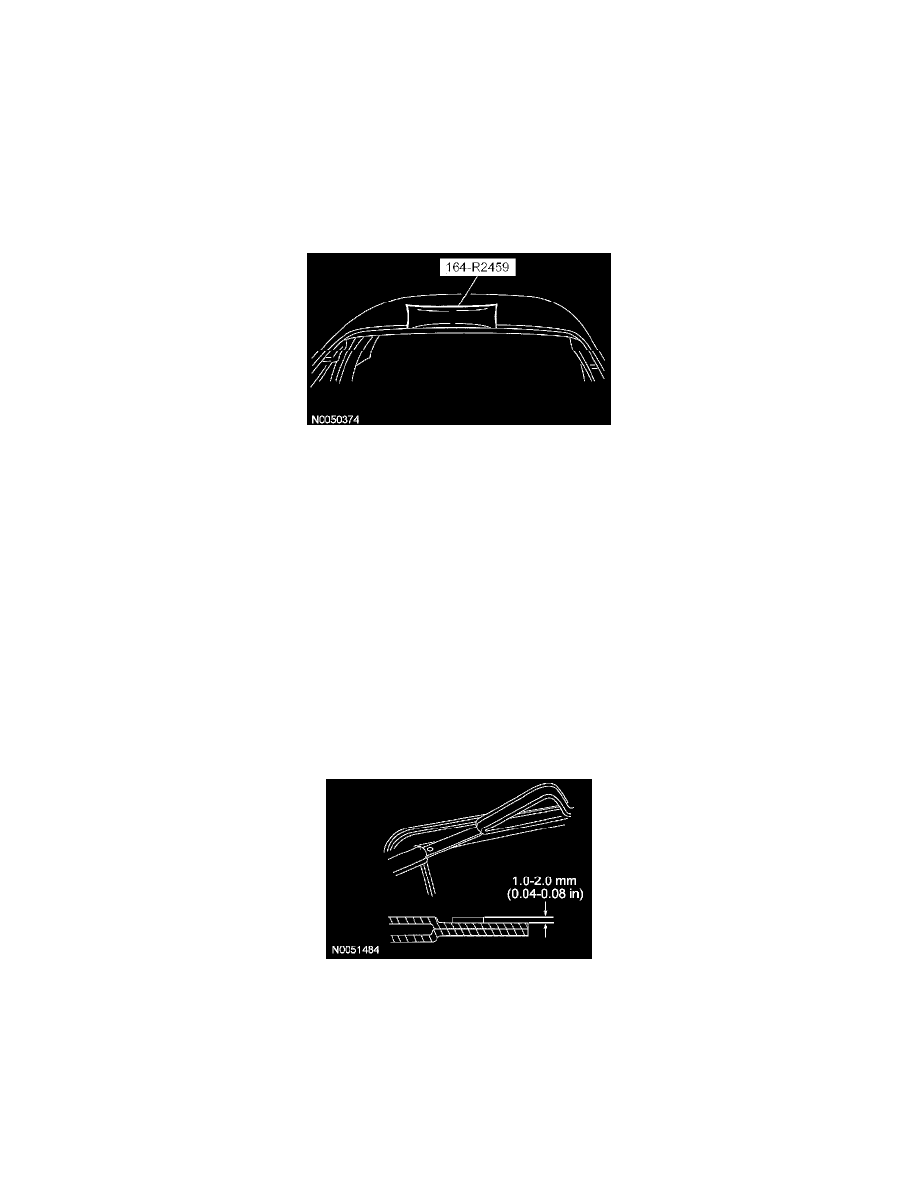
Using an appropriate tool, trim the urethane adhesive leaving a 1-2 mm (0.04-0.08 in) base of original equipment urethane on the pinch weld.
4. Using a clean shop towel, brush or oil-free compressed air, clean the pinch weld area around the existing urethane. Remove any foreign material or
water that may have entered during rear window glass removal.
5. If reinstalling the original rear window glass, remove the urethane adhesive from the rear window glass leaving a thin layer to bond with the new
urethane bead.
6. If installing a new rear window glass, clean the inside of the glass surface with glass cleaner.
-
Make sure to thoroughly clean the surface of the blackened border area where the urethane adhesive will be applied.
7. NOTE:
-
Be sure to use the same brand and cure-rate products for the adhesive and primer. Do not mix different brands of urethane and primer. Refer to
the Material Chart in this procedure.