
Mustang V8-4.6L DOHC (1996)
15. Carefully pull A/C evaporator housing away from cowl panel and remove A/C evaporator housing assembly from vehicle.
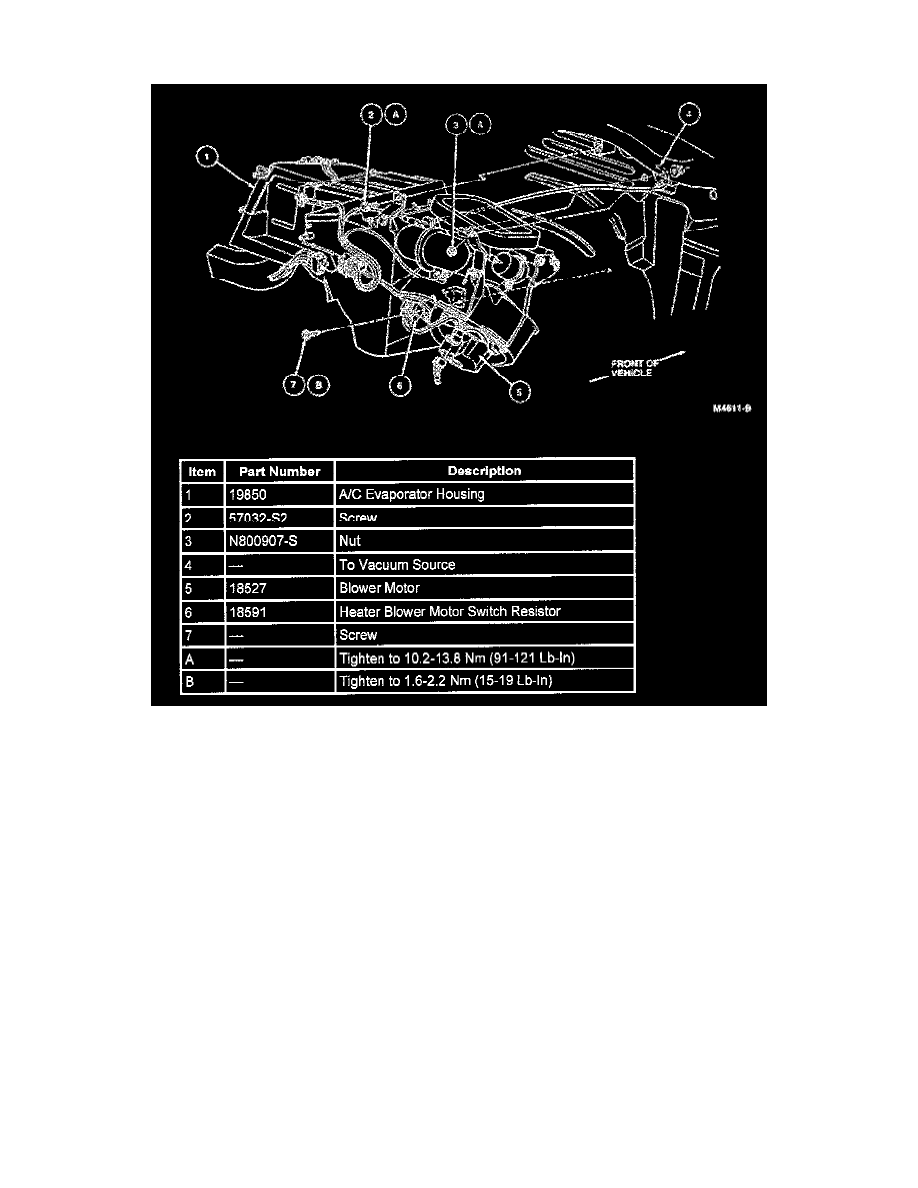
A/C Evaporator Housing Removal
Installation
1. Install A/C evaporator housing to cowl panel.
2. Install nut retaining A/C evaporator housing to cowl top bracket. Tighten to 10.2-13.8 Nm (91-121 lb-in).
3. Install screw retaining A/C evaporator housing to cowl top bracket. Tighten to 10.2-13.8 Nm (91-121 lb-in).
4. Install screw retaining the bottom of the NC evaporator housing to cowl panel. Tighten screw to 1.6-2.2Nm (15-19 lb-in).
5. Working under hood (16612), install nut retaining A/C evaporator housing to cowl panel. Tighten nut to 6.6-9.4 Nm (59-83 lb-in).
6. Connect vacuum supply hose (black) to vacuum source in engine compartment.
7. Connect two heater water hoses to heater core inlet and outlet tubes.
8. Connect condenser to evaporator tube to A/C evaporator core inlet tube.
9. Install A/C accumulator bracket to cowl panel and secure with two nuts. Tighten to 6.6-9.4 Nm (59-83 lb-in).
10. Install suction accumulator/drier as outlined.
11. Install instrument panel. See: Body and Frame/Interior Moulding / Trim/Dashboard / Instrument Panel/Service and Repair