
Mustang Cobra V8-281 4.6L DOHC VIN V MFI (1997)
Shift Interlock Cable: Service and Repair
Part 1 Of 2
Part 2 Of 2
REMOVAL
1. Remove console.
2. Remove LH lower instrument panel trim and lower steering column shroud.
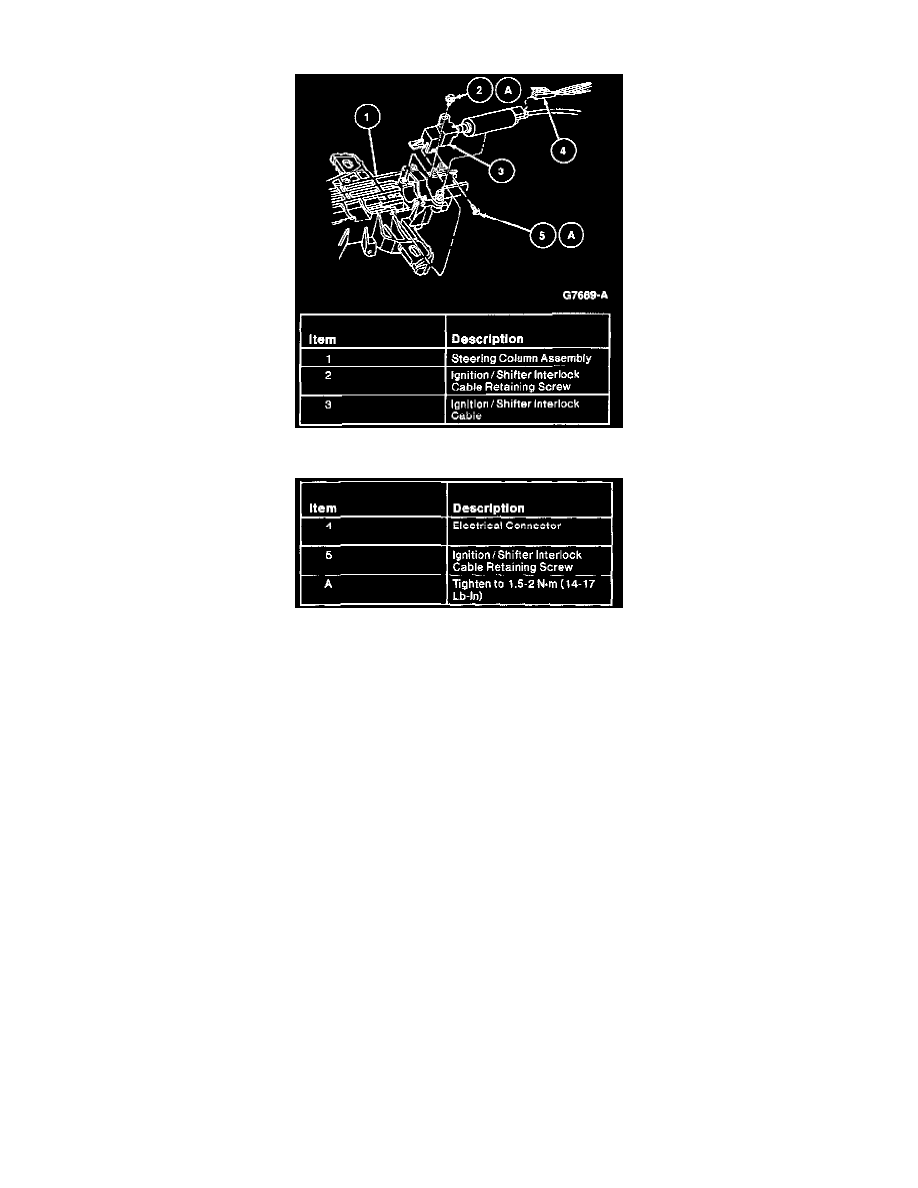
3. Remove ignition/shifter interlock cable retaining screw and disconnect ignition/shifter interlock cable from gear shift lever cam.
4. Remove steering column retaining nuts and lower steering column to floor.
5. Remove ignition/shifter interlock cable retaining clip. Disconnect electrical connector at solenoid.
6. Remove ignition/shifter interlock cable retaining screw from steering column.
7. Guide ignition/shifter interlock cable out from under console brackets.
INSTALLATION
1. Follow removal procedure in reverse order.
2. Tighten steering column retaining nuts to 34-46 Nm (25-33 ft. lbs.).
3. Tighten ignition/shifter interlock cable retaining screw at steering column to 1.5-2 Nm (14-17 inch lbs.) and at gearshift lever to 1.6-2.2 Nm
(15-19 inch lbs.).
4. Test for proper operation. The ignition key should only be removable with the gearshift lever in PARK. The gearshift lever should be locked in
PARK with the key removed. The shifter should also be locked in PARK with the ignition switch key in the RUN position, and be released when
the service brakes are applied.