
Ranger 2WD V6-4.0L (2010)
10. Disconnect the heater hose from the rear upper heater tube assembly.
11. Disconnect the heater hose from the rear lower heater tube assembly.
12. Remove the 2 heater tube assembly bolts.
-
To install, tighten the rear bolt to 23 Nm (17 lb-ft).
-
To install, tighten the front bolt to 28 Nm (21 lb-ft).
13. Lift the heater tube assembly and detach the wiring harness retainer. Remove the heater tube assembly.
14. Disconnect the heater hose from the heater core and position the heater hose aside.
15. Disconnect the Mass Air Flow (MAF) sensor electrical connector.
16. Detach the MAF sensor wiring harness retainer from the generator wiring harness and position the MAF sensor wiring harness aside.
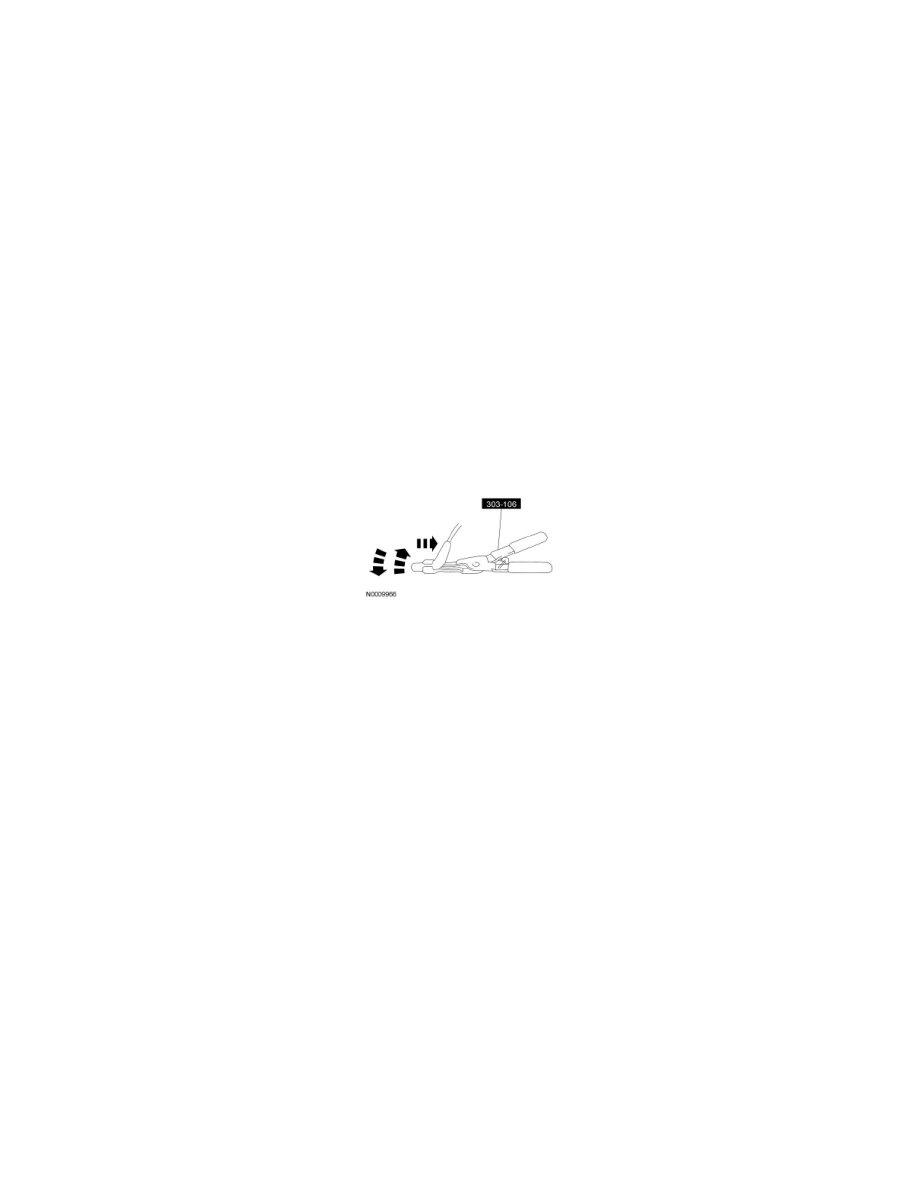
17. NOTICE: It is important to twist the spark plug wire boots while pulling upward to avoid possible damage to the spark plug wire.
NOTE: Spark plug wires must be connected to the correct spark plug. Mark spark plug wire locations before removing them.
NOTE: Apply silicone brake caliper grease and dielectric compound to the inside of the spark plug wire boots before connecting them.
Using the Spark Plug Wire Remover, disconnect the RH spark plug wires from the spark plugs.
18. Detach the spark plug wire retainer from the valve cover stud bolt and position the spark plug wires aside.
19. Disconnect the RH fuel injector electrical connectors.
20. Detach the wiring harness retainer from the valve cover stud bolt and position the wiring harness aside.
21. Loosen the 6 bolt and grommet assemblies and remove the RH valve cover.
-
To install, tighten to 10 Nm (89 lb-in).
22. NOTICE: Do not use metal scrapers, wire brushes, power abrasive discs or other abrasive means to clean the sealing surfaces. These tools
cause scratches and gouges which make leak paths.
Clean the sealing surfaces and inspect the RH valve cover gasket. Install a new gasket if necessary.
23. To install, reverse the removal procedure.