
Ranger 2WD V6-4.0L (2010)
Wiring Harness: Service and Repair
Internal Harness Service
Removal
1. With the vehicle in NEUTRAL, position it on a hoist. For additional information, refer to Vehicle Jacking and Lifting.
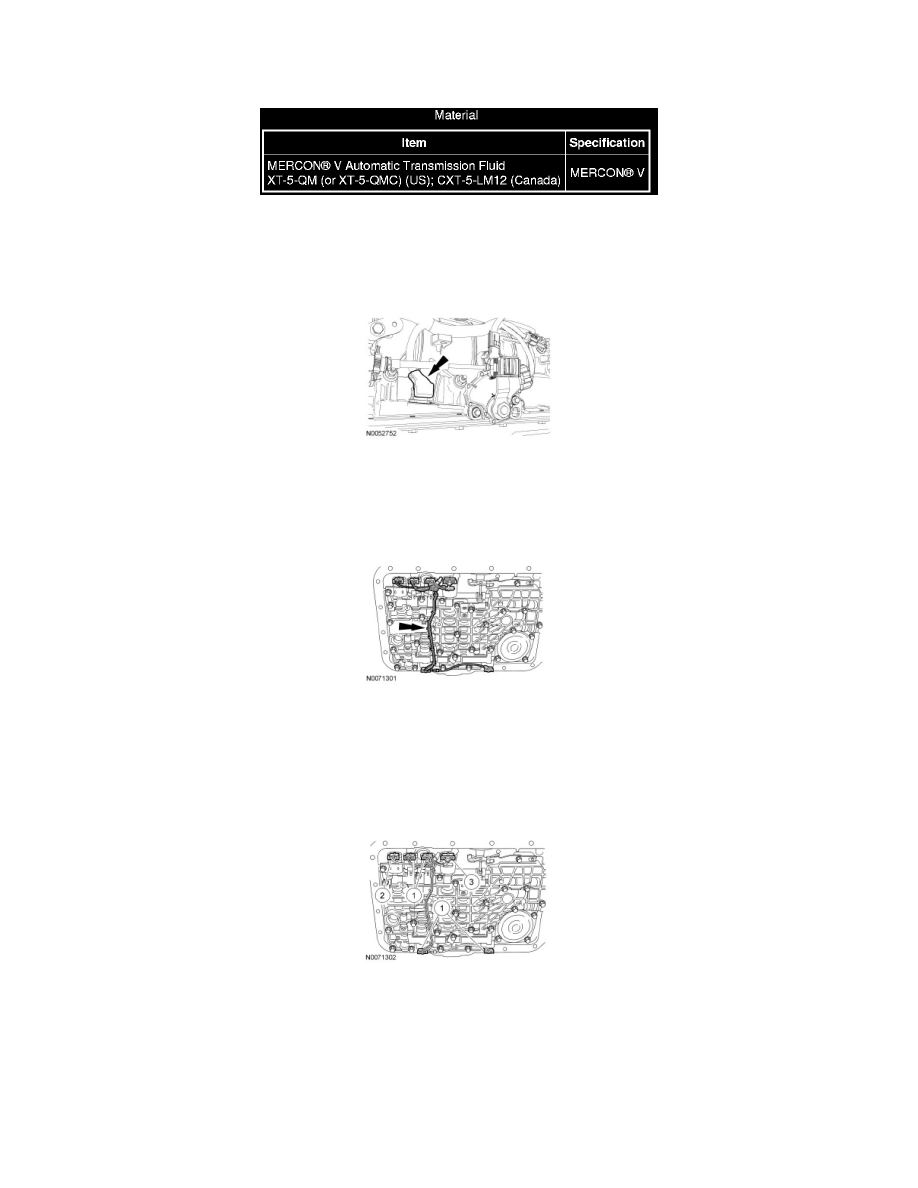
2. Disconnect vehicle harness from the transmission case (16-pin) connector.
3. Remove the transmission fluid pan and transmission fluid filter. For additional information, refer to Fluid Pan, Gasket and Filter See: Fluid Filter -
A/T/Service and Repair/Fluid Pan, Gasket and Filter.
4. Remove the main control valve body wire loom.
-
Carefully lift up on the wire loom guide and protector, and disengage the retaining pins from the solenoid clamps.
5. Disconnect the solenoid electrical connectors.
1. Disconnect the Shift Solenoid A (SSA), Shift Solenoid B (SSB), Shift Solenoid C (SSC) and Shift Solenoid D (SSD) electrical connectors.
2. Disconnect the Torque Converter Clutch (TCC) solenoid electrical connector.
3. Disconnect the Electronic Pressure Control (EPC) solenoid electrical connector.
6. NOTICE: The Torque Converter Clutch (TCC) solenoid and converter modulator valve may pop out of their bore. This may damage the
solenoid or converter modulator valve.
NOTICE: Shift solenoids may pop out of their bore. This may damage the solenoids.
Remove the EPC and SSB solenoids.
1. Remove the solenoid clamp screws.
2. Remove the solenoid clamp.