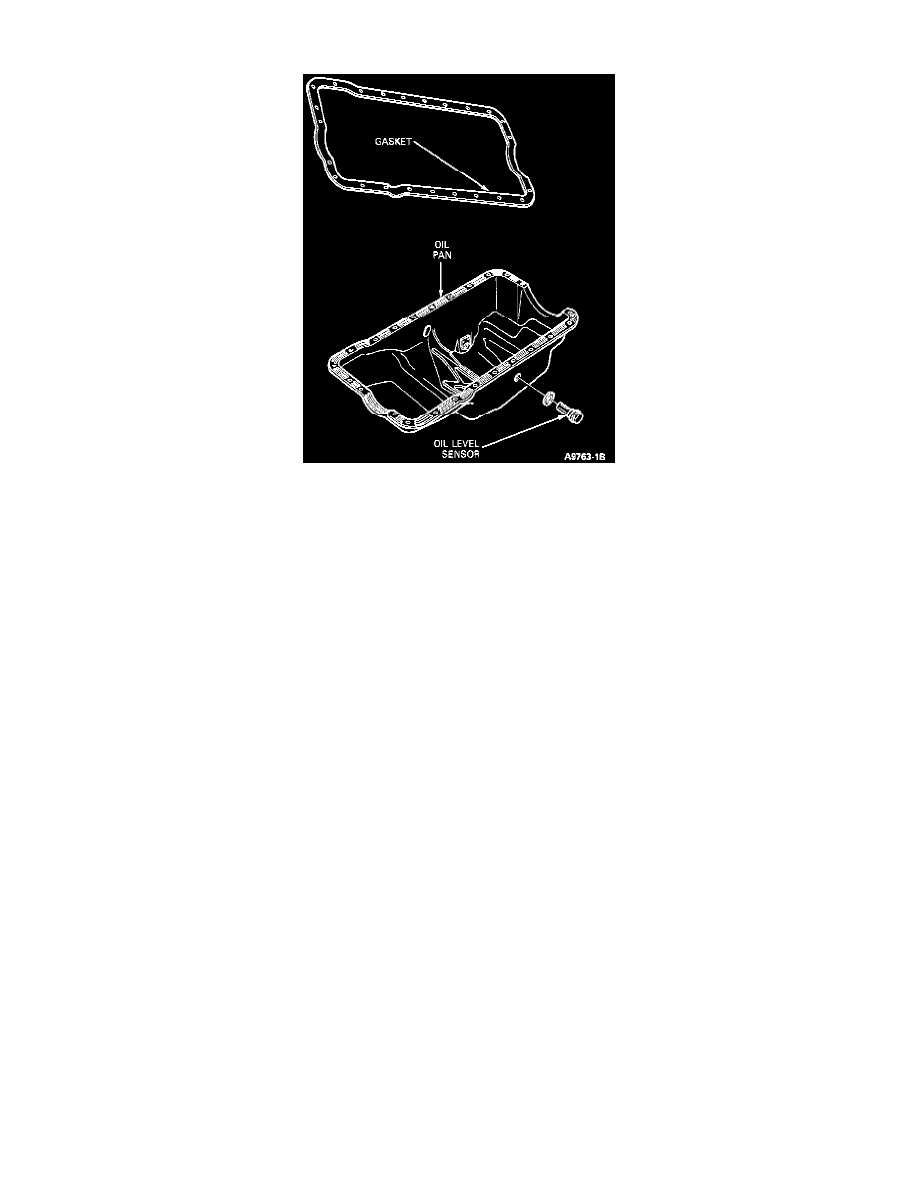
Ranger 4WD V6-177 2.9L (1988)

Oil Pan: Service and Repair
Oil Pan Assembly
Removal
1. Raise hood and cover fenders.
2. Disconnect negative battery cable.
3. Remove air intake tube.
4. Remove fan shroud and position over fan.
5. Remove distributor cap, position forward of dash panel.
6. Remove distributor and cover bore opening.
7. Remove nuts attaching engine front insulators to crossmember.
8. Raise vehicle on hoist.
9. Drain engine crankcase.
10. Remove transmission fluid filter tube and plug pan hole (automatic transmission only).
11. Remove engine oil filter element.
12. Disconnect muffler inlet pipe(s).
13. Disconnect oil cooler bracket and lower (if so equipped).
14. Remove starter motor.
15. Position out of way, transmission oil cooler lines (if so equipped).
16. Disconnect front stabilizer bar, if so equipped, and position forward.
17. Position jack under engine and raise engine to install wooden blocks between front insulator mounts and No. 2 crossmember.
18. Lower engine onto blocks and remove jack.
19. Remove oil pan attaching bolts.
20. Lower oil pan assembly.
21. Remove oil pump and pickup tube assembly (attached to bearing cap) and lower into oil pan.
22. Remove crankcase baffle.
23. Remove oil pan assembly.
Installation
1. Clean gasket surfaces on engine and oil pan.
2. Apply adhesive to gasket mating surfaces and install oil pan gaskets.
