
Ranger 4WD V6-3.0L VIN V Flex Fuel (1999)
13.
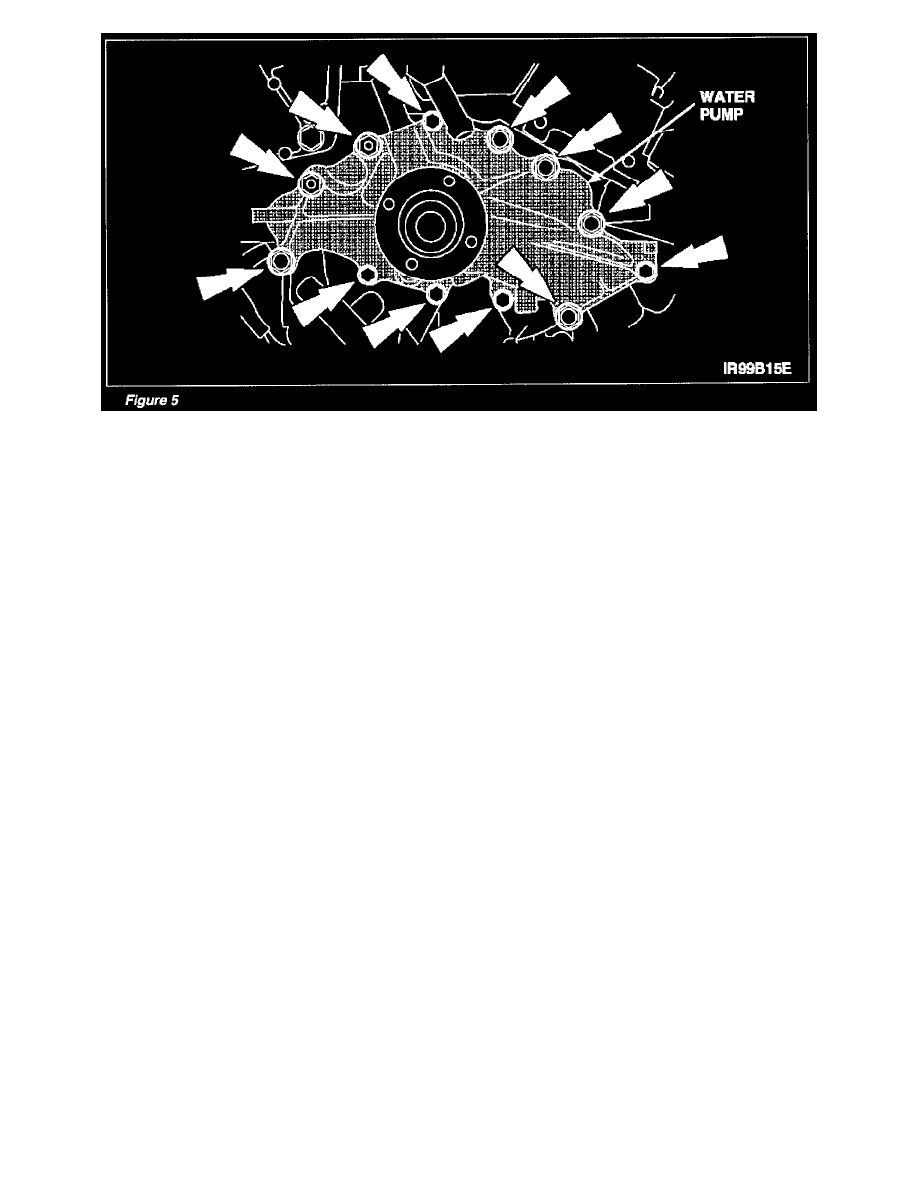
Remove the water pump. See Figure 5.
14.
Remove the water pump gasket and clean the sealing surfaces of the engine.
INSTALLATION
1.
Position the water pump gasket onto the water pump and hold it in place with two (2) retaining bolts.
2.
Install the water pump and gasket assembly. Tighten the retaining bolts to 10 Nm (89 lb-in).
3.
Connect the crankshaft sensor.
4.
Install the A/C compressor mounting bracket. Tighten the retaining bolts to 50 Nm (37 lb-ft).
5.
Install the power distribution harness routing bracket to the A/C compressor mounting bracket stud. Tighten the retaining nut securely.
6.
Install the fuel line routing bracket to the A/C compressor mounting bracket stud. Tighten the retaining nut securely.
7.
Install the NC line routing bracket to the water pump stud. Tighten the retaining nut securely.
8.
Install the water pump pulley. Tighten the retaining bolt to 25 Nm (18 lb-ft).
9.
Connect the water bypass hose at the water pump.
10.
Connect the lower radiator hose at the lower intake manifold fitting.
11.
Install the fan shroud and fan assembly as follows:
^
Position the fan shroud and fan assembly into the vehicle together.
-
Install the fan assembly while holding the water pump pulley with a strap wrench. Tighten to 55 Nm (41 lb-ft).
^
Install the fan shroud retaining bolts. Tighten to 7 Nm (62 lb-in).
12.
Install the accessory drive belt.
13.
Install the air cleaner outlet tube as follows:
^
Connect the air cleaner outlet tube to the throttle body and mass airflow sensor.
^
Tighten the clamps to 4 Nm (35 lb-in).