
Ranger 4WD V6-4.0L (2009)
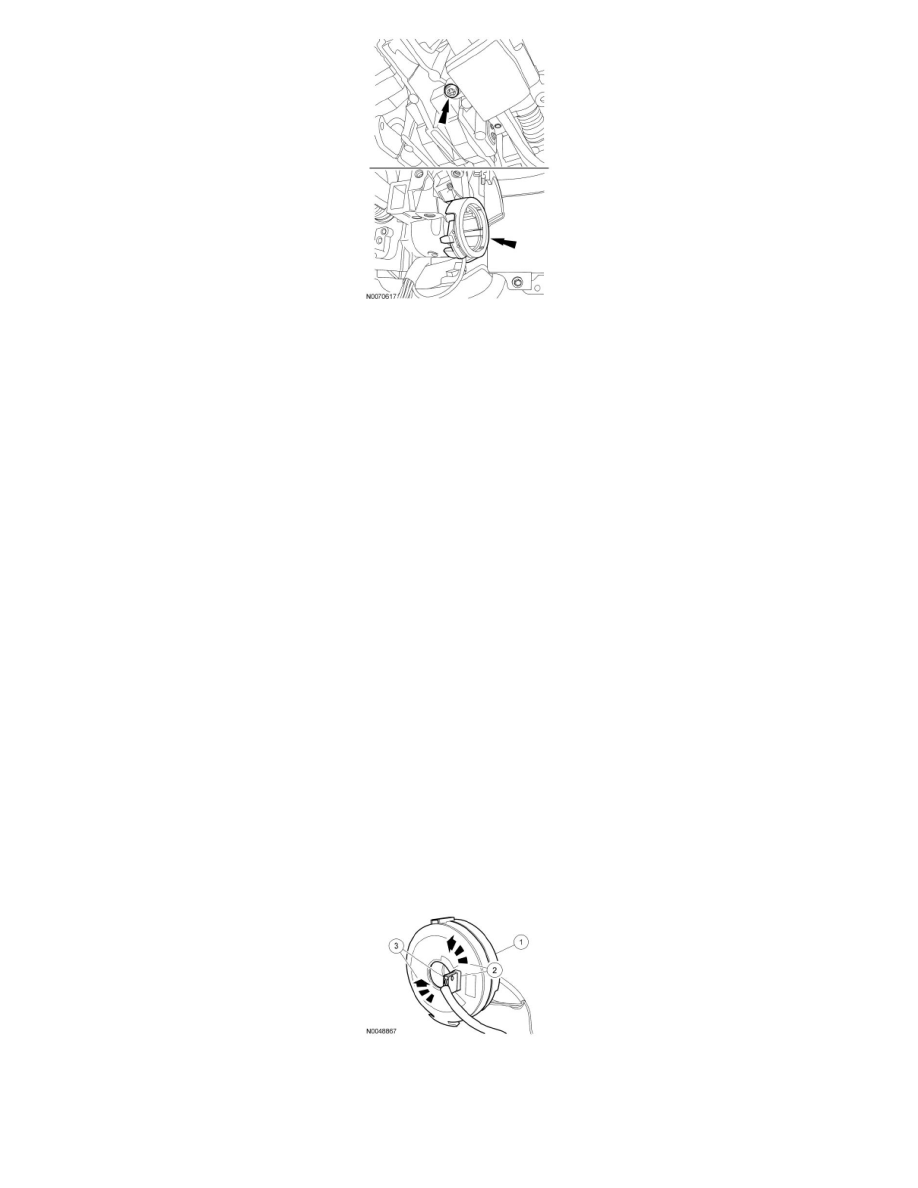
15. Release the remaining 2 clips and remove the clockspring.
Installation
Vehicles receiving a new clockspring
1. NOTE: A new clockspring is packaged in a centralized position and fixed in position with a key.
Remove the key from the clockspring, holding the rotor in its centralized position.
-
Do not allow the clockspring rotor to turn.
Vehicles needing clockspring recentering
2. WARNING: If the clockspring is not correctly centralized, it may fail prematurely. If in doubt, repeat the centralizing procedure. Failure
to follow these instructions may increase the risk of serious personal injury or death in a crash.
NOTE: Make sure the wheels are in the straight-ahead position.
NOTE: If a clockspring has rotated out of center, follow through with this step.
Centralize the clockspring.
1. Hold the clockspring outer housing stationary.
2. NOTICE: Overturning will destroy the clockspring. The internal ribbon wire acts as the stop and can be broken from its internal
connection.
While holding the clockspring locking tab in the released position, turn the rotor counterclockwise, carefully feeling for the ribbon wire to run out
of length and a slight resistance to be felt. Stop turning at this point.
3. While holding the clockspring locking tab in the released position, turn the clockspring clockwise approximately 2.25 turns. This is the center
point of the clockspring.
-
Do not allow the rotor to turn from this position.
All vehicles
3. Install the PATS antenna and the key-in-ignition warning indicator switch to the lock cylinder housing.