
Taurus V6-182 3.0L DOHC SHO (1992)
Brake Hose/Line: Service and Repair
Brake Line
Flushing
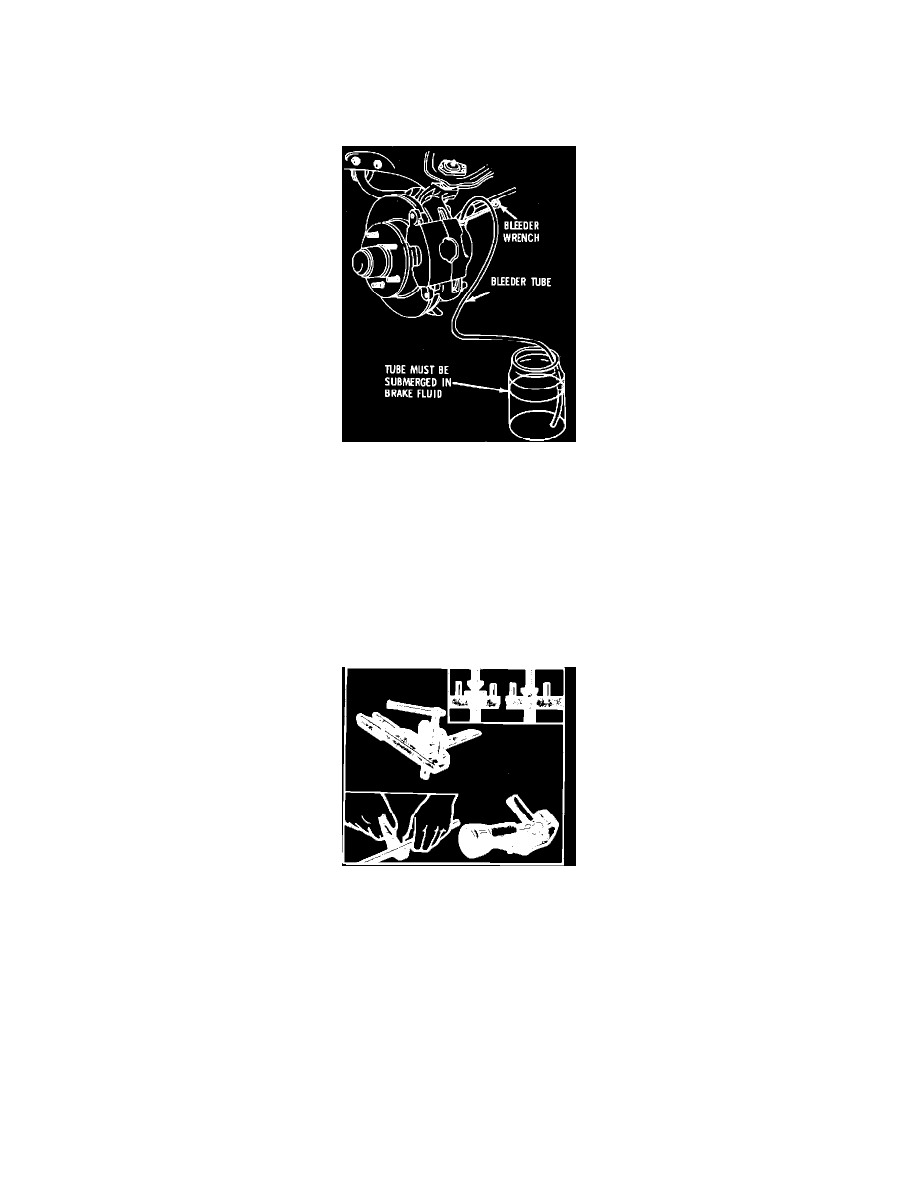
Fig. 24 Bleeding Wheel Cylinder
Whenever new brake components are installed in the hydraulic system, it is recommended that the entire hydraulic system be thoroughly flushed with
clean brake fluid.
It may sometime become necessary to flush out the system due to the presence of mineral oil, kerosene, gasoline, etc., which will cause swelling of
rubber piston cups and valves so they become inoperative. The procedure is as follows:
Flushing is performed at each wheel in the same manner as the brake bleeding operation except that the bleeder valve is opened 1-1/2 turns and the fluid
is forced through the lines and bleeder valve until it emerges clear in color, Fig. 24. Approximately one quart of clean brake fluid is required to flush the
hydraulic system. After completing the flushing operation at all bleeder valves, check to ensure the master cylinder is filled to the proper level.
Hydraulic Tubing
Fig. 25 Flaring Hydraulic Brake Tubing
Never use copper tubing as a replacement for steel tubing. Copper tubing is subject to fatigue cracking and corrosion which could result in brake system
failure.
Steel tubing is used to conduct hydraulic pressure to the brakes. All fittings, tubing and hose should be inspected for rusted, damaged or defective flared
seats. The tubing is equipped with a double flare/inverted seat or I.S.O. flare to insure more positive seating in the fitting. To repair or reflare tubing,
proceed as follows:
DOUBLE FLARE/INVERTED SEAT
1.
Using the tool shown in Fig. 25 or equivalent, cut off the damaged seat or damaged tubing.
2.
Ream out any burrs or rough edges showing on inside edges of tubing. This will make the ends of the tubing square and insure better seating on the
flared end. Before flaring tubing, place a compression nut on tubing.
3.
Open handles of flaring tool and rotate jaws of tool until mating jaws of tubing size are centered in the area between vertical posts.
4.
Slowly close handles with tubing inserted in jaws but do not apply heavy pressure to handle as this will lock tubing in place.