
Taurus V6-182 3.0L VIN 1 FI Flex Fuel (1997)
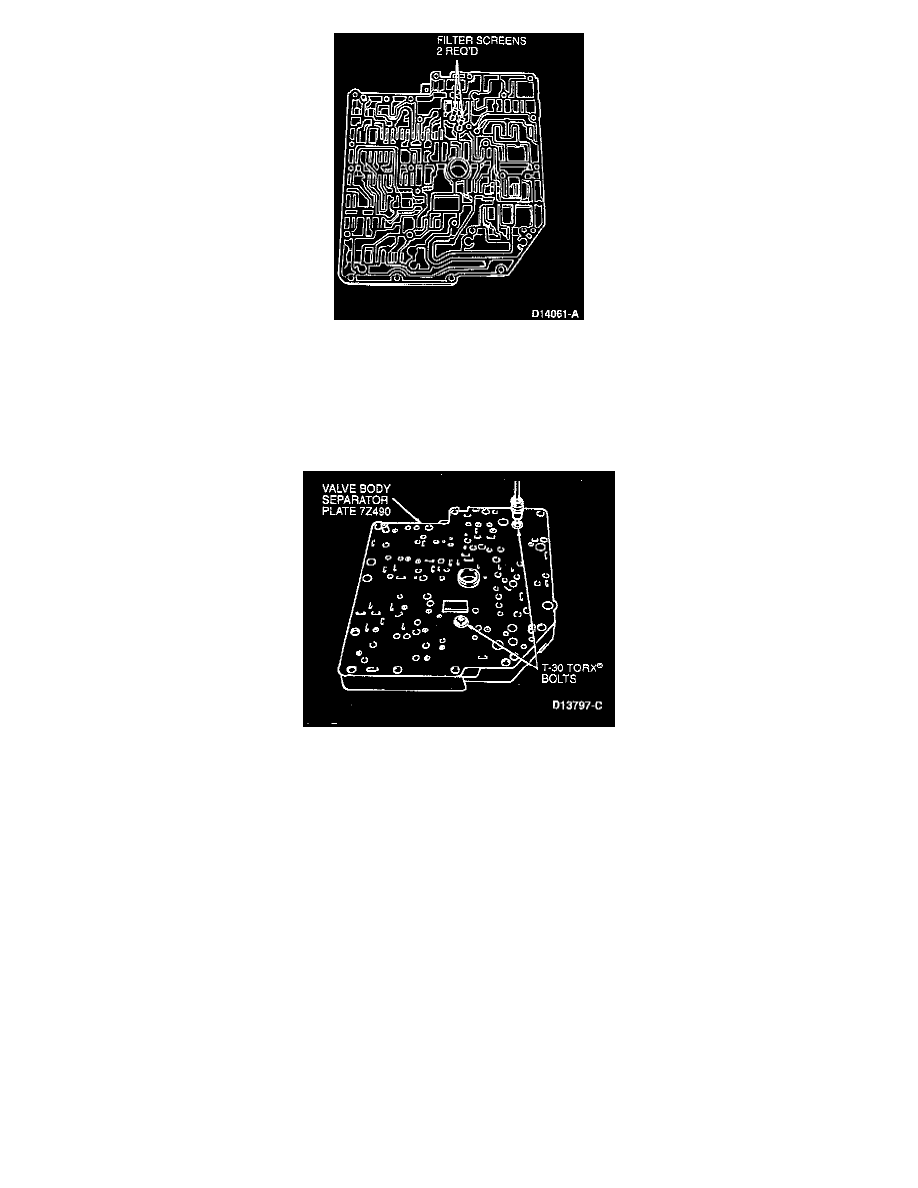
4. Install two new filter screens into main control valve body assembly.
5. Install valve body separator plate with bonded gasket.
CAUTION: Verify relief and check valves for proper alignment to separator plate before tightening bolts. If relief and check valves are
improperly installed, the transaxle will not operate properly.
NOTE: Gaskets are bonded to the separator plate.
6. Install two T-30 Torx bolts and tighten to 9-12 Nm (80-106 in lbs).
Cleaning
1. Thoroughly clean all parts, except check balls, in clean solvent and blow dry with moisture-free compressed air.
2. Inspect all valve and plug bores for scores. Check all fluid passages for obstructions. Inspect all mating surfaces for burrs and scores. Do not stone
or polish any valves or bores. If valve(s) do not move freely, the main control valve body must be replaced as an assembly.
3. Inspect all springs for distortion.
4. Check all valves and plugs for free movement in their respective bores. Valves and plugs, when dry, must fall from their own weight from their
respective bores.
5. Roll manual valve on a flat surface to check for out-of-round condition.
Disassembly
DISASSEMBLY