
Taurus X AWD V6-3.5L (2009)
3. Disconnect the hood security switch electrical connector.
4. Release the 3 engine wiring harness pushpin clips (2 shown) from the radiator support.
5. Remove the front headlamps.
6. Remove the front bumper.
7. Remove the LH and RH radiator side air deflector pushpins and remove the air deflectors.
8. Remove the front impact severity sensor and release the harness pushpin clips.
9. Remove the hood latch bolts and place the latch and cable aside.
-
To install, tighten to 12 Nm (106 lb-in).
10. Disconnect the horn assembly wiring harness from the horn assembly and release the harness pushpin clips from the radiator support. Position the
harness aside.
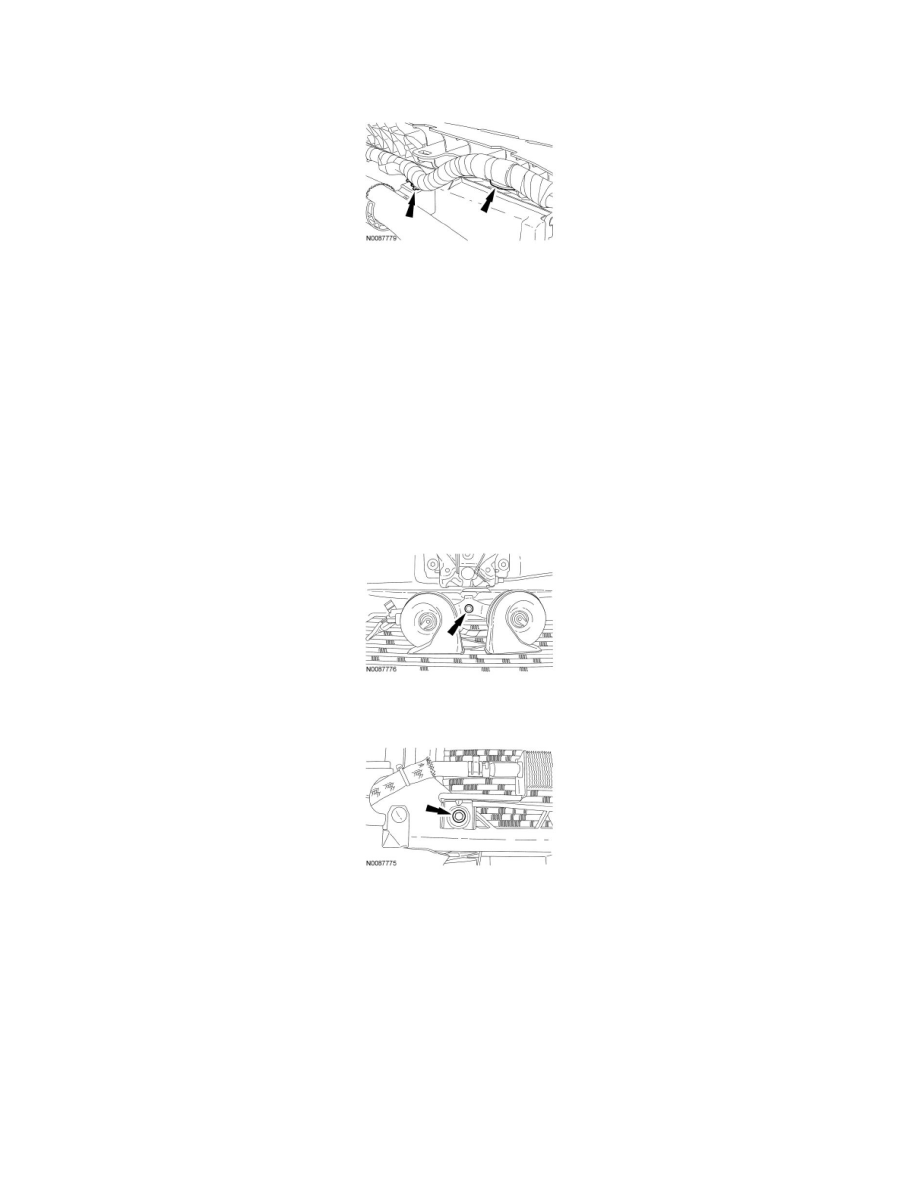
11. Remove the horn assembly bolt and remove the horn assembly.
-
To install, tighten to 9 Nm (80 lb-in).
12. Remove the 2 power steering cooler bolts.
-
To install, tighten to 9 Nm (80 lb-in).
13. Release the power steering cooler hose pushpin clips from the radiator support. Position and support the power steering cooler under the radiator
support.
14. Remove the 4 radiator bracket-to-frame outboard bolts and the 4 radiator bracket-to-radiator support inboard bolts (4 each side).
-
To install, tighten to 20 Nm (177 lb-in).
15. NOTICE: When installing the cooling module retaining clips, push the cooling module retaining clips toward the radiator grille support
until the clips are properly secured and a snap is heard. Failure to properly secure the cooling module retaining clips may cause damage
to the radiator or the cooling module assembly.
Release the cooling module retaining clips.