
Taurus X FWD V6-3.5L (2008)
Passenger seat
11. Pull the backrest fold flat nylon release strap through the trim cover bezel opening.
All seats
12. Attach the seat back lower trim cover J-clip.
Seats with manual lumbar adjust
13. Install the manual lumbar handle.
1
On driver seat, install the clip and manual lumbar handle.
2
On passenger seat, install the screw and the manual lumbar handle.
All seats
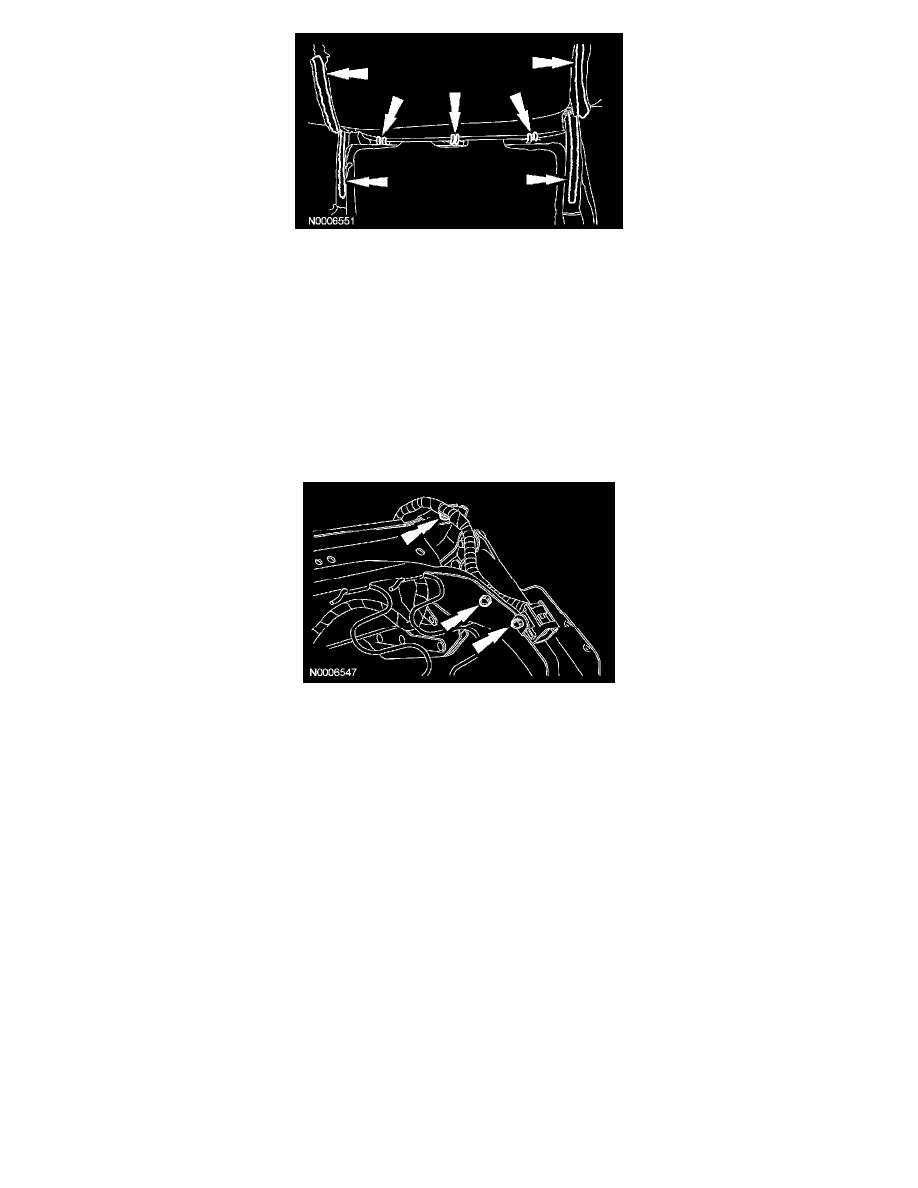
14. Attach the side air bag module wire routing clips.
15. Connect the side air bag module electrical connector.
16. Attach the hook-and-loop strip at the rear of the seat cushion.
17. Attach the rear seat cushion trim cover J-clip.
Seats with power
18. Install the power seat control switch to the side shield.
All seats
19. Install the side shield and rear screw.
Seats with power
20. Install the power seat switch knobs.
Seats with manual recline
21. Install the recline handle.
All seats
22. Install the front seat.
23. Repower the SRS. If a passenger seat has been serviced, do not prove out the SRS at this time.
Passenger seat only
24. WARNING:
-
Install a new occupant classification sensor (OCS) system service kit as a complete assembly. Never install only part of the kit
components. Failure to follow this instruction may result in incorrect operation of the OCS system and increases the risk of serious
personal injury or death in a crash.