
Taurus X FWD V6-3.5L (2008)
Seats with power
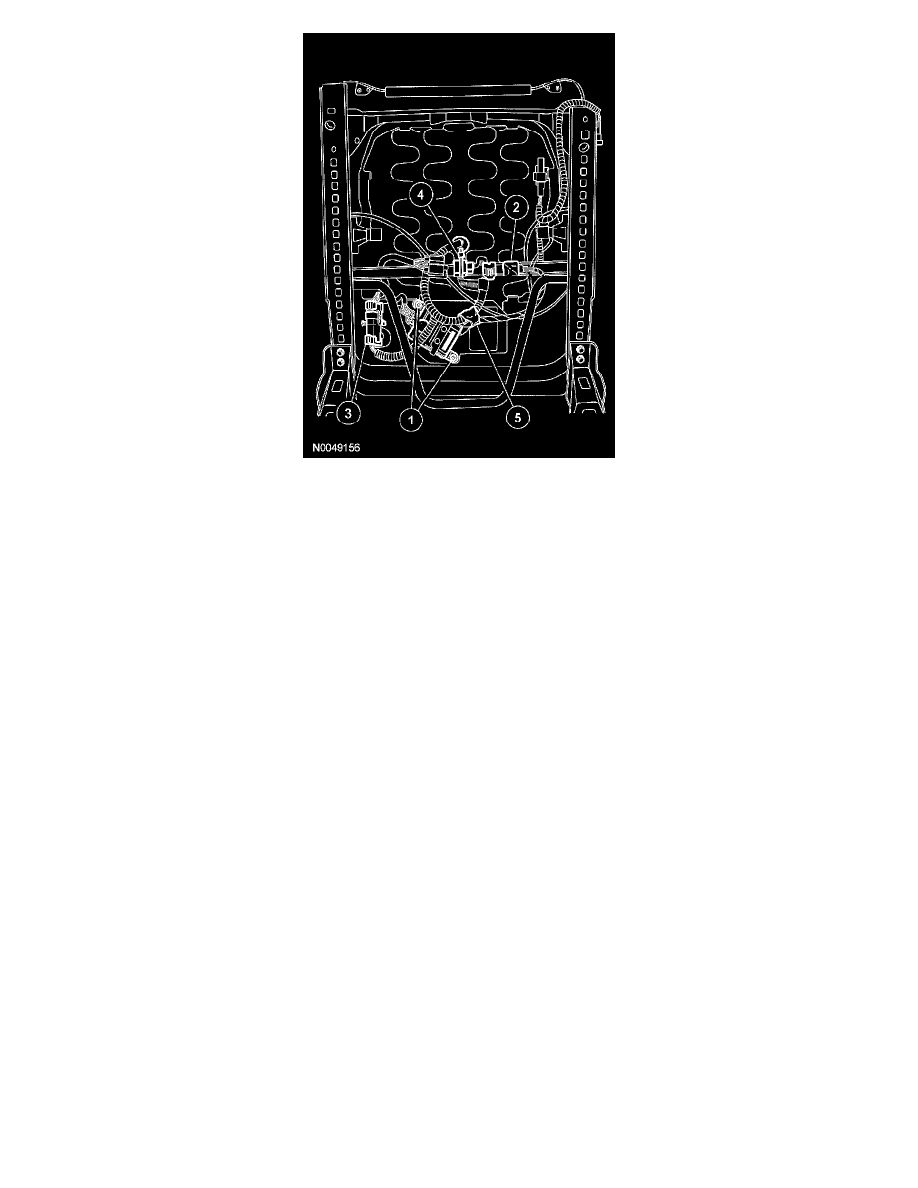
5. NOTE:
-
When installing a new OCS, the main seat wire harness pressure sensor electrical connector is not used.
-
The OCSM must be correctly positioned and securely riveted in place. Failure to do so may set a DTC in the RCM.
Attach and connect the OCS components.
1
Position the OCSM onto the seat cushion frame bracket and install new rivets.
2
Install the pressure sensor onto the seat cushion frame bracket, making sure the retaining tab is completely engaged.
-
Make sure the pressure sensor hose is routed correctly and is not kinked during installation.
-
When installed correctly, an audible click will be heard and the pressure sensor will not be able to be removed from its bracket without
disengaging the retaining tab.
3
Connect the main seat wire harness OCS electrical connector to the OCS service kit electrical connector, and then attach the connector
pin-type retainer to the seat track bracket.
4
Tie strap the wire harness and electrical connector safely aside.
5
Using electrical tape, tape the OCS service kit wire harness to the pressure sensor hose.
-
Do not tie strap the OCS service kit wire harness to the pressure sensor hose.