
Taurus X FWD V6-3.5L (2008)
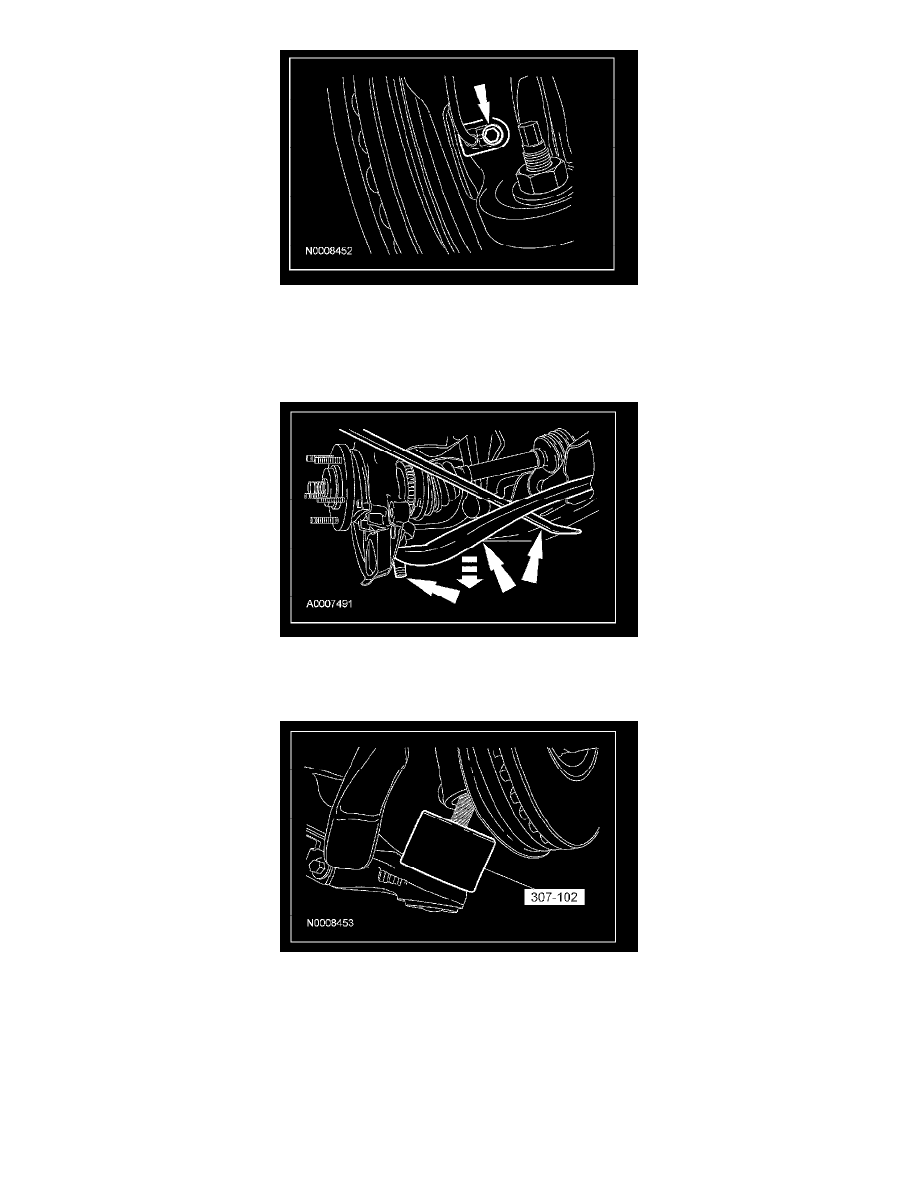
9. NOTE: Use the hex-holding feature to prevent the stud from turning while removing the nut.
Using a crow's foot wrench, remove and discard the lower ball joint nut.
^
To install, tighten to 115 Nm (85 lb-ft).
10. Using a pry bar, push the lower arm downward until the ball joint is clear of the lower arm.
11. After separating the lower ball joint from the wheel knuckle, immediately install the special tool over the ball stud before releasing the lower arm
and knuckle into the rest position.
^
Leave the special tool in place during service and only remove prior to reassembly.
12. CAUTION: Do not allow the halfshaft to move outboard. Overextension of the tripod constant velocity (CV) joint may result in
separation of internal parts, causing failure of the halfshaft.
Using the special tool, press the halfshaft from the wheel bearing and hub. Support the halfshaft in a level position.