
Taurus X FWD V6-3.5L (2008)
10. Remove the trailing arm-to-wheel knuckle bolt.
^
Discard the bolt.
11. Remove the trailing arm-to-subframe bolt and the trailing arm.
^
Discard the bolt.
12. Remove the lower arm-to-wheel knuckle bolt.
^
Discard the bolt.
13. Loosen the lower arm-to-subframe bolt.
14. Lower and remove the floor jack.
15. Remove the shock absorber lower bolt and the shock absorber and spring.
^
Discard the bolt.
Installation
All vehicles
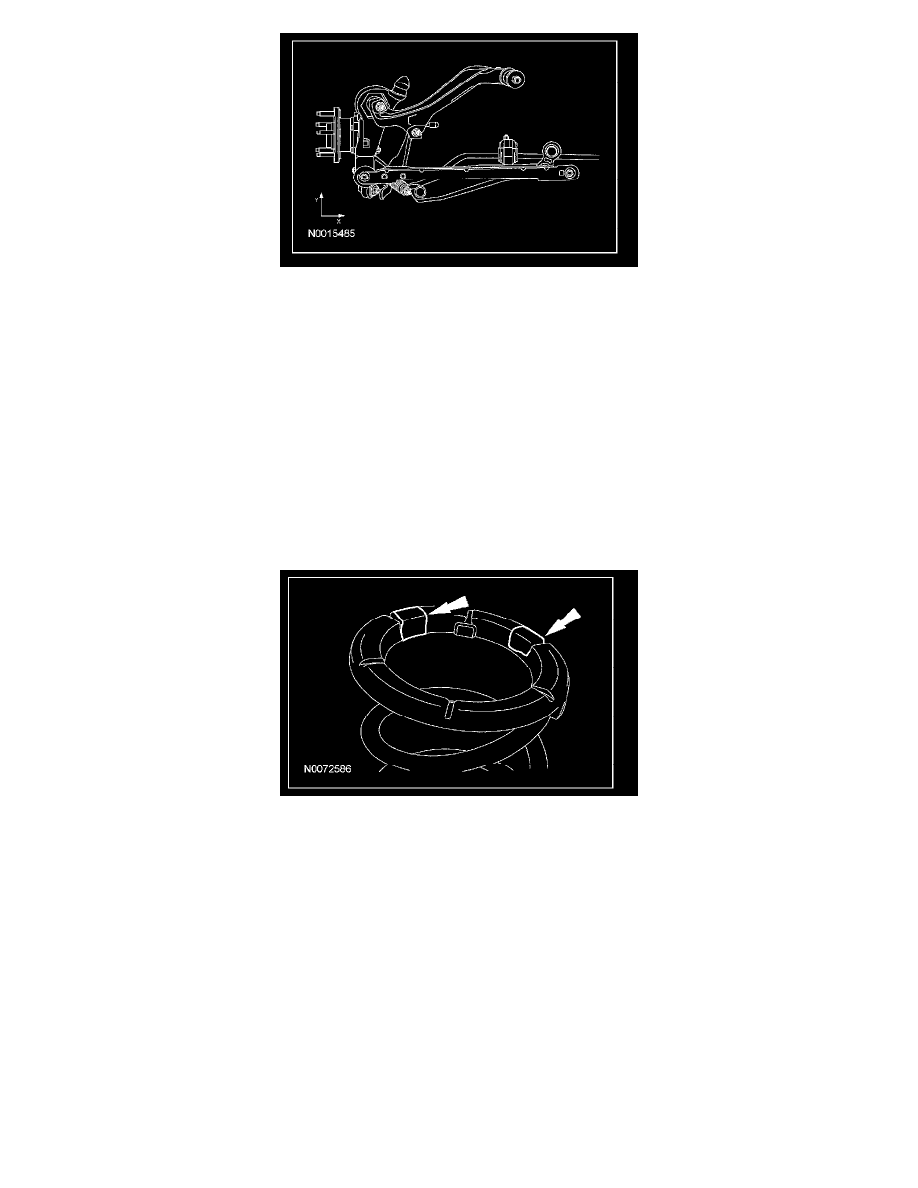
1. Position the upper spring isolator on the spring and secure the isolator with duct tape as shown.
2. NOTE: Make sure that the coil spring is aligned correctly using the index marks made during the removal procedure. If a new spring is being
installed, transfer the mark.
Position the spring and isolator on the shock absorber.
3. Position the shock absorber and spring assembly, aligning it with the upper mount.
4. Swing the lower arm into position under the shock absorber and spring assembly.
5. Install a new shock absorber lower bolt. Do not tighten the nut and bolt at this time.
6. Position the floor jack under the lower arm at the shock absorber mount.
7. Slowly raise the suspension with the floor jack until the top of the spring makes contact with the inside surface of the upper shock absorber mount.
8. NOTE: It is helpful to have an assistant watching from above the upper mount, giving direction to help center the shock absorber rod to the upper
mount bushing.
With the aid of an assistant, continue to raise the lower arm with the floor jack, guiding the shock absorber and spring assembly, until the shock
absorber rod is centered and through the upper shock absorber mount bushing.
9. Install a new shock absorber-to-upper mount nut.
^
Tighten to 52 Nm (38 lb-ft).
10. Raise the floor jack until the center of the wheel hub is at the correct curb height (measured in Step 1 of the Removal procedure).
11. Tighten the lower arm-to-subframe bolt to 133 Nm (98 lb-ft).