
Taurus X FWD V6-3.5L (2008)
Removal and Installation
NOTE: Index-mark both driveshaft flanges.
1. With the vehicle in NEUTRAL, position it on a hoist.
2. Remove the muffler and tailpipe.
3. Remove the 4 exhaust support brace bolts and the exhaust brace.
^
To install, tighten to 30 Nm (22 lb-ft).
4. CAUTION: Do not reuse the bolt and washer assemblies for the rear constant velocity (CV) joint flange. Install new assemblies or
damage to the vehicle may occur.
Remove and discard the 3 CV joint flange bolt and washer assemblies.
^
To install, tighten to 70 Nm (52 lb-ft).
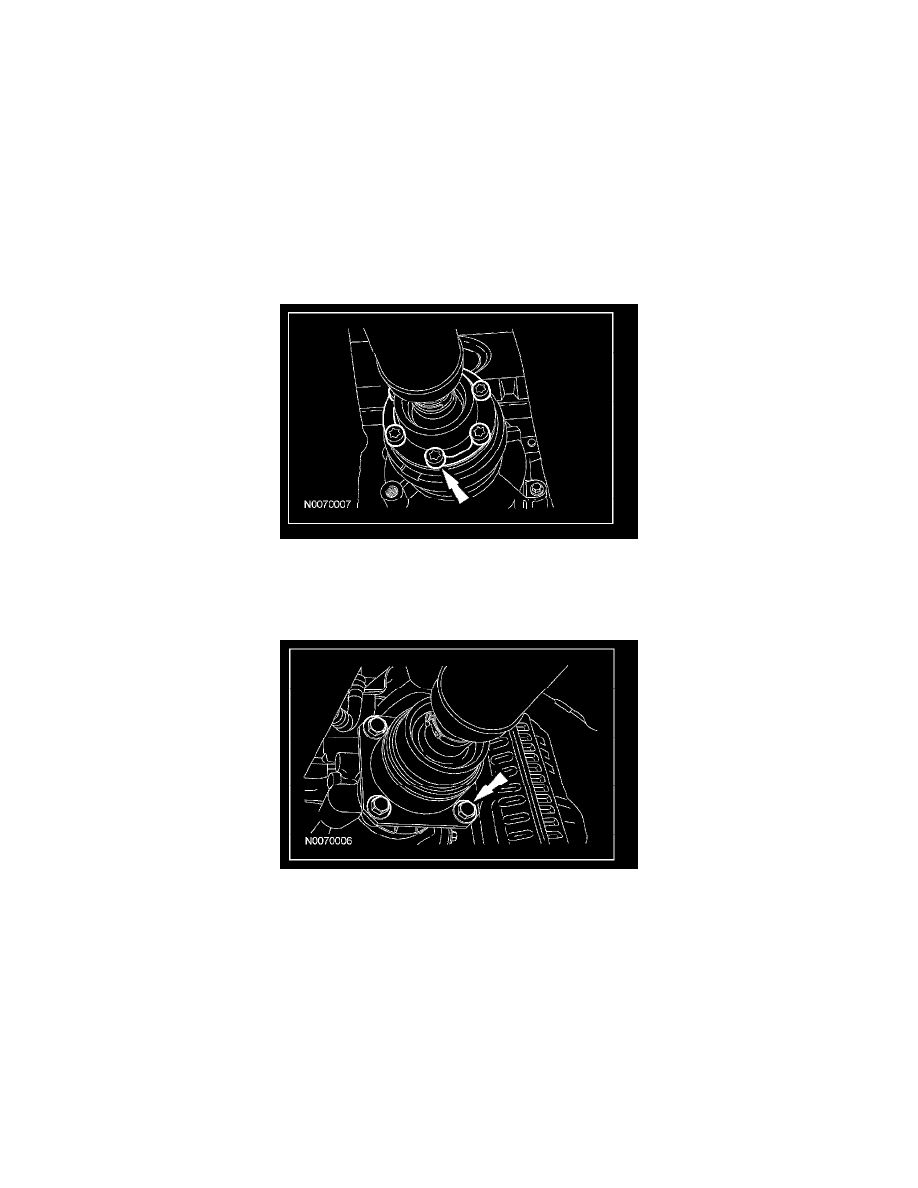
5. CAUTION: Do not reuse the constant velocity (CV) joint bolts. Install new bolts or damage to the vehicle may occur.
Remove and discard the 4 driveshaft-to-transfer case bolts.
^
To install, tighten to 70 Nm (52 lb-ft).
6. With the help of an assistant, remove the 2 center bearing bracket bolts and the driveshaft.
^
To install, tighten to 30 Nm (22 lb-ft).