
Thunderbird V8-4.6L VIN W (1997)
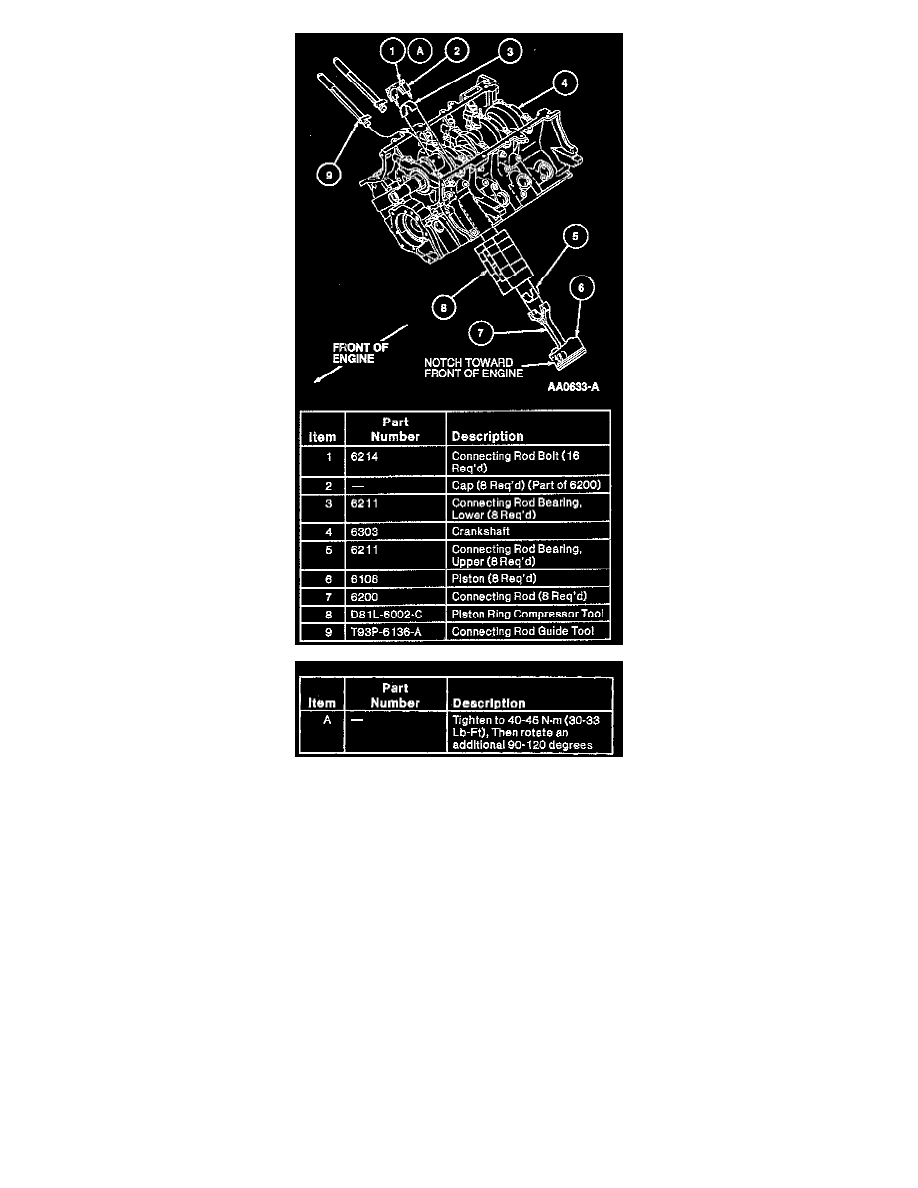
2. Turn crankshaft until the crankshaft throw is at bottom of stroke. Install correctly numbered piston and connecting rod assemblies with Piston Ring
Compressor D81L-6002-C or equivalent and a suitable connecting rod guide tool.
CAUTION: Be sure not to scratch cylinder wall or crankshaft journal with connecting rod. Push piston down until connecting rod bearing seats
on crankshaft journal.
NOTE:
^
Make sure piston ring gaps are rotated 30 degrees apart.
^
Notch on piston to front of engine.
3. Alternately tighten new connecting rod cap bolts in several passes to obtain 40-45 Nm (30-33 ft. lbs.) and rotate connecting rod bolts an additional
90-120 degrees. After installation, rotate crankshaft to ensure smooth operation.
NOTE: Due to the use of a cracked connecting rod joint face surface, the connecting rod cap must be properly aligned to the connecting rod. The
connecting rod and connecting rod cap bearing tangs should be located on the same side of the connecting rod.