
Thunderbird V8-4.6L VIN W (1997)
Steering Gear: Service and Repair
Replacement
REMOVAL
1. Raise vehicle on a hoist.
2. Remove both front wheel and tire assemblies.
3. Remove cotter pins at outer tie rod ends and remove castellated nuts at each end. Discard cotter pins.
4. Separate tie rod ends from LH front wheel knuckle and RH front wheel knuckle using He Rod End Remover TOOL-3290-D or equivalent.
5. Place a drain pan under vehicle. Disconnect and plug power steering return hose.
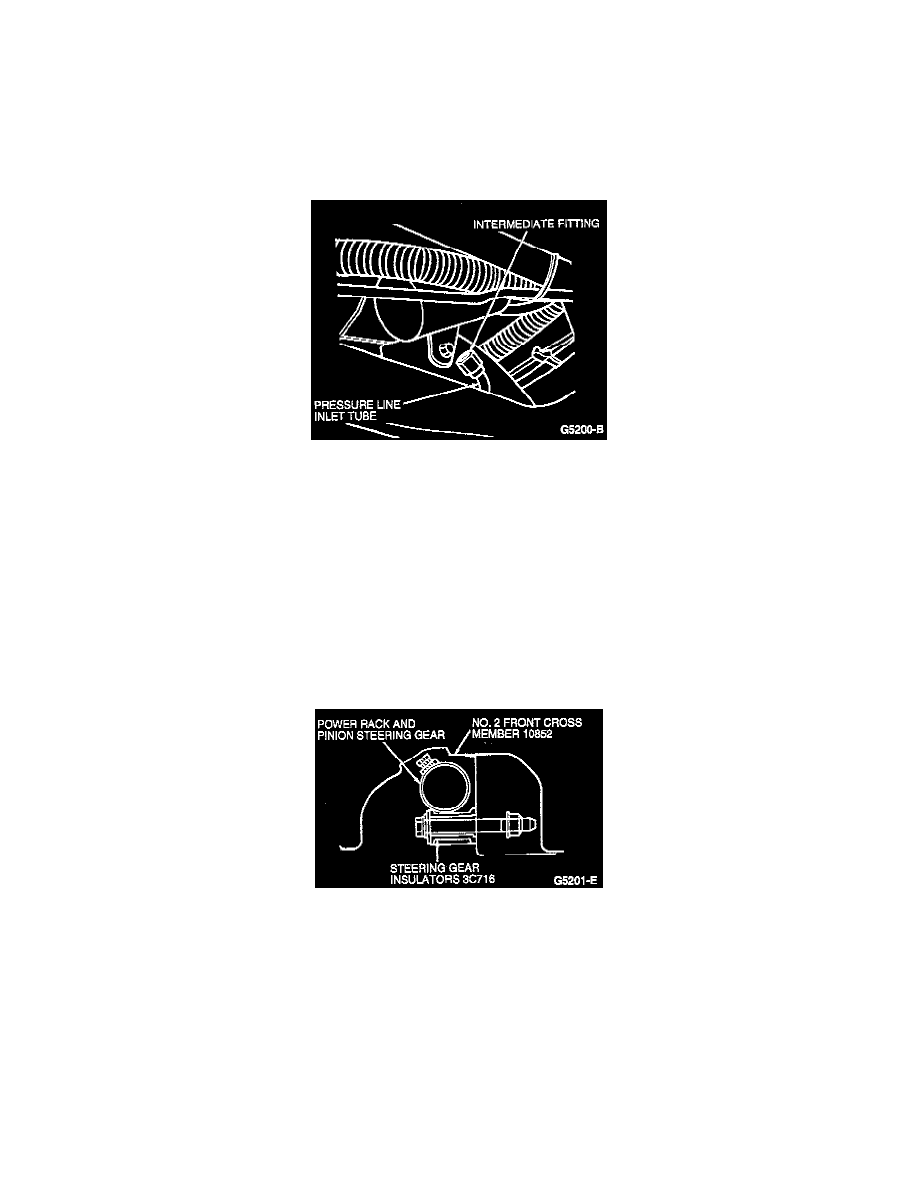
6. Disconnect power steering pressure hose at intermediate fitting and position out of the way.
7. Remove steering shaft retaining bolt.
8. Remove rack-to-sub-frame bolts and nuts (access nuts through hole in front cross member).
9. Lower power rack and pinion steering gear as necessary to remove pressure line inlet tube. Remove and discard plastic seal on inlet tube.
10. Cut tie strap securing power steering pressure hose to each tube.
11. Remove power rack and pinion steering gear from vehicle.
INSTALLATION
1. Install new seal on pressure line.
2. Install steering gear insulator from rear side of steering gear housing making sure they are fully seated. Use a rubber lubricant that meets Ford
specification ESR-M99B135-A to aid in installation.
3. Install and position power rack and pinion steering gear to front cross member.
4. Install pressure line in intermediate fitting.
5. Align steering gear input shaft to allow power rack and pinion steering gear to completely seat on front cross member.
6. Install steering gear retaining bolts and nuts. Tighten bolts to 135-195 Nm (100-143 ft. lbs.).
7. Install steering shaft flex coupling retaining bolt and tighten to 41-57 Nm (31-42 ft. lbs.).
8. Secure power steering pressure hose to power steering left turn pressure hose with a new tie strap.
9. Connect power steering pressure hose.
10. Connect power steering return hose and tighten clamp to 1-2 Nm (9-17 inch lbs.).
11. Install outer tie rod end to LH front wheel spindle and RH front wheel knuckle and install castellated nut at each end. Tighten nuts to 48-68 Nm
(36-50 ft. lbs.). Continue to tighten nuts until castellations line up with stud bores.
12. Install new cotter pins through stud bores at each tie rod end.
13. install both front wheel and tire assemblies. Tighten lug nuts to 115-142 Nm (85-104 ft. lbs.).
14. Lower vehicle.
15. Fill the power steering pump reservoir with MERCON Multi-Purpose (ATF) Transmission Fluid or equivalent.
16. If tie rod ends were loosened, check and adjust front end alignment.