
Transit Connect L4-2.0L (2010)
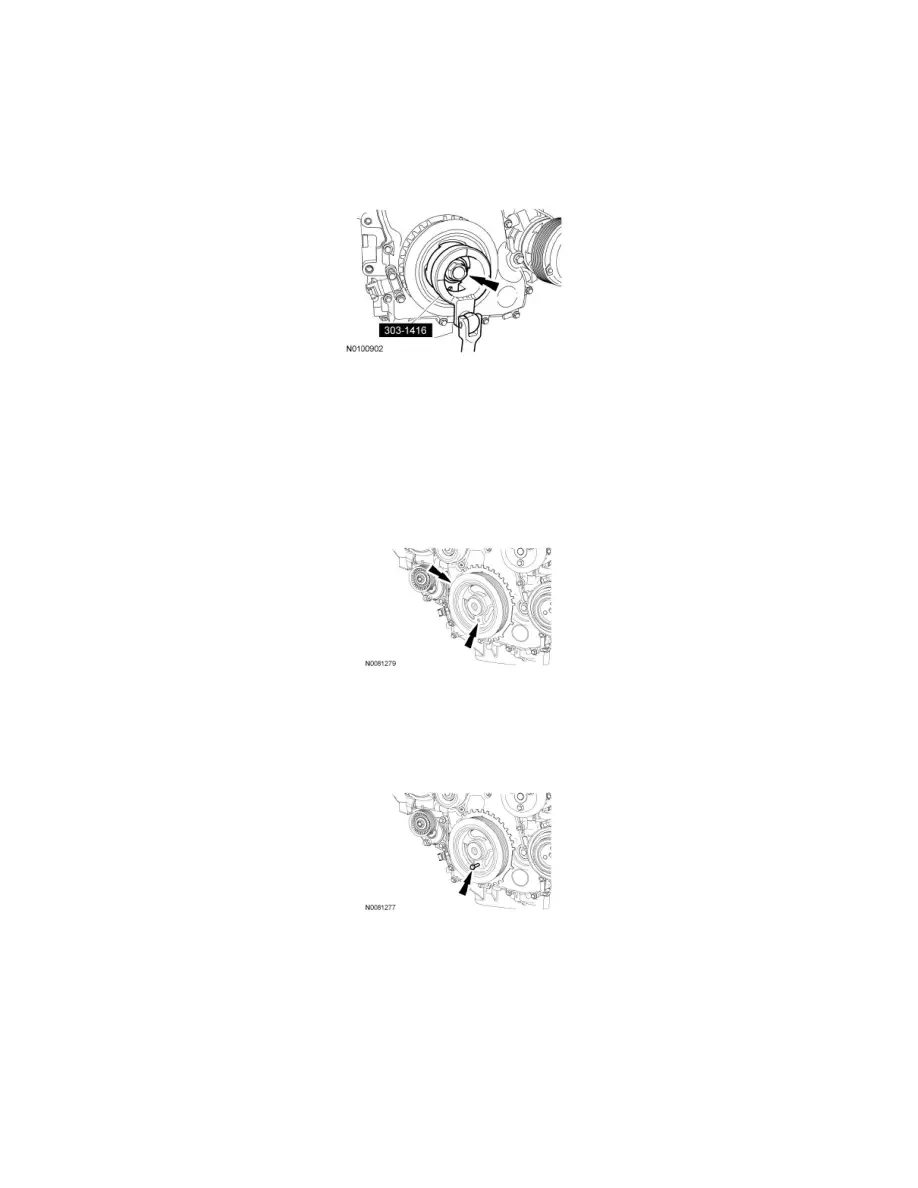
Use the Crankshaft Damper Holding Tool and a suitable 1/2-in drive hand tool to hold the crankshaft pulley. Use an air impact wrench to remove
the crankshaft pulley bolt.
-
Remove and discard the crankshaft pulley bolt and washer.
-
Remove the crankshaft pulley.
-
Remove the diamond washer and discard.
Installation
1. Install a new diamond washer.
2. NOTE: Do not install the crankshaft pulley bolt at this time.
NOTE: Apply clean engine oil on the seal area before installing.
Position the crankshaft pulley onto the crankshaft with the hole in the pulley at the 6 o'clock position.
3. NOTICE: Only hand-tighten the 6 mm bolt or damage to the front cover can occur.
NOTE: This step will correctly align the crankshaft pulley to the crankshaft.
Install a standard 6 mm x 18 mm bolt through the crankshaft pulley and thread it into the front cover.
4. NOTICE: The crankshaft must remain in the Top Dead Center (TDC) position during installation of the pulley bolt or damage to the
engine can occur. Therefore, the crankshaft pulley must be held in place with the Crankshaft Damper Holding Tool and the bolt should
be installed using hand tools only.
NOTE: Do not reuse the crankshaft pulley bolt.
Install a new crankshaft pulley bolt. Use the Crankshaft Damper Holding Tool and a suitable 1/2-in drive hand tool to hold the crankshaft pulley,
tighten the crankshaft pulley bolt in 2 stages:
-
Stage 1: Tighten to 100 Nm (74 lb-ft).
-
Stage 2: Tighten an additional 90 degrees (one-fourth turn).