
Tracker 4x4 L4-1590cc 1.6L (1993)
Differential Carrier: Service and Repair
Removal/Installation
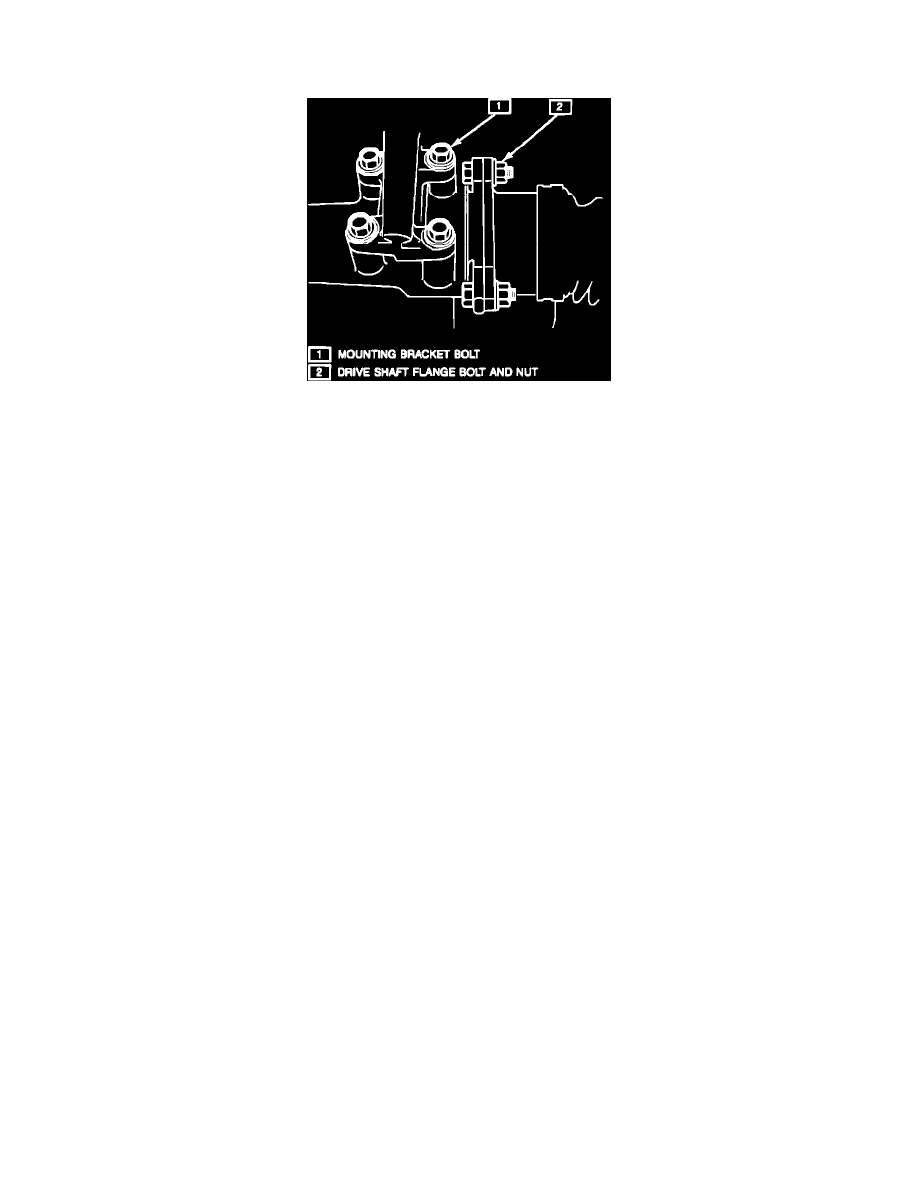
Fig. 2 Disconnecting Mounting Brackets
FRONT
1.
Raise and support vehicle.
2.
Disconnect breather hose.
3.
Disconnect and support propeller shaft.
4.
Remove four left mounting bracket bolts and three driveshaft flange bolts, Fig. 2.
5.
Support differential and remove bolts from crossmember and right end of housing.
6.
Disconnect right side driveshaft joint and remove housing assembly using suitable pry bars.
7.
Reverse procedure to install, noting the following torque specifications:
a.
Torque all mounting bracket bolts to 37 ft.lbs.
b.
Torque front driveshaft flange bolts to 37 ft. lbs.
c.
Torque propeller shaft flange bolts to 41 ft. lbs.
REAR
1.
Raise and support vehicle.
2.
Remove right and left axle shafts.
3.
Remove propeller shaft bolts and shaft.
4.
Support axle assembly and remove four upper arm mounting bolts and lower axle. Rear shock absorbers must remain installed during this
process. Without them, axle may fall and cause personal injury.
5.
Remove differential fastening nuts and the differential.
6.
Reverse procedure to install noting the following:
a.
Clean all mating surfaces and apply GM sealant (part No. 3997597).
b.
Torque rear differential carrier nuts to 41 ft. lbs.
c.
Torque upper arm bolts to 37 ft. lbs.
d.
Torque propeller shaft flange bolts to 41 ft. lbs.
e.
Fill axle with SAE 75W-90 hypoid gear oil and torque fill plug to 32 ft. lbs.