
C 3500 Truck 2WD V8-6.6L DSL Turbo VIN 1 (2002)
4. Use a new dauber in order to apply glass prep (clear #1) to the channel area approximately 13 mm (1/2 in) to the upper edge of the windshield.
5. Wipe the glass primed area immediately with a clean lint-free cloth.
6. Shake the glass primer (black #2) for at least one minute.
Using a new dauber in order to apply glass primer (black #2) to the top edge of the windshield.
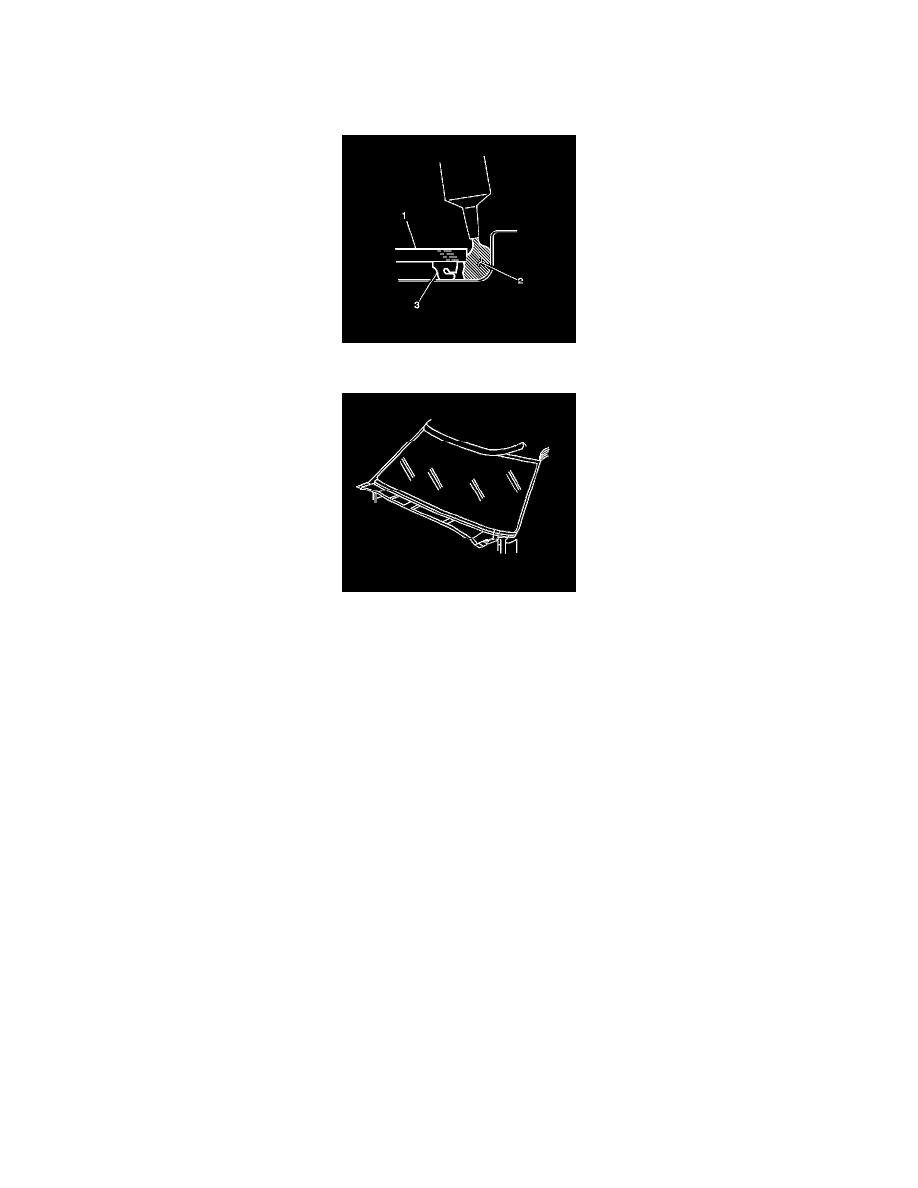
7. Apply a small bead of urethane adhesive (2) between the windshield (1) and the pinchweld.
8. Install the upper reveal molding.
1. Start from the center and hand-press the reveal molding into place over the edge of the windshield.
2. Install both right and left sides of the reveal molding. Refer to Windshield Side Reveal Molding Replacement (See: Windshield Side Reveal
Molding Replacement).
3. Run warm water over the reveal molding in order to speed the setup time of the urethane adhesive.
Tape should be applied in order to retain the reveal molding to the windshield, this will maintain a flush fit with the body.
The tape is to be removed after 6 hours.