
C Yukon 2WD V8-5.7L VIN R (1999)
Alternator: Service and Repair
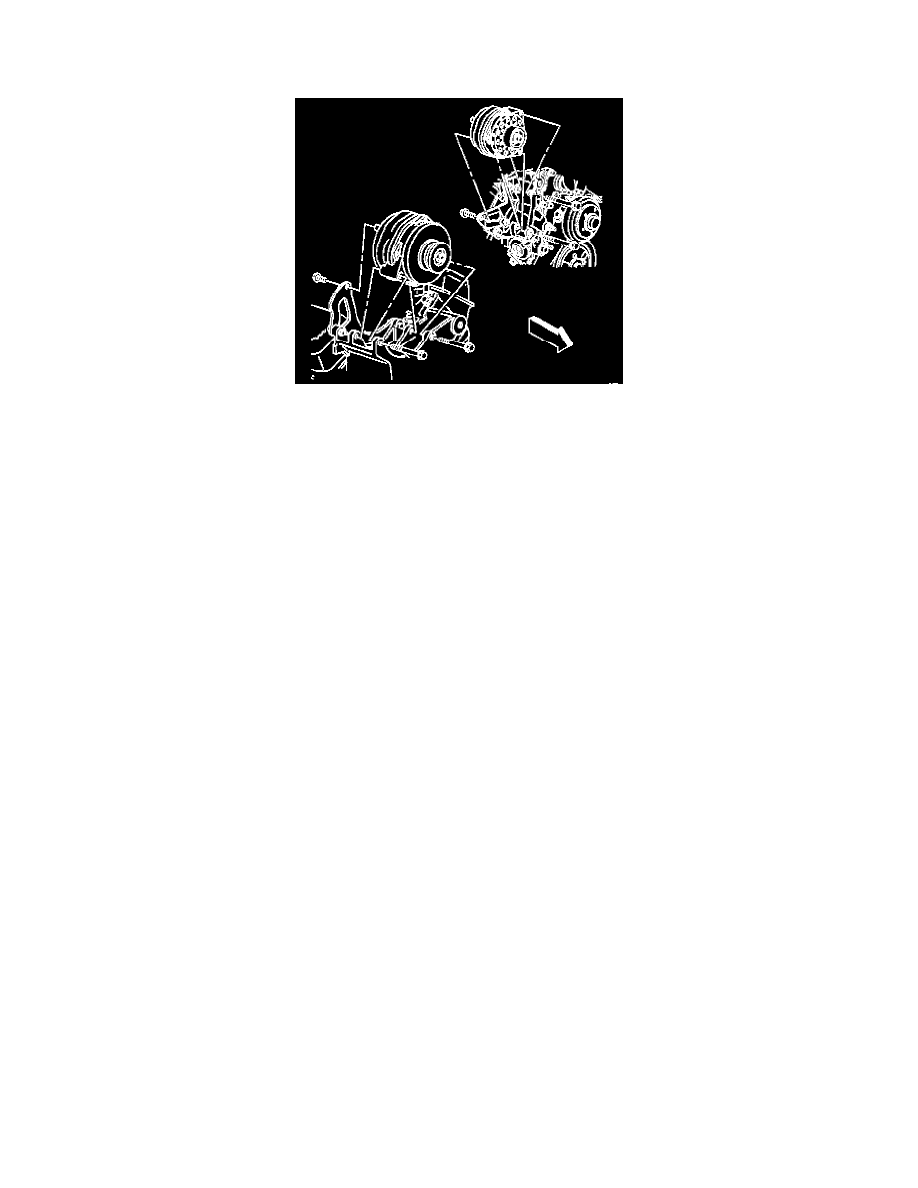
Generator Replacement (CS 144)
REMOVAL PROCEDURE
CAUTION: Refer to Battery Disconnect Caution in Cautions and Notices.
1. Disconnect the battery negative cable.
2. Disconnect the terminal plug from the back of the generator.
3. Disconnect the battery lead from the back of the generator.
4. Remove the upper fan shroud as needed.
5. Remove the drive belt.
6. Remove the generator mounting bolts holding the generator to the brace and the bracket.
7. Remove the generator.
INSTALLATION PROCEDURE
1. Install the generator.
NOTE: Refer to Fastener Notice in Cautions and Notices.
2. Perform the following procedure in order to install the generator mounting bolts holding the generator to the bracket and the brace
2.1. Loosely install the generator mounting bolts holding the generator to the bracket and the brace.
2.2. Install the brace attachment.
2.3. Tighten the generator mounting bolts holding the generator to the bracket and the brace.
Tighten
Tighten the generator mounting bolts holding the generator to the bracket and the brace to 50 N.m (37 lb ft).
3. Install the drive belt to the generator.
4. Install the upper fan shroud as needed.
5. Connect the battery lead to the back of the generator.
Tighten
Tighten the battery terminal nut to 8 N.m (71 lb in).
6. Connect the terminal plug to the back of the generator.
7. Connect the battery negative cable.