
Envoy 2WD L6-4.2L (2008)
Front Door Striker: Adjustments
Door Lock Striker Adjustment
Adjustment Procedure
1. Open the door.
2. Remove the lock striker from the door opening.
3. Close the door with the lock striker removed.
4. Verify proper door fit to the door opening and weatherstrips. Adjust the door frame as necessary.
5. Install the lock striker to the door opening.
Notice: Refer to Fastener Notice.
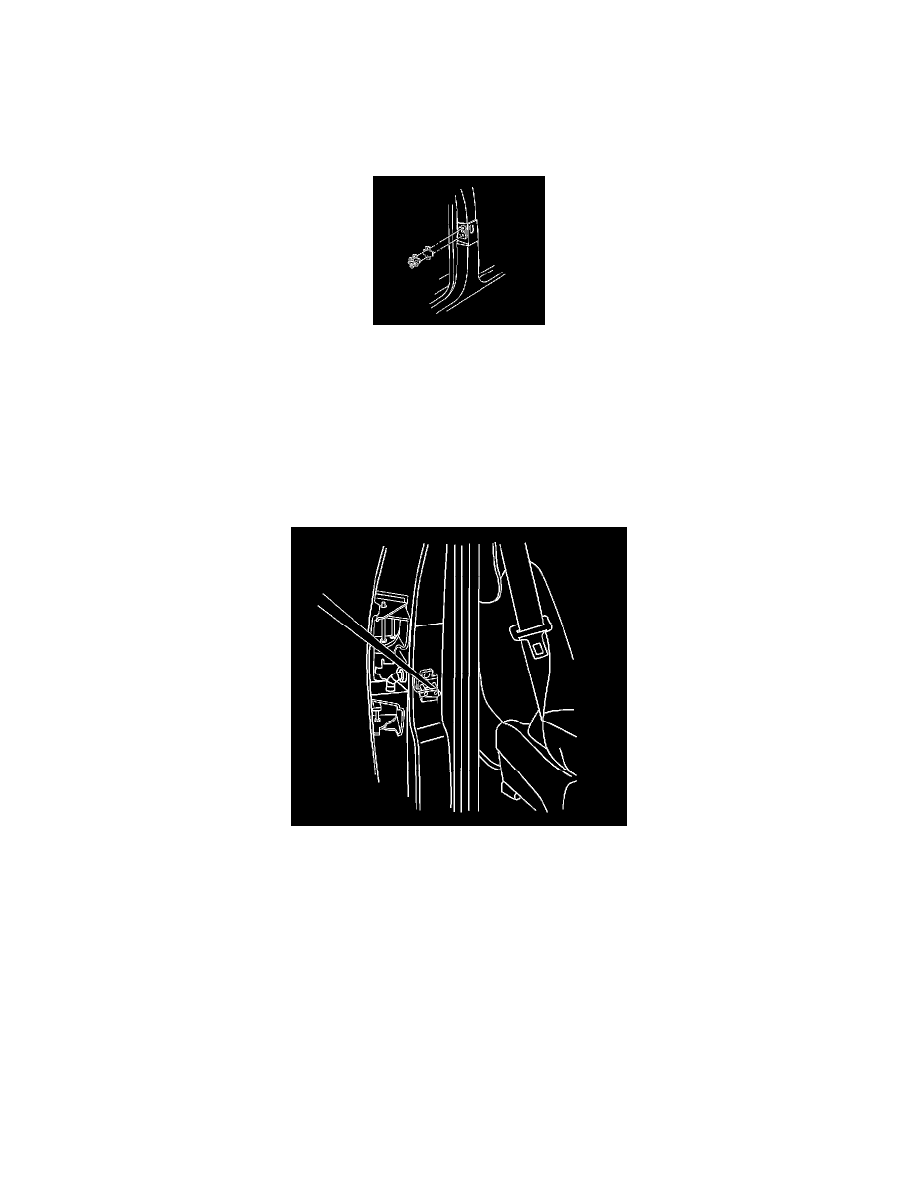
6. Install the lock striker screws retaining the lock striker to the door opening.
Tighten the lock striker screws only until the screw heads are flush to the lock striker plate, but still allowing the striker to move.
7. Using a large flat-bladed tool, rock the striker up and down to loosen the lock striker backing plate from the body.
Important: Do not slam the door.
8. Close the door while holding the outside handle in the open position to align the lock striker. If necessary, adjust the lock striker position to allow
the door to close with minimum effort.
9. Open the door.
10. Finish tightening the lock striker screws.
Tighten the lock striker screws to 25 N.m (18 lb ft).
11. Close the door.