
Envoy 2WD L6-4.2L (2008)
Tail Lamp Control Module: Service and Repair
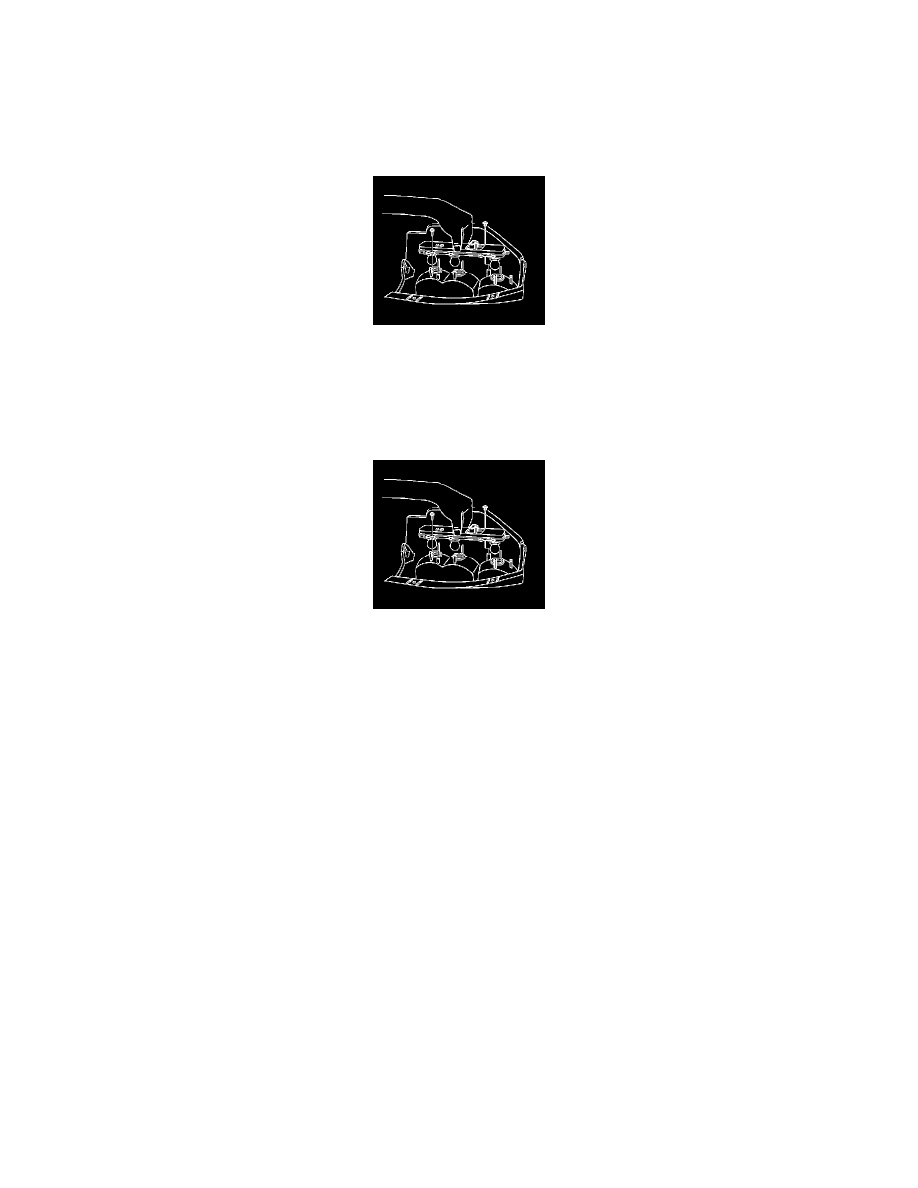
Tail Lamp Circuit Board Replacement
Removal Procedure
1. Remove the tail lamp.
2. Remove the 2 tail lamp circuit board retaining screws.
3. Simultaneously release the bottom 4 locking tabs and partially remove the tail lamp circuit board.
4. Release the top 2 locking tabs and remove the tail lamp circuit board from the tail lamp assembly.
5. Remove the bulbs from the tail lamp circuit board.
Installation Procedure
1. Install the bulbs to the tail lamp circuit board.
2. Position the tail lamp circuit board to the tail lamp.
3. Hold the top 2 locking tabs apart while pushing the tail lamp circuit board into place.
4. Hold the bottom 4 locking tabs apart while pushing the tail lamp circuit board into place.
5. Verify that the circuit board is fully seated with the locking tabs fully seated.
Notice: Refer to Fastener Notice.
6. Install the 2 tail lamp circuit board retaining screws.
Tighten the screws to 1.9 N.m (17 lb in).
7. Install the tail lamp.