
Envoy 2WD V6-4.3L VIN W (1998)
1. Remove the key from the ignition switch.
2. Connect the passenger yellow 2-way connector located behind the glove box.
3. Install the Connector Position Assurance (CPA) to the passenger yellow 2-way connector located behind the glove box.
4. Close the Instrument Panel (IP) compartment door.
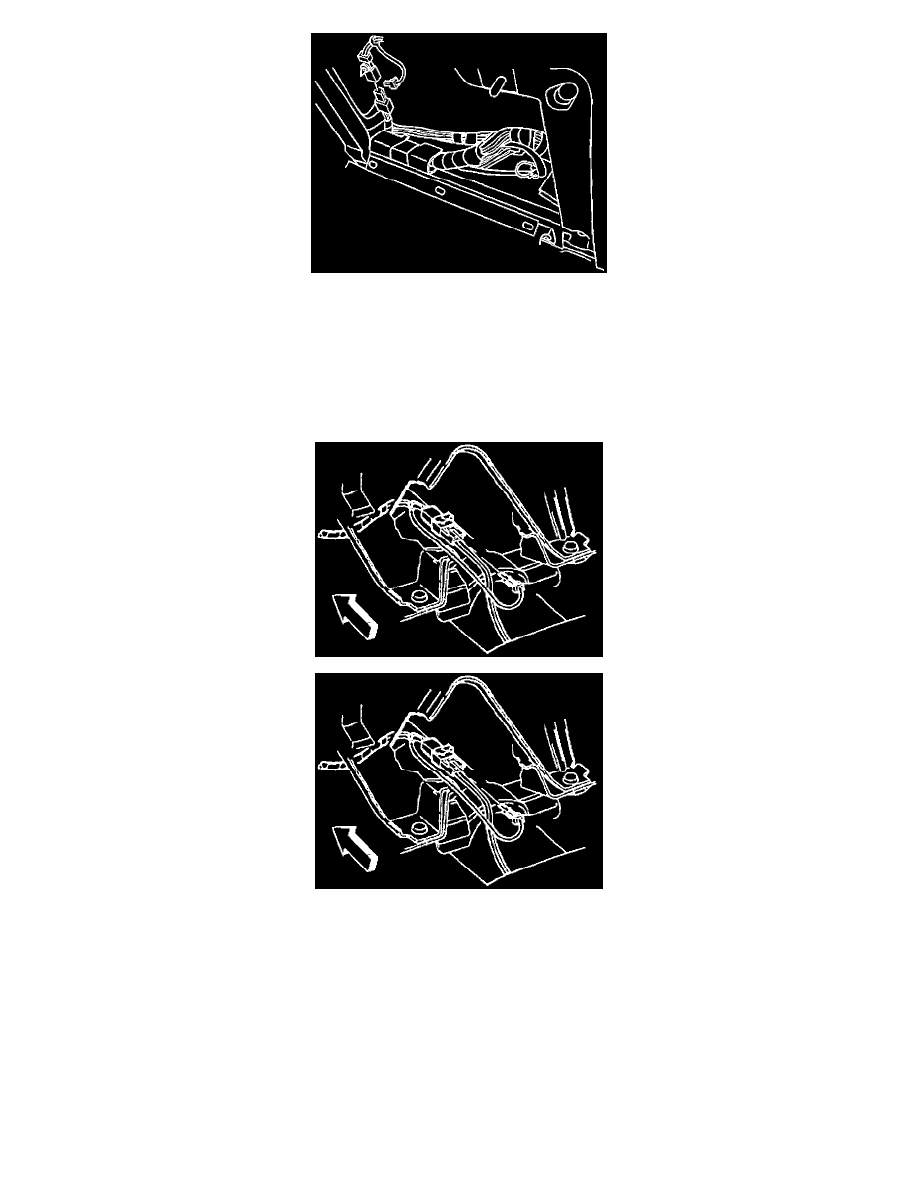
5. Connect the driver yellow 2-way connector located at the base of the steering column.
6. Install the Connector Position Assurance (CPA) to the driver yellow 2-way connector located at the base of the steering column.
7. Install the knee bolster (if equipped). Refer to Knee Bolster Replacement in Instrument Panel, Gauges and Console.
8. Install the sound insulator-LH. Refer to Closeout/Insulator Panel, Gauges and Contacts.
9. Install the SIR Fuse to the IP fuse block.
10. Staying well away from both air bags, turn the ignition switch to the RUN position.
10.1. The AIR BAG warning lamp will flash seven times.
10.2. The AIR BAG warning lamp will then turn OFF.
11. Perform the SIR Diagnostic System Check if the AIR BAG warning lamp does not operate as described.
W/O Dual Air Bags
INSTALL OR CONNECT
1. Turn the ignition switch to the LOCK position and remove the key.
2. Yellow 2-way SIR connector and CPA retainer at the base of the steering column.
3. Knee bolster.
4. AIR BAG fuse to the instrument panel fuse block.
-
Turn the ignition switch to the RUN position and verify that the SIR warning lamp flashes seven times and then turns off. If it does not operate
as described, perform the "SIR Diagnostic System Check."