
Envoy 2WD V8-5.3L VIN M (2005)
1. Remove the front seats.
2. Remove the rear seats.
3. Remove the front door sill plates.
4. Remove the rear door sill plates.
Notice: Remove the headliner and the headliner harness as an assembly. Do NOT cut or splice the headliner harness. Cutting or splicing the
harness may damage the coax cable, resulting in poor radio performance.
5. Remove the center pillar trim panels.
6. Remove the rear floor trim panel.
7. Remove the left/right lower body lock pillar trim panel.
8. Remove the jack and tool stowage bracket.
9. Remove the rear seat & mid-gate rest.
10. Remove the body electrical block.
11. Remove the body electrical block electrical connectors back through the hole in the carpet.
12. Pull the communication interface module electrical connectors back through the hole in the carpet.
13. Remove the floor console to the floor console carrier.
14. Remove the 4 nuts (2) retaining the rear of the floor console bracket to the floor weld studs.
15. Raise the rear portion of the floor console bracket and remove the carpet from underneath the console bracket.
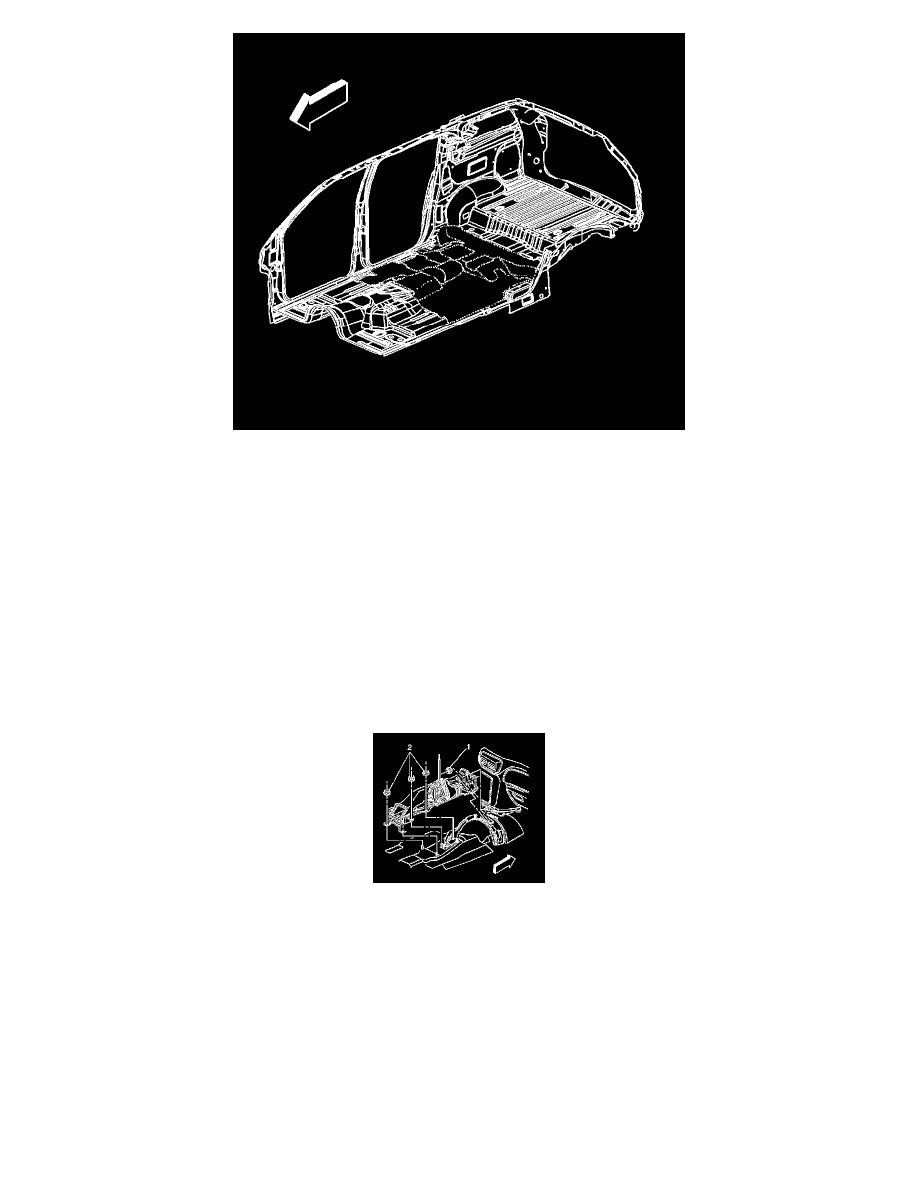
16. Remove the carpet from the vehicle.
Installation Procedure